
How to Install a Concrete Patio Railing


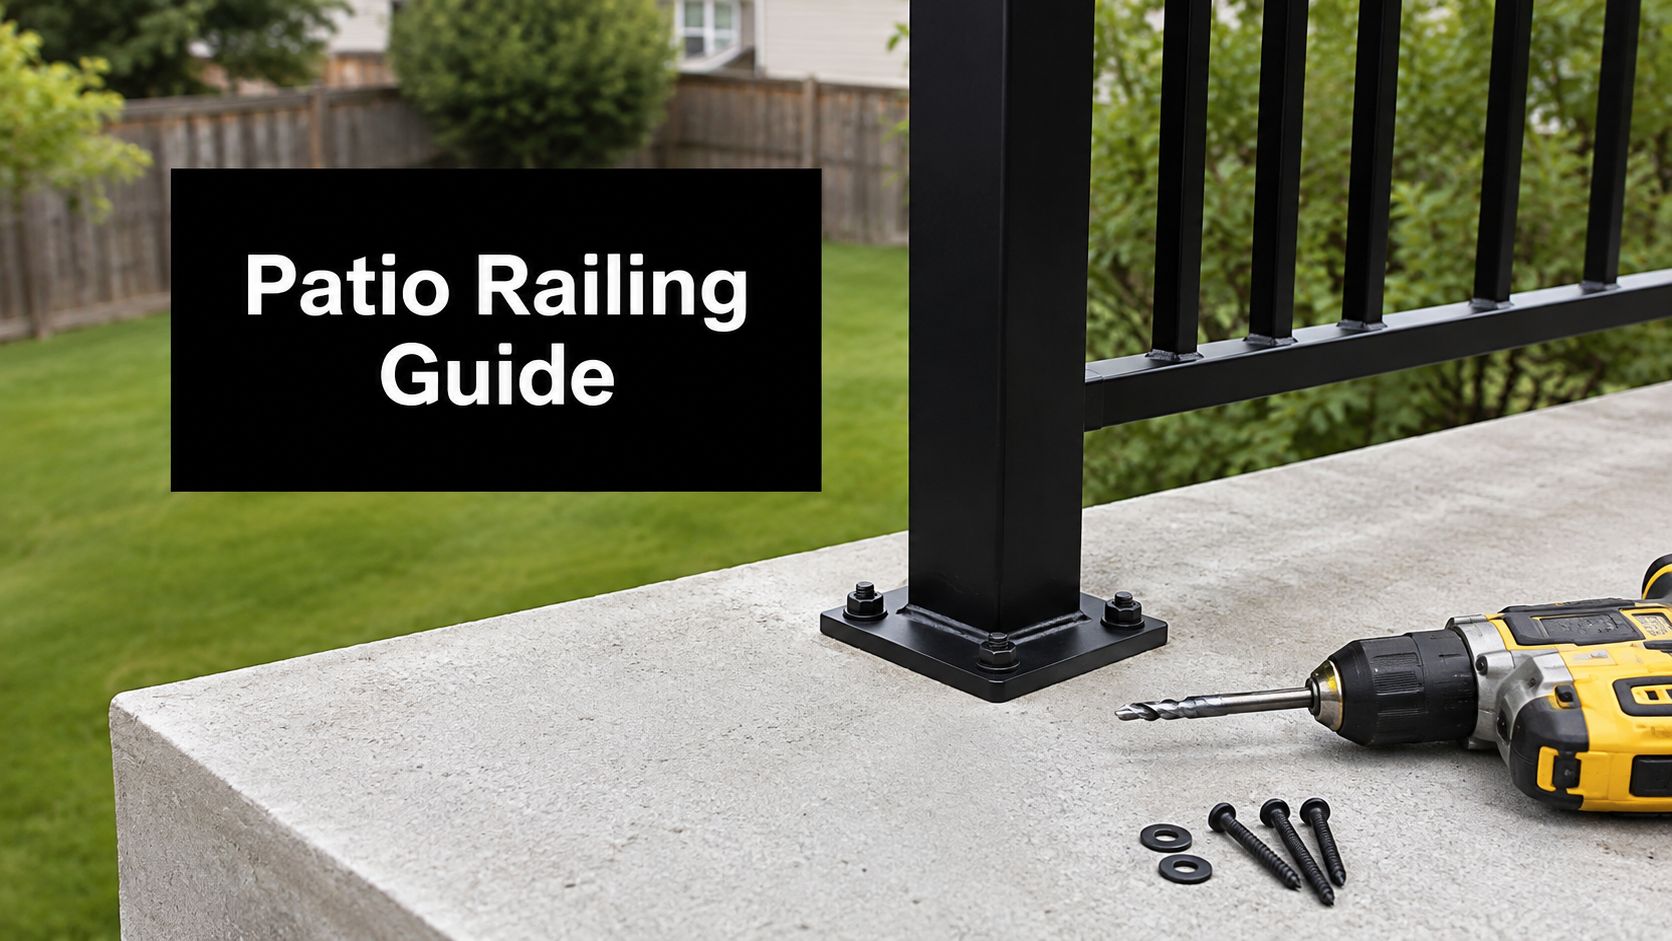
You're looking at a raised concrete patio, planning furniture, steps, or a new outdoor entertaining area, and the railing seems like the simplest part of the project. It isn't. A durable concrete patio railing depends on the finished patio height, the distance from the slab edge, the condition of the concrete, drainage, anchor selection, and whether the system is a guardrail, a stair handrail, or both.
Firm Foundations serves homeowners and property owners across Pennsylvania, Maryland, Delaware, and New Jersey, including customers in Honey Brook Township who need concrete foundations, patio slabs, garage footings and foundations, shed foundations, excavation, and related site work. The safest installation starts below the visible rail. Before choosing posts or finishes, confirm what the patio is asking the railing to do.
Planning the Right Concrete Patio Railing
A homeowner with a patio that is raised up should begin with a tape measure, not a railing catalog. Under the International Residential Code, a guardrail is generally required when an open-sided walking surface is more than 30 inches above the ground, and the typical minimum residential guard height is 36 inches. Those figures are summarized in deck railing code guidance, but local jurisdictions may adopt stricter requirements, including 42-inch heights in some locations.
Measure from the finished walking surface to grade at every open edge. Include slab thickness, drainage slope, paver buildup, nearby retaining walls, and raised landings. A patio that appears low at one corner can become code-triggered at another. Residential and commercial rules also differ, so a railing for a business, apartment property, restaurant, or other commercial setting may fall under the International Building Code, where guards are generally 42 inches high. IBC guardrail guidance explains why occupancy and project classification matter.
Separate the guard from the handrail
A guardrail protects people from falling off an open edge. A handrail gives someone a graspable surface while using stairs. They may connect visually, but they don't automatically perform the same function.
For stair runs, handrail requirements usually apply to flights with four or more risers, and graspable handrails are commonly positioned 34 to 38 inches above the stair nosing line. Residential railing height guidance also notes that openings commonly must prevent passage of a 4-inch sphere, with a stair exception that can permit up to 6 inches in the triangular opening near treads and bottom rails.
| Element | Primary purpose | When to verify | Key planning point |
|---|---|---|---|
| Guardrail | Prevents a fall from an open edge | When the walking surface exceeds the applicable height threshold | Plan height, openings, post layout, and edge distance together |
| Stair handrail | Provides a graspable support while climbing or descending | When the stair arrangement reaches the local handrail trigger | A perimeter guard doesn't automatically replace a usable handrail |
| Combined system | Protects the patio edge and supports stair users | Where stairs meet an elevated patio | The guard and handrail may need different heights and transitions |
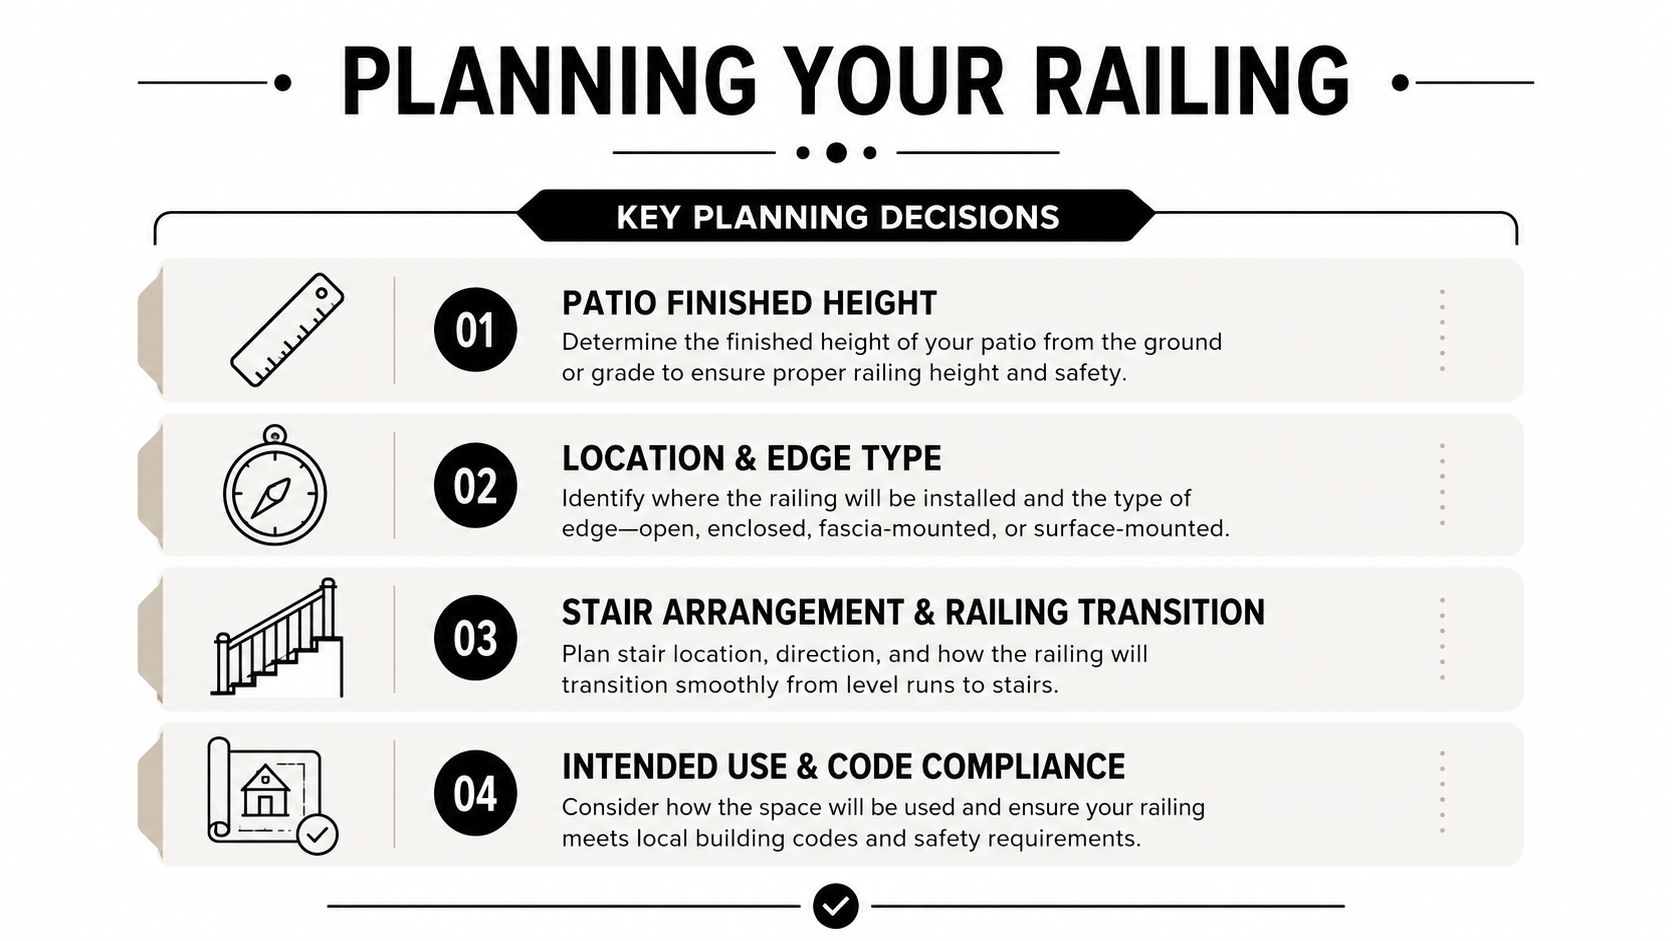
Before buying materials, prepare a short project brief containing measurements, site photos, stair locations, preferred railing material, gate locations, and questions for the building department. For broader patio layout inspiration, R.E. and Sons Landscaping concrete work can help homeowners think through how the railing will relate to other concrete features. Appearance matters, but it should follow the site conditions and applicable code.
Comparing Railing Systems and Anchors
Railing material affects maintenance, appearance, repairs, and how the finished patio relates to the home. Aluminum is light and typically resists routine outdoor corrosion, but damaged sections may require system-specific replacement parts. Steel offers a substantial appearance and can work well when properly coated or protected, while neglected finishes can allow corrosion to reach the base connection.
Composite and vinyl systems often provide a low-maintenance appearance, though color, heat exposure, impact damage, and replacement compatibility deserve attention. Wood or wood-look railing can coordinate with decks and older homes, but it generally demands more finish maintenance than a properly protected metal system. No material wins on every property. Exposure, budget, local style, availability of replacement components, and the condition of the concrete should guide the decision.
Match the anchor to the slab
The three common attachment approaches are mechanical anchors, epoxy or adhesive anchors, and cast-in anchors.
Mechanical anchors expand inside a drilled hole and can be practical in sound, sufficiently thick concrete. They must be kept away from unsupported edges and installed to the specified depth and torque. Adhesive anchors bond threaded rods into prepared holes and can be useful where expansion pressure is undesirable, but they depend heavily on hole cleaning, resin handling, cure time, and substrate condition. Cast-in anchors are coordinated before a new pour. They can create a clean, integrated connection, but inaccurate placement can leave the base plate unusable after the concrete hardens.
Independent anchor guidance emphasizes that performance depends on embedment depth, edge distance, spacing, and substrate condition, not just the nominal diameter. One technical reference recommends keeping mechanical anchors at least five anchor diameters from an unsupported edge and spacing them about ten diameters apart. For a 1/2-inch wedge anchor, that corresponds to roughly 1-7/8 inches of edge distance and 3-3/4 inches between anchor centers. Common embedment depths in the same guidance range from 4 1/4 to 5 1/2 inches. Review the anchor installation and performance guidance before selecting hardware.
| Method | Best fit | Main advantage | Important limitation |
|---|---|---|---|
| Mechanical anchor | Sound existing slab with adequate thickness and edge clearance | Familiar installation and immediate mechanical engagement when properly set | Expansion pressure and poor placement can cause cracking or edge breakout |
| Epoxy or adhesive anchor | Retrofit conditions where expansion pressure is a concern | Flexible placement strategy when the hole and substrate are properly prepared | Requires exact cleaning, product handling, and cure procedures |
| Cast-in anchor | New patio pour planned with the railing layout | Base connection can be coordinated with reinforcement and concrete placement | Placement errors are difficult to correct after the pour |
| Specialized base plate system | Manufacturer-designed railing packages | Components are designed to work together | Replacement parts and anchor specifications may be system-specific |
Treat the anchor, hole diameter, embedment, cleaning method, base plate, and torque as one engineered system. A low-priced fastener isn't a bargain if the slab is too thin or the base plate concentrates force too close to the edge.
Preparing the Slab, Tools, and Materials
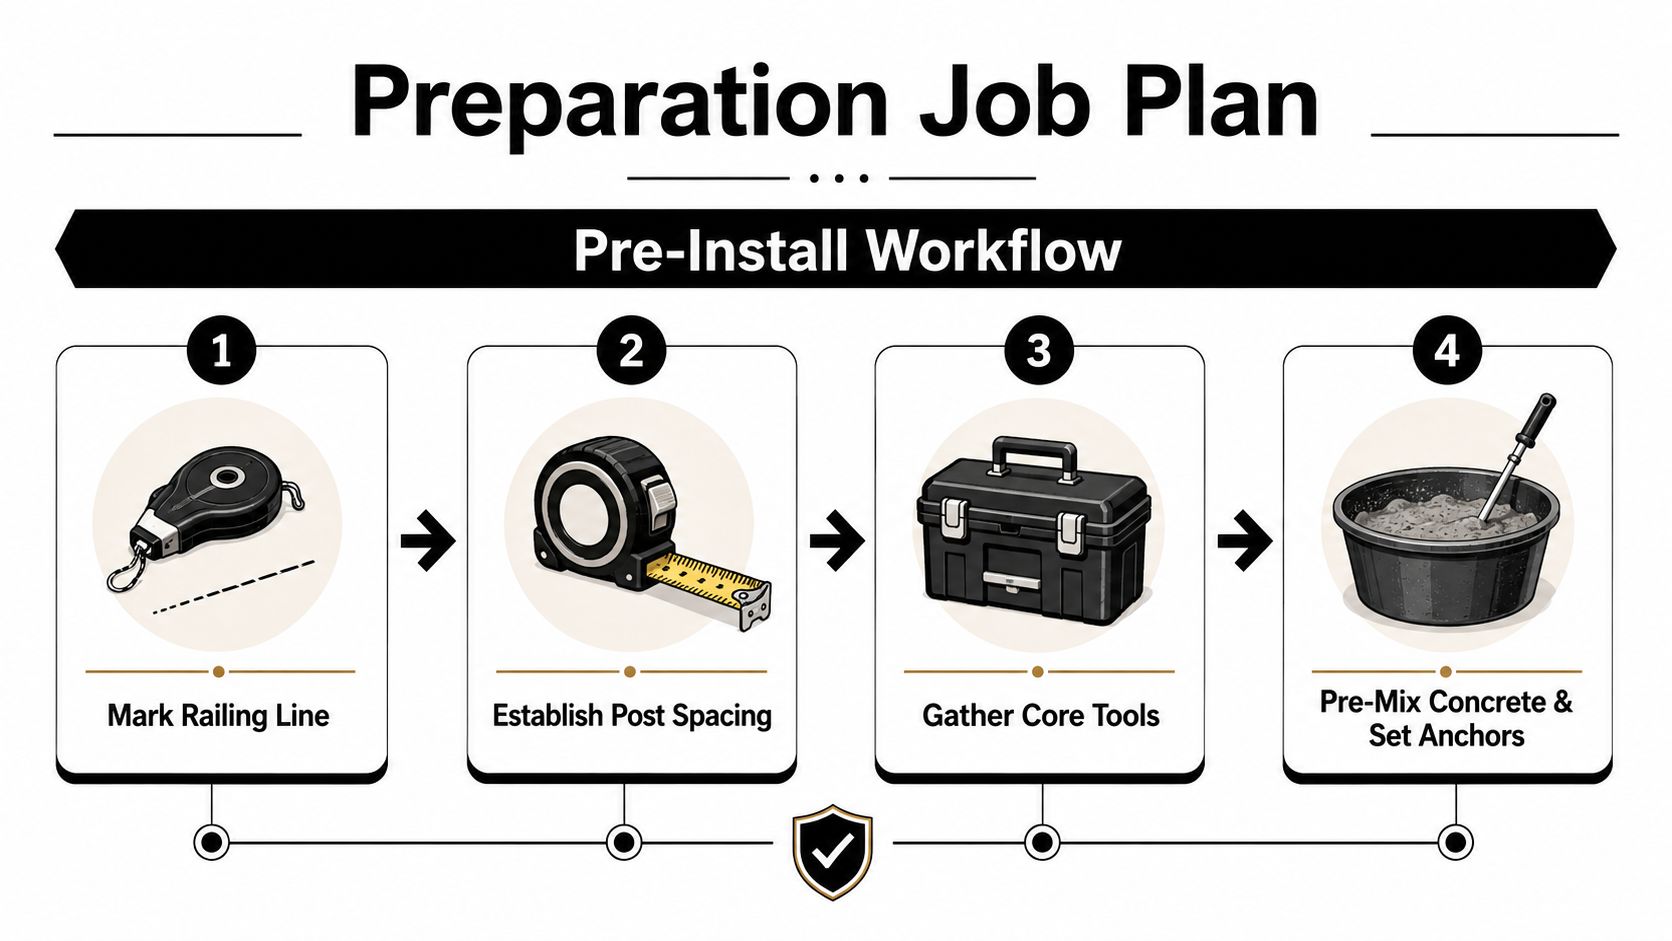
Preparation prevents most retrofit surprises. Mark the railing line first, then establish each post location from the actual base plate, not from a rough sketch. Confirm that every anchor hole will land in sound concrete with enough slab thickness and edge clearance for the selected system.
A new patio offers more control. Coordinate cast-in anchor locations, reinforcement, slab thickness, finished slope, drainage paths, door thresholds, steps, and future railing loads before concrete placement. For an existing slab, locate cracks, hollow areas, previous repairs, reinforcement, and possible electrical or plumbing routes. If the patio is raised or may contain post-tensioned elements, stop drilling until the slab has been professionally evaluated and scanned where appropriate.
Practical rule: Never let a railing layout force anchors into weak concrete simply because the posts look evenly spaced.
Build the preparation list
A workable setup usually includes a tape measure, chalk line, level, square, marker, drill or rotary hammer, manufacturer-approved masonry bits, hole-cleaning brushes, a vacuum or blow-out tool, anchor-setting equipment, torque tools, shims, corrosion-resistant hardware, sealant, personal protective equipment, and temporary barriers. The exact drill bit, hole diameter, embedment, cleaning sequence, and torque must come from the anchor and railing manufacturers.
For a new slab, gather forms, reinforcement, concrete materials, base plates, posts, rails, infill, gates, and drainage components before the pour. For a retrofit, keep repair materials available, but don't conceal a structural problem with patching compound and paint. A damaged edge or thin slab may need a redesigned railing line, local concrete repair, or a new foundation section.
Drainage belongs in the preparation discussion. Impervious surfaces near a foundation should generally slope away from the building at about 2%, or 1/4 inch per foot, and drainage systems may be needed where the site can't provide that fall. The building-code drainage discussion highlights why a railing base can become a moisture problem when runoff remains trapped beside the slab or foundation.
A patio's slab depth also belongs in the early conversation. Homeowners comparing a new patio with a shed foundation, gazebo foundation, or base for a storage shed can review concrete patio slab thickness considerations while planning the overall site. For layout and furnishing ideas, outdoor patio ideas from Woodstock Furniture & Mattress Outlet can help connect the railing footprint with seating, circulation, and access.
Installing a Concrete Patio Railing Safely
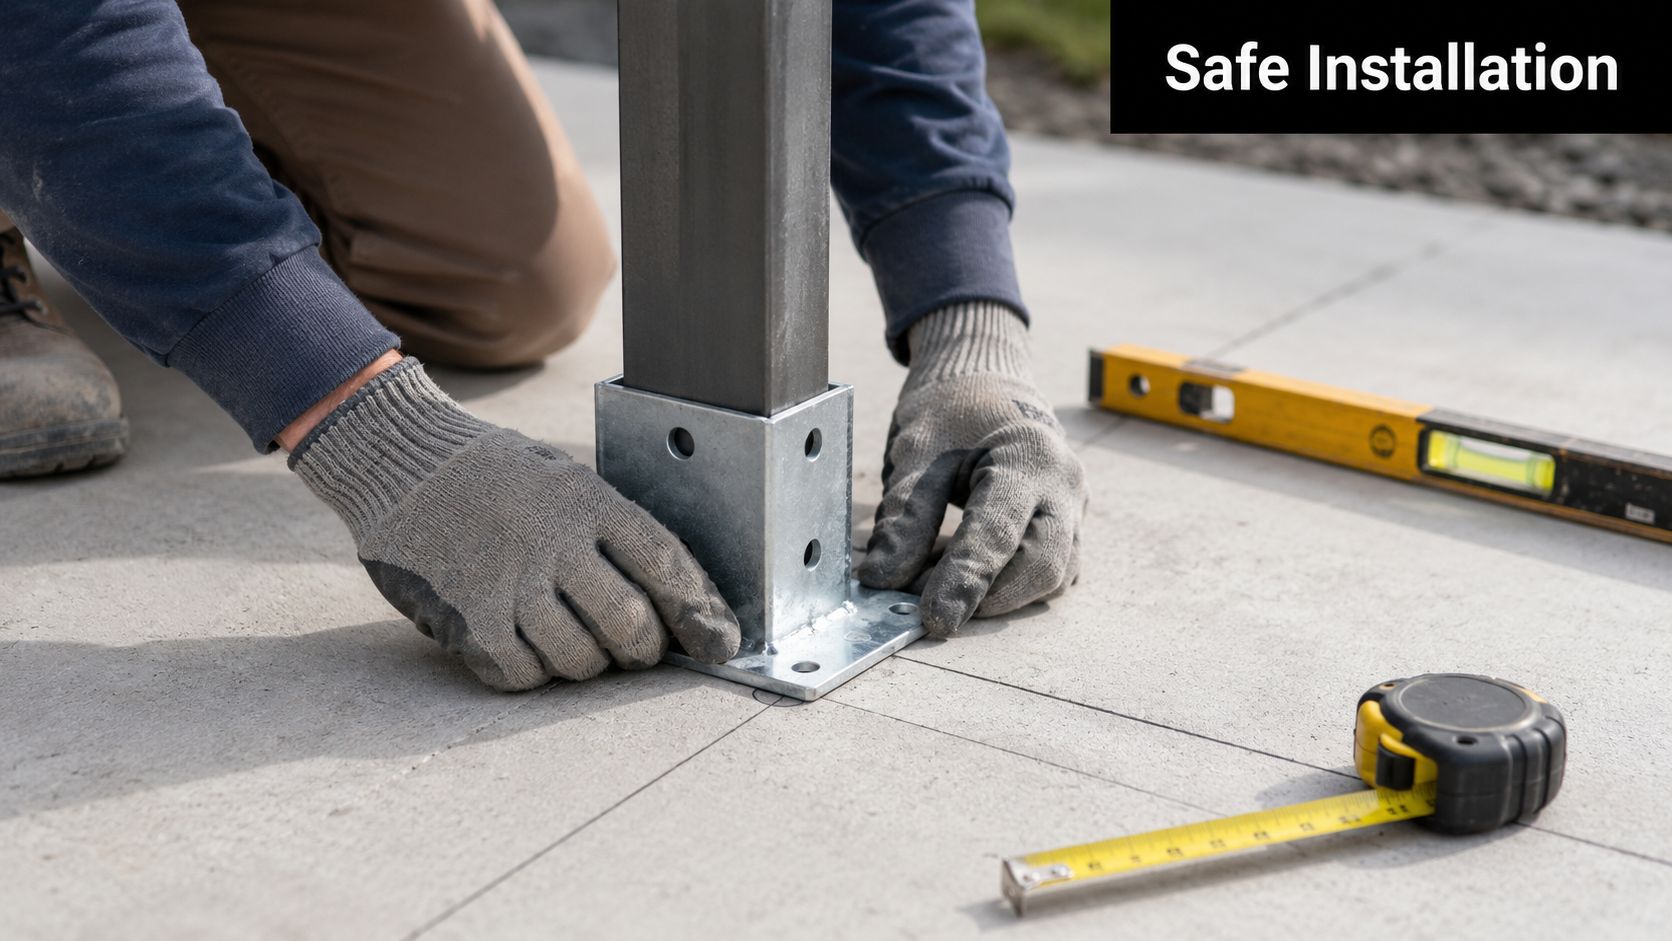
Dry-fit the posts, base plates, rails, corners, and gates before drilling or setting anchors. This catches blocked doors, awkward stair transitions, inconsistent post locations, and base plates that don't sit flat. A temporary line or mock-up also helps confirm that the final railing protects the edge without making the patio feel cramped.
Set the connection according to its design
Mark holes through the actual base plate. Verify the edge distance and inspect the concrete immediately around every mark. Drilling too close to an unsupported edge can cause breakout, while drilling into a crack, hollow patch, reinforcement, or tendon can compromise the connection or create a dangerous condition.
A mechanical anchor, adhesive anchor, and cast-in anchor aren't interchangeable procedures. Mechanical anchors require the specified hole diameter, depth, cleaning, setting method, and torque. Adhesive anchors require a clean, prepared hole, correct resin placement, threaded-rod installation, and full curing before the railing carries load. Cast-in anchors must be held accurately during the pour and protected from displacement while concrete is placed and finished.
Anchor performance can be substantial. The technical guidance cited earlier describes a transportation specification requiring concrete anchors to sustain four times the imposed load in test data, and a guardrail anchor detail listing a direct pull-out load of 12,000 pounds. Those figures aren't a reason to improvise. They show why the complete connection must be selected and installed as a system, with slab thickness, reinforcement, edge distance, and substrate condition verified.
Remove dust and debris using the method specified for the anchor. Set posts while the connection is ready to support them, then keep them plumb and braced during adhesive cure where required. Install base plates, rails, infill, pickets, and gates only after the posts hold their intended alignment. Use compatible shims and sealants rather than forcing a warped base plate tight against uneven concrete.
This concrete estimating software for railing and slab planning can be useful for organizing quantities and scope on larger projects, but estimating doesn't replace field verification.
Before returning the patio to normal use, check anchor tightness, post plumb, consistent rail height, infill openings, rail continuity, gate operation, drainage, and any signs of cracking or movement. Keep a raised edge protected with a temporary barrier while the installation remains incomplete. If the slab moves, the anchors can't be verified, or the posts won't stay aligned, stop and get a professional assessment instead of tightening harder.
For projects involving a new pour, allow the concrete to reach the condition specified by the concrete and railing plans before loading it. General curing expectations vary with mix, weather, thickness, and exposure, so use the project-specific direction described in concrete slab curing guidance.
Common Installation Problems and Project Costs
Most railing failures begin with a small decision that looked harmless. A post gets moved closer to the edge to preserve a view, an installer skips hole cleaning, or a loose base gets tightened without examining the concrete below it. The visible rail may look fine until the connection starts moving.
A hole too close to the slab edge can cause chipped concrete or a spreading break around the base plate. The correction may involve relocating the post, changing the base plate, using a different approved anchor strategy, or repairing and redesigning the edge. If the damaged area is structural or the slab is thin, a concrete contractor should assess it before installation continues.
Anchors placed in cracks or hollow areas often loosen, rotate, or pull away from the surface. A mismatched base plate can create uneven pressure, while post alignment drift can leave rails sloping, gates rubbing, or infill openings inconsistent. Water pooling at the base adds another layer of risk because moisture can remain around anchors and accelerate corrosion.
Read the site before choosing the budget
A straightforward retrofit on an accessible, sound slab is a different project from one requiring excavation, forming, reinforcing, pouring, demolition, drainage correction, or slab repair. Material choice, railing length, finish, site access, anchor type, concrete condition, and regional labor all affect the total. A transparent quote should separate those drivers instead of hiding them inside a single unexplained allowance.
| Project condition | Likely planning category | Main cost driver | Professional input |
|---|---|---|---|
| Sound slab with clear edge and simple layout | Straightforward retrofit | Railing material and installation labor | Confirm anchor system and code layout |
| Cracked, hollow, or thin slab | Repair or redesign project | Concrete correction and revised attachment | Concrete assessment before drilling |
| New patio with integrated railing | New foundation and railing scope | Excavation, forming, reinforcement, pour, and finish | Coordinate foundation and railing plans |
| Drainage problems near the house | Site and water-management work | Grading, drainage, and possible slab correction | Review runoff path and foundation conditions |
| Stairs beside an elevated patio | Guard and handrail coordination | Transitions, separate gripping surface, and layout | Verify residential or commercial classification |
| Coastal, humid, or salt-exposed location | Corrosion-resistance planning | Hardware, isolation, finish, and maintenance | Specify compatible corrosion-resistant components |
Ask any contractor for proof of licensing and insurance where applicable, a written scope, anchor specifications, concrete repair assumptions, finish details, cleanup responsibilities, warranty terms, and a quote that identifies exclusions. Homeowners searching for concrete contractors, garage foundation contractors, garage footings and foundations, or shed foundations near me should expect the same clarity. A railing attached to a patio slab is a safety connection, not just a decorative upgrade.
Maintaining the Railing and Knowing When to Call
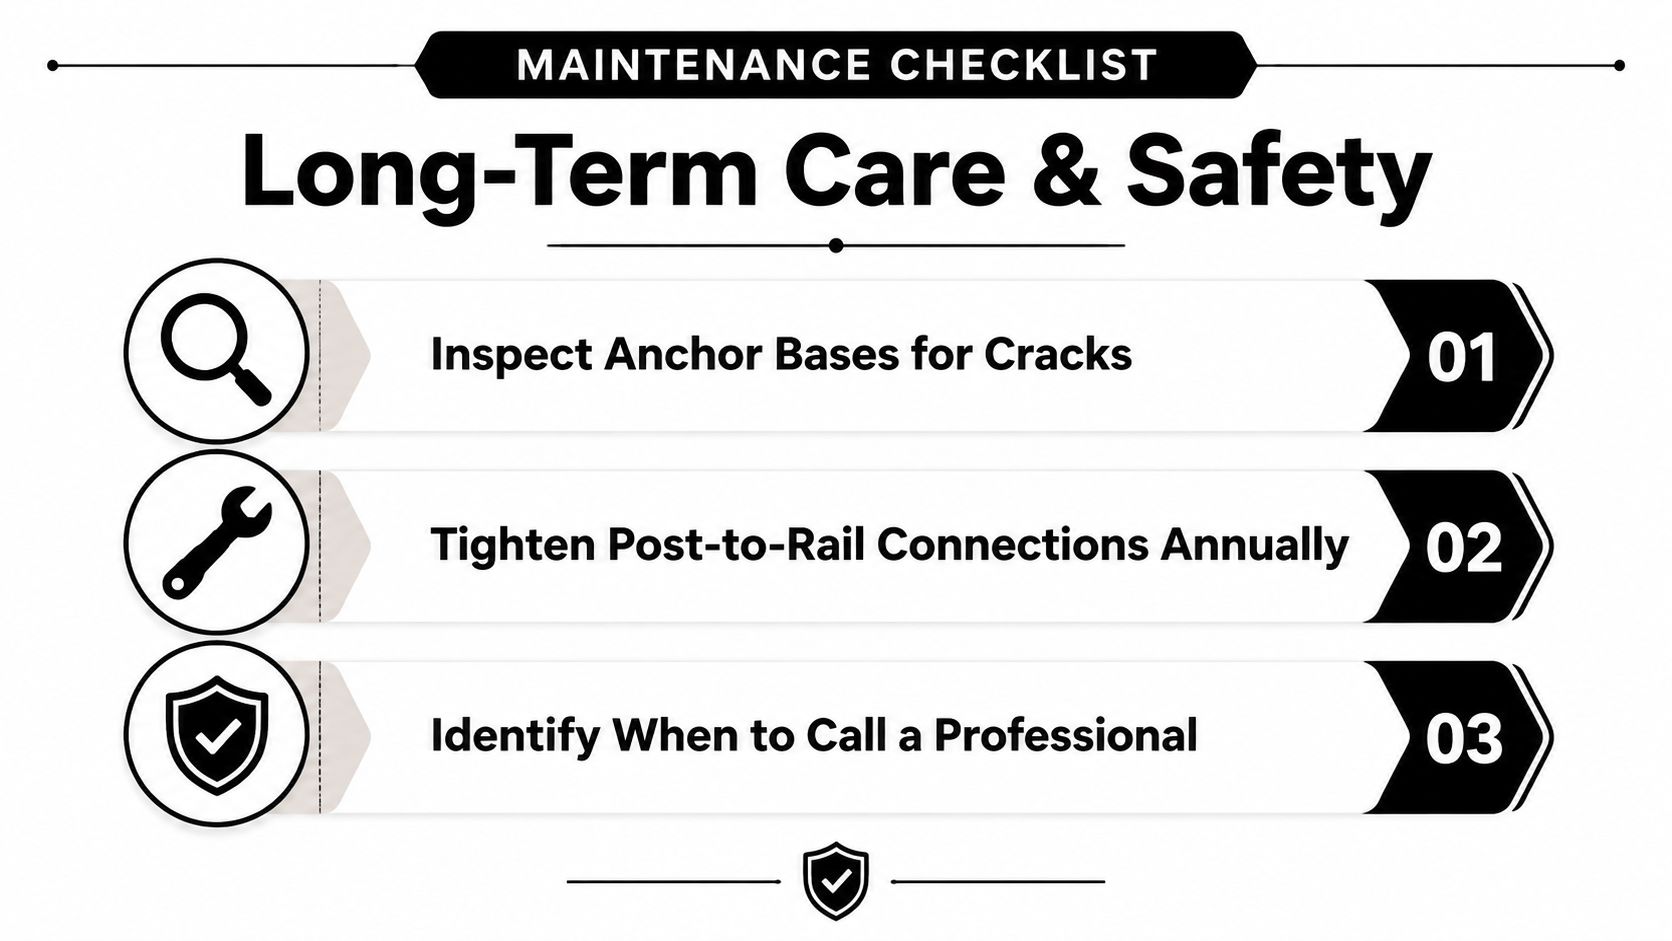
A railing needs inspection because the base connection experiences the most difficult combination of forces and exposure. Check anchor bases, post-to-rail connections, welds, fasteners, concrete cracks, drainage paths, and any movement after severe weather. A rail that feels loose at the top may have a problem below the surface, so don't treat recurring movement as a simple tightening task.
Moisture retained in concrete, contact with reinforcement, and salt exposure can drive corrosion at concrete-adjacent or embedded railing bases. The visible rail may still look sound while the anchor, washer, threaded rod, or base plate begins to deteriorate. Railing corrosion guidance explains why coastal, humid, and de-icing-salt environments call for careful material selection, isolation details, cleaning, and maintenance.
Keep water away from the connection
Clear leaves and debris that hold water around post bases. Rinse salt residue with fresh water where exposure is a concern, use cleaning products compatible with the railing finish, and replace deteriorated fasteners with hardware appropriate for the environment. Harsh coastal conditions may justify 316 stainless anchoring and routine freshwater rinsing, as described in the referenced corrosion guidance.
Inspect the concrete as part of the railing, not as a separate cosmetic surface. Cracks that widen, spall, expose reinforcement, or allow water to collect beside the base deserve professional review. The same applies to a patio that settles, a landing that tilts, or drainage that begins directing runoff toward the house foundation.
Know when tightening isn't the answer
Remove or reset a railing when movement returns after tightening, cracks continue spreading, corrosion has reduced the connection, or the anchors can no longer be identified and verified. Don't cover a deteriorated base with sealant or paint and assume the problem has ended. A professional can determine whether the repair belongs to the railing, the slab, the foundation drainage, or the surrounding grade.
These conditions matter across Pennsylvania, Maryland, Delaware, and New Jersey, where patios may face freeze-thaw cycles, wet ground, coastal air, and de-icing salt. The same review is useful when planning connected work, such as a shed foundation, gazebo foundation, garage slab, driveway, or excavation project. Firm Foundations handles site preparation, excavation, forming, pouring, and finishing for concrete foundation work, including patio foundations and related residential improvements.
If you're unsure about the slab, code classification, drainage, or anchor layout, request a site review before purchasing materials. Firm Foundations can assess the concrete patio foundation, coordinate excavation or slab work where needed, and provide a transparent quote for a durable railing-ready installation. Visit Firm Foundations to request a quote for your patio, concrete foundation, garage foundation, shed foundation, or related site project.