
Concrete Patio Drainage in PA, MD, DE & NJ


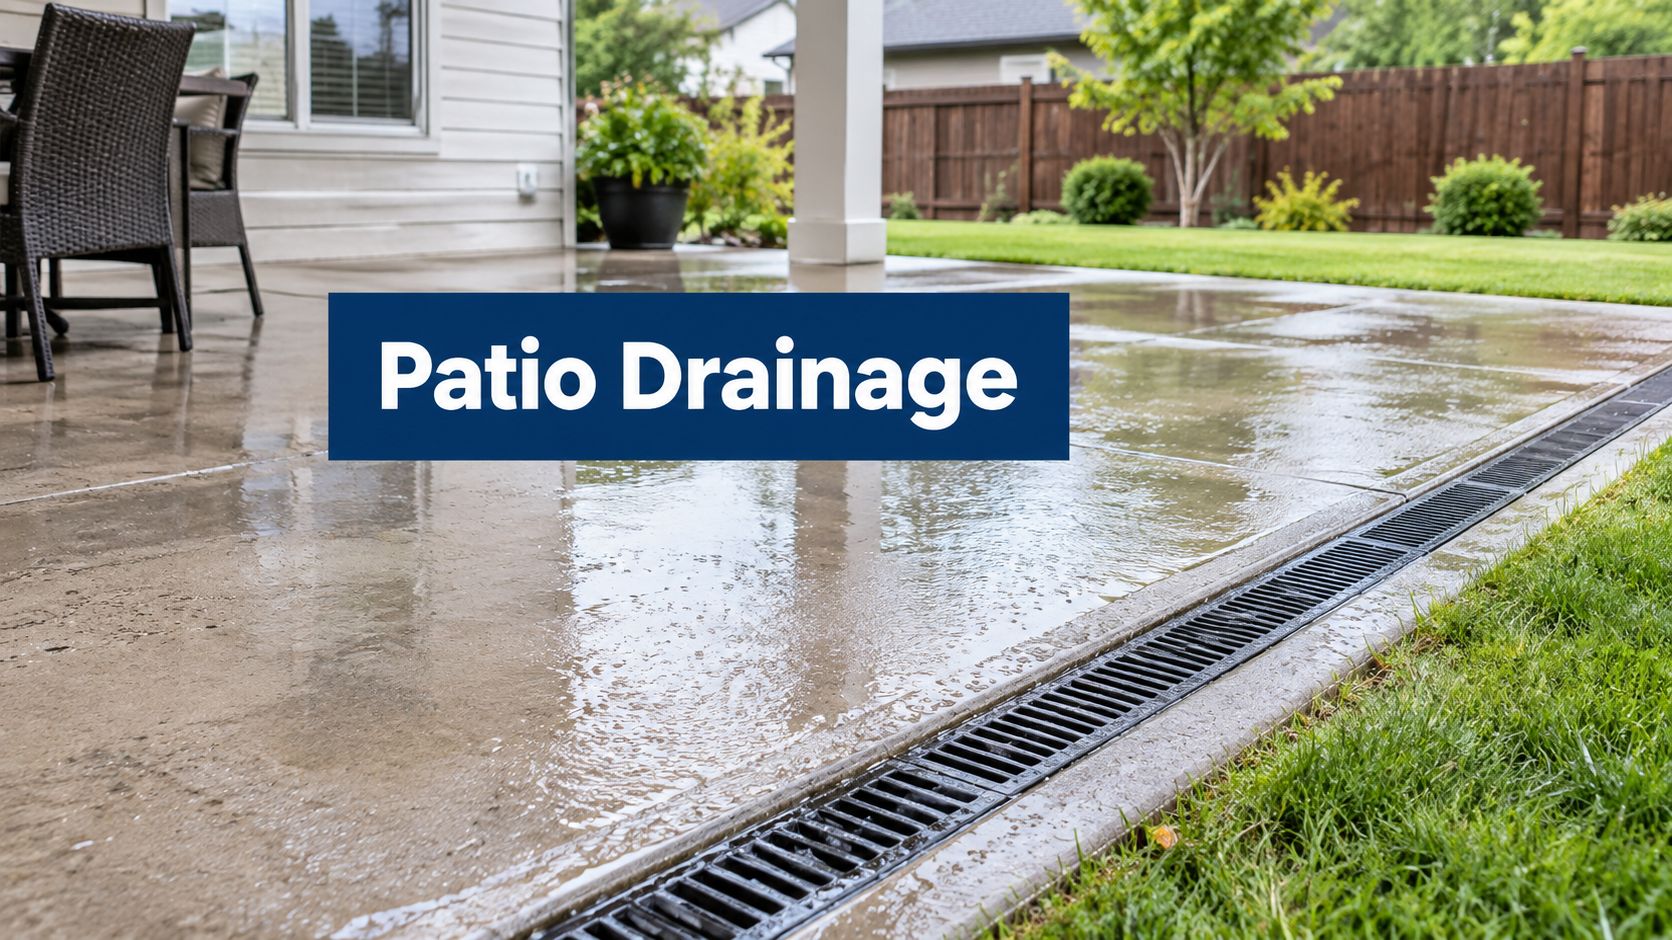
A patio that still has a shiny puddle on it the morning after a storm is telling you something, and in Pennsylvania, Maryland, Delaware, and New Jersey that something usually gets worse fast. One week it's a nuisance under the grill, the next it's water creeping toward the house, a cracked joint that turns into an ice shelf in December, or a low corner that never quite dries out. Concrete patio drainage isn't a cosmetic detail in the Mid-Atlantic, it's part of the foundation work, because the slab, the soil, and the roof water all have to be managed together.
For homeowners looking at a new patio, a shed pad, a garage slab, or a retrofit on an old backyard slab, the sequence matters. Slope first, drains second, retrofit third is the way to think about it. That order keeps the work practical, keeps the water moving where it should, and avoids the kind of expensive patching that happens when a slab gets poured flat and everyone hopes the yard will somehow take care of the rest.
Why Concrete Patios Flood in the Mid-Atlantic
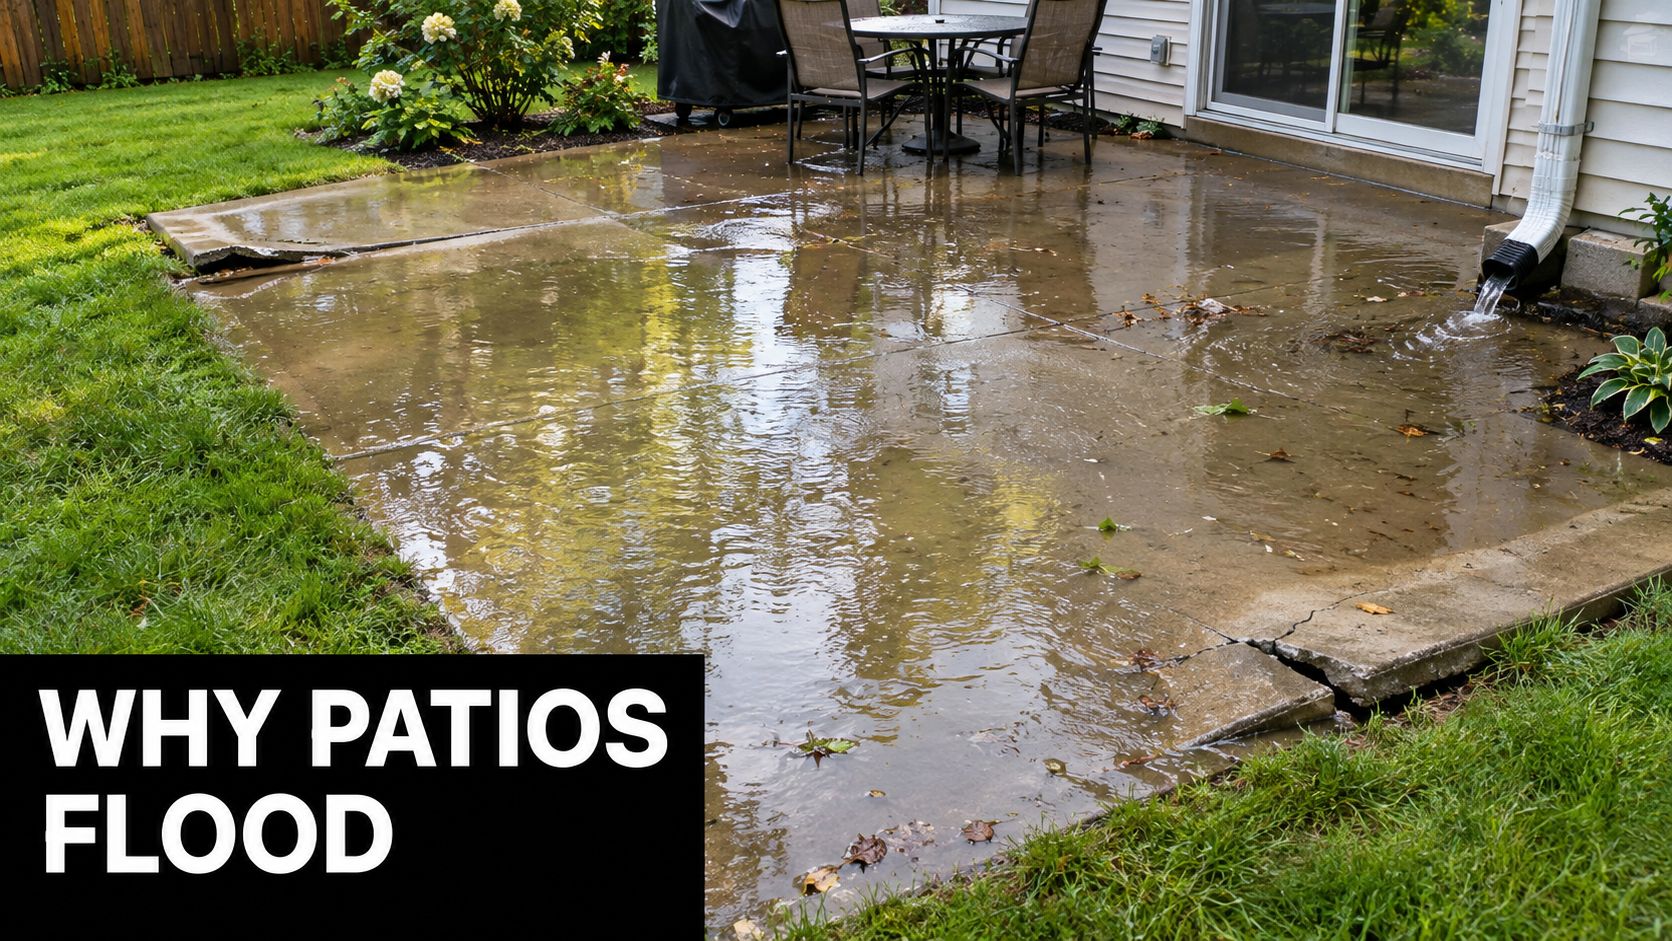
A flooded patio usually starts as a small disappointment. A July thunderstorm rolls through Bucks County, the water lays in a shallow sheet, and the slab still has a puddle on it the next day. Then January comes, the same low spot freezes, and a crack at the edge starts catching water and expanding the problem. That's a normal pattern in this region, because the slab is dealing with hard rain, freeze-thaw movement, and soil that doesn't always drain politely.
What the soil is doing under the slab
A lot of Mid-Atlantic patios sit on clay-heavy or clay-loam ground that holds water longer than homeowners expect. When the subgrade stays wet, the slab loses support at the edges and in the low spots, and the first symptom is often ponding after a storm. That's when the patio stops acting like a finished surface and starts acting like a shallow basin.
The trouble is usually not dramatic on day one. It's a series of small mistakes, an existing grade gets copied, the slab gets poured flat to make the finish work easier, or the contractor tries to save time by matching an old walkway that already ran the wrong way. Once that happens, every heavy rain shows the flaw again.
Practical rule: if water can sit on the surface, it can also find weak spots near joints, thresholds, and cracks.
Why the region makes it worse
Pennsylvania, Maryland, Delaware, and New Jersey get the kind of weather that exposes poor layout quickly. The freeze-thaw cycle pries at control joints, and the summer storm pattern can dump a lot of water in a short window, so a patio that seems acceptable in spring can start failing by late fall. That's why a working drainage plan matters more here than in a drier climate.
A lot of calls start with the same complaint, water never makes it off the slab before it reaches the door line. When that happens, the fix is rarely just a sealant or a surface patch. The patio needs a path for runoff, and if the grade is wrong, the path has to be built into the concrete work or added as a separate drain system.
For broader stormwater context, the stormwater management guidance is worth a look before any patio or foundation project starts.
The 2 Percent Slope Rule and How to Set It
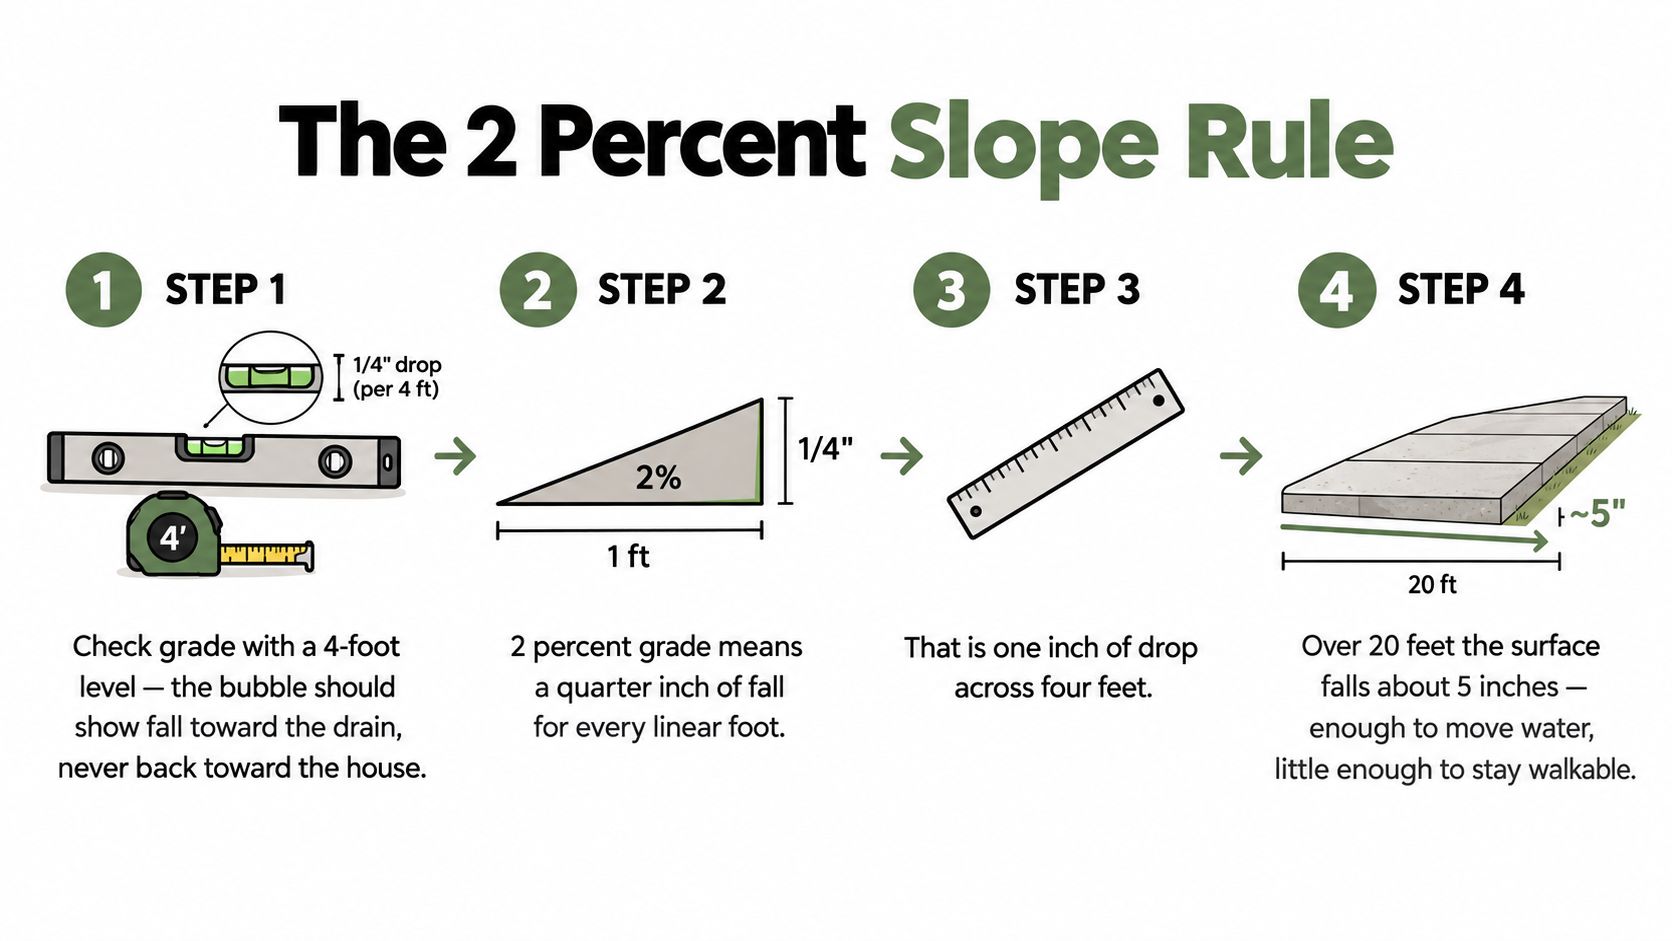
The basic drainage target for a patio is simple, the surface has to fall away from the house. A 2% slope equals about 0.25 inch per foot, which means 2.5 inches of drop over 10 feet. That benchmark appears again and again in building guidance for impervious surfaces within 10 feet of a foundation, and it's the number installers can check on site before the concrete goes down.
How to read the grade in plain terms
Two percent is the floor, not a luxury. In the field, I'd rather see a little more working room than a slab that barely meets the minimum, because concrete settles, finishes vary, and a patio with a tiny dead spot can hold water long after the pour is done. A slab that's laid with a little extra fall is usually easier to live with than one that was made just barely acceptable on paper.
A homeowner can check the grade with a string line and line level, or with a laser on larger layouts. The point is to confirm the fall before ordering the concrete, not after the patio is already hard. If the front edge by the house is the high point because of the door sill, the far edge should be lowered or a step should be added so the slab can still drain.
What I look for before the pour
- String line check: pull the line tight and verify the surface drops away from the house, not back toward it.
- Laser check: use it on longer runs where the eye can't catch a subtle reverse pitch.
- Water test on the prepared base: run water over the subgrade and see where it wants to sit before concrete locks the mistake in.
A patio that looks level to the eye can still be wrong by enough to trap water. The level doesn't care what the finish looks like.
Flat spots become ice sheets by winter, and in this region that's more than an inconvenience. It's a traction problem, a maintenance problem, and a sign that the patio never had a real drainage plan in the first place. For new concrete patio drainage work, I'd rather correct the grade early than explain a ponding issue after the first freeze.
Channel Drains, French Drains, and Downspout Routing
A lot of drainage trouble comes from mixing up three different jobs. A patio can need one of them, or all three, but they do different things. The right call depends on whether you're stopping surface water, intercepting groundwater, or keeping roof runoff off the slab in the first place.
Choosing the right tool for the job
A channel drain belongs where water sheets across the patio surface and needs a clean catch point. That often happens at a door threshold, at a patio-to-garage transition, or anywhere the slab has one unavoidable low edge. It's a grated trench, usually set across the low side, and it's meant to grab water before it pools where people walk.
A French drain is different. It's a perforated pipe in gravel, wrapped in filter fabric, and it belongs beside or behind the slab when subsurface water is pushing in from clay soil or a slope. It's a groundwater solution, not a surface-water solution.
Downspout routing is the third piece, and it gets neglected all the time. If the roof is dumping water close to the patio, no drain system is going to feel right until that water is moved away from the foundation and the slab edge.
| Drain Type | Best For | Typical Placement | Failure If Skipped |
|---|---|---|---|
| Channel drain | Water crossing a patio surface | Across the low edge, door line, or transition zone | Surface water ponds at the threshold |
| French drain | Groundwater moving through soil | Beside or behind the slab | Saturated soil keeps pushing water back |
| Downspout routing | Roof runoff before it reaches the patio | From gutter outlet to a safe discharge point | Roof water overloads the slab area |
The Pine Country stormwater info page is a useful companion if you're trying to sort roof runoff from patio runoff in plain language.
What happens when each one is used wrong
A channel drain with no verified outlet just becomes a trench that holds water. A French drain that sits in the wrong soil or ties into nowhere doesn't relieve pressure, it just hides the problem until the slab edge starts showing it again. And downspouts that discharge right next to the patio can overwhelm the whole system before the slab has a chance to shed surface water.
For existing patio drainage trouble, the path from the roof to the ground matters as much as the concrete itself. That's why the internal drainage-pipe guidance at drainage pipe installation is a useful reference when the gutter line is part of the fix.
Drainage Installation Sequence Before the Pour
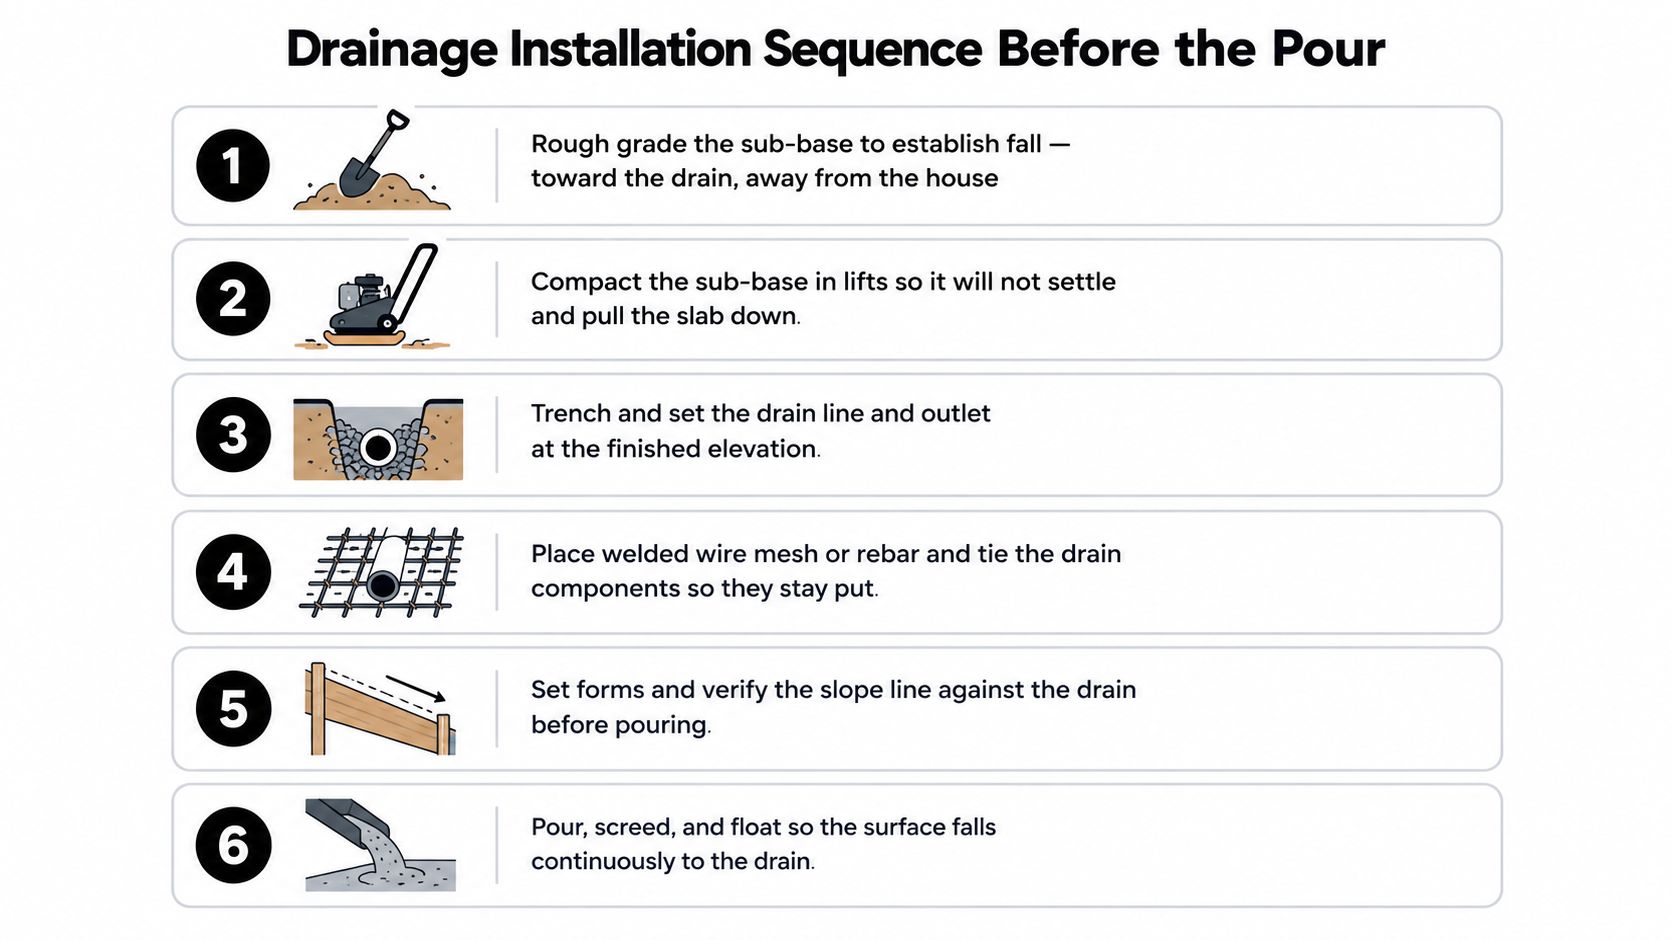
A good patio doesn't get drainage added onto it after the fact. The drain has to be part of the layout from the beginning, or the slab ends up fighting the system instead of working with it. The sequence below is how the work should run on pour day.
The order that keeps the slab honest
- Rough grade the sub-base. The soil and stone should already be sloping away from the house before any forms go up.
- Compact the base. If the base settles later, it can pull the slab down and create a new low spot.
- Set the drain line. The channel drain or trench drain belongs at the finished low point, not guessed at after the pour starts.
- Tie in the outlet. The drain has to daylight, feed a dry well, or connect to another approved discharge point.
- Set the forms and confirm the slope. The line and level still matter here because once the concrete is placed, the window for correction is short.
- Pour and screed to the plan. The finish crew should be following the drainage line, not trying to invent it on the fly.
Why the sequence matters
If the outlet isn't confirmed first, the drain becomes guesswork. If the slab is poured before the drain is set, the crew ends up cutting cured concrete later, and that's a mess nobody wants if it can be avoided. On a practical jobsite, pre-pour placement is always the cleaner answer.
A channel drain cut into hardened concrete can be done, but it's a retrofit move, not the first choice. The smarter play is to grade the patio correctly, set the drain at the low point, and pour to the finished drainage plan in one pass.
Retrofit Drainage for an Existing Patio
An old patio with standing water doesn't always need to come out. The right retrofit depends on how far off the slope is, whether the slab has settled, and whether the water is coming from the patio surface or from the soil beside it. On site, I usually sort retrofit work into three buckets.
What each retrofit can realistically do
If the slope is only a little off, a self-leveling or mud-jack overlay can help re-establish the fall by raising the low edge. That approach makes sense when the pitch problem is modest and the slab is still structurally sound. It won't cure major settlement, but it can bring a frustrating patio back into usable shape.
If water sheets across the slab toward the house, a saw-cut channel drain at the new low point can catch the runoff and move it out. This is the right call when the patio surface is the main problem and there's already a place to discharge the water.
If the slab has multiple low spots or the base has clearly moved, full regrading from the foundation outward is the proper fix. It's the most invasive option, but it's the one that deals with the actual cause instead of hiding it.
| Retrofit Method | Best When | Typical Cost / LF | Disruption |
|---|---|---|---|
| Overlay or mud-jack correction | Minor slope error, slab still sound | Not cited here | Light to moderate |
| Saw-cut channel drain | Water sheets toward the house, outlet exists | Not cited here | Moderate |
| Full regrading | Several low spots, base settlement, repeated ponding | Not cited here | Heavy |
If the slab edge is moving, the problem may be under the patio, not on top of it.
The warning signs that point deeper
Cracks that keep reopening, edges that feel hollow, or a patio that has a different pitch in different sections usually mean the sub-base has changed. At that point, surface patching is just buying time. A contractor should inspect the support below the slab before promising a simple top-layer correction.
For homeowners comparing options, Firm Foundations is one contractor that handles graded patio slabs, drainage structures, and site prep for patios, sheds, garages, and other pads across the region. The key is getting the diagnosis right first, because the wrong retrofit can hide the problem without solving it.
When Permeable Concrete Beats a Slope Fix
A sloped slab is the usual answer, but it isn't the only answer. Some patios sit in places where a normal outlet is awkward or impossible, and forcing runoff somewhere else can create a neighbor dispute or a legal drainage headache. In those cases, permeable concrete becomes a real design option instead of an upgrade someone talks about later.
When drainage needs to go through the slab
Permeable pavement lets rain move through the surface and into an open-graded stone reservoir below. Recent municipal and design guidance lists it as an option for patios, and a 2026 review notes that pervious concrete can drain about 3 to 8 gallons per square foot per minute and is typically 4 to 8 inches thick Permeable Paving Options. That is a very different strategy from just shedding water off the edge of the slab.
This approach makes sense where the patio sits below grade on multiple sides, where a dry well stays saturated for too long, or where there's no acceptable place to send surface runoff. In older Pennsylvania and New Jersey neighborhoods, that can matter a lot when the yard is tight and the lot lines are close.
What homeowners give up and what they gain
Permeable concrete does ask for maintenance. Vacuum sweeping once or twice a year helps keep the void structure open so the surface keeps working the way it was designed to work. That's a trade-off, but it's a manageable one for a site that can't handle standard runoff well.
The value here is that the drainage is engineered into the slab system itself. Instead of trying to force water to a far edge that doesn't exist, the patio stores and releases the water underneath. For larger patios with a tight discharge path, that can be the smarter bid to price alongside a sloped slab.
Drainage Checklist Before You Call a Contractor
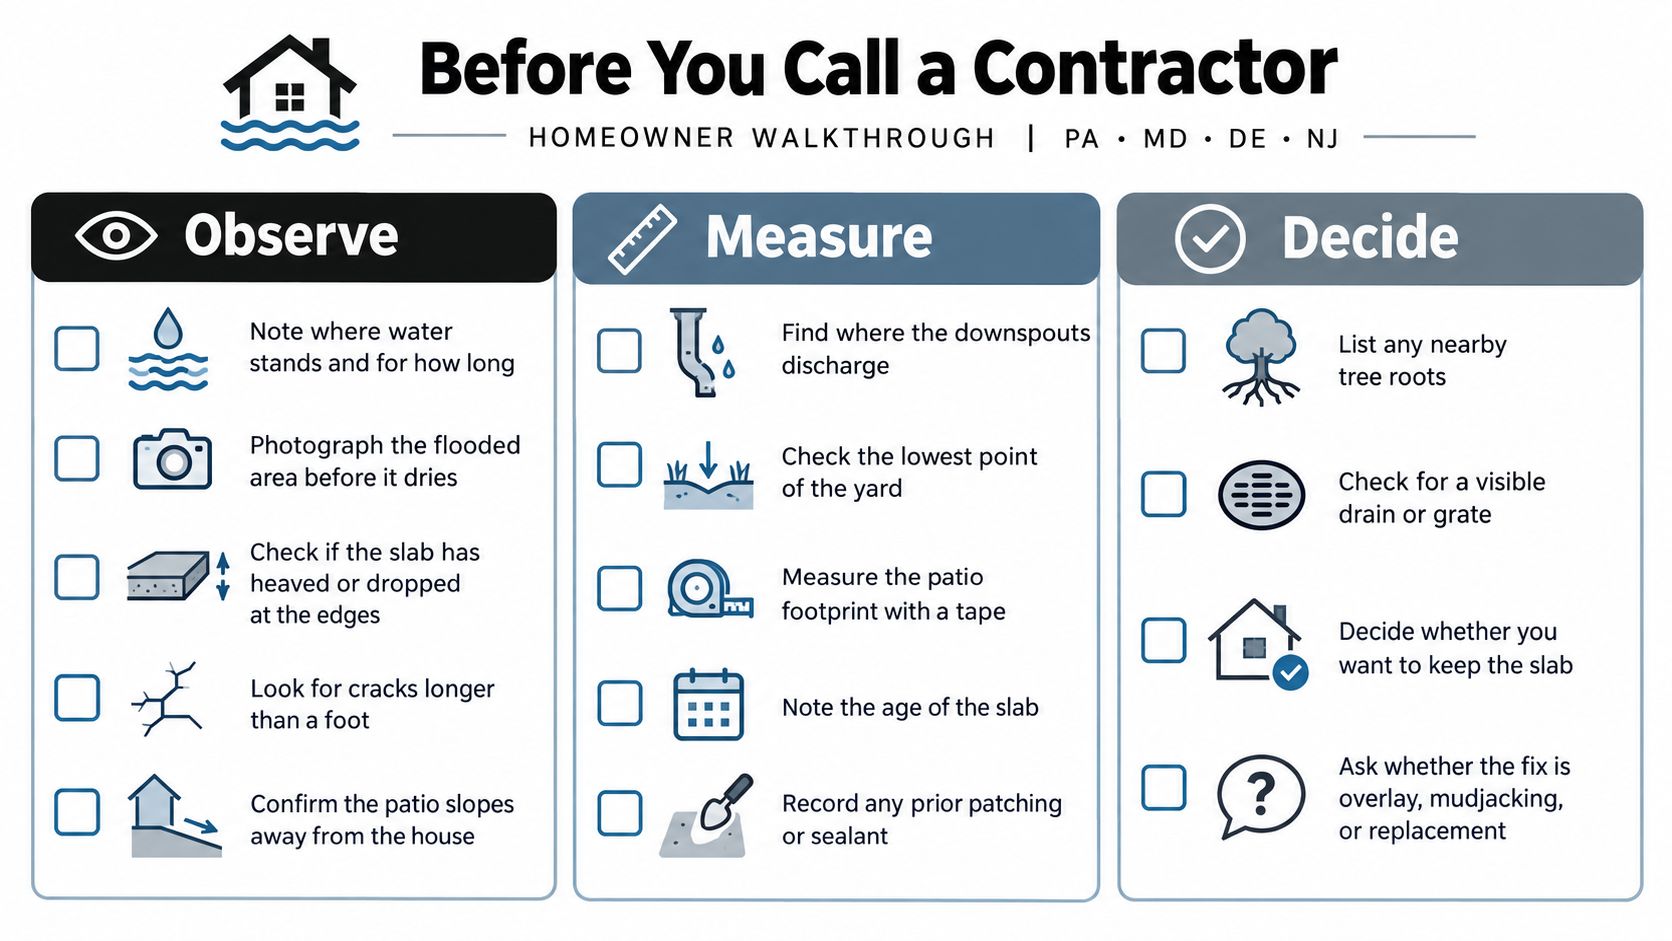
The fastest patio quote starts with good information. A contractor can work faster, and usually more accurately, when the homeowner already knows where the water is going, how long it sits, and whether the slab is just out of pitch or part of a larger settlement problem. That matters on patio work, shed foundations, garage foundations, and any slab tied to an existing yard grade.
What to have ready
- Note where water stands and for how long. That tells the contractor whether the problem is surface grade or something deeper.
- Photograph the flooded area before it dries. Pictures taken during or just after rain are worth more than a dry-slab guess.
- Check if the slab has heaved or dropped at the edges. Movement at the perimeter often changes the drainage plan.
- Look for cracks longer than a foot. Long cracks can point to settlement or a base problem.
- Confirm the patio slopes away from the house. If it doesn't, that's the first thing to discuss.
- Find where the downspouts discharge. Roof water can overload the patio area fast.
- Check the lowest point of the yard. That helps the contractor understand where the water can go.
- Measure the patio footprint with a tape. Square footage changes the scope.
- Note the age of the slab. Older slabs are more likely to need more than a surface fix.
- Record any prior patching or sealant. It shows what's already been tried.
- List any nearby tree roots. Roots can complicate excavation and base repair.
- Check for a visible drain or grate. Existing drainage infrastructure may be usable.
- Decide whether you want to keep the slab. That choice affects whether the work is a retrofit or a replacement.
- Ask whether the fix is overlay, mudjacking, or replacement. Those are different scopes, not interchangeable labels.
The measurements that help most
Bring the distance from the foundation to the patio edge, the location of the downspout outlets, and any obvious high or low points. Those details help a contractor tell whether the work is a new pour, a repair, or a full regrade. The goal is to get a written drainage plan that names the slope percentage and the outlet location before anyone starts moving dirt.
If you're in PA, MD, DE, or NJ and you want a patio, shed pad, or garage slab that drains correctly the first time, call Firm Foundations for a site visit and a written quote. The crew can look at the grade, the discharge path, and the slab condition, then tell you whether the right fix is a new pour, a retrofit drain, or a full replacement. Visit Firm Foundations to get started.