
How to Choose and Use Patio Concrete Molds in 2026
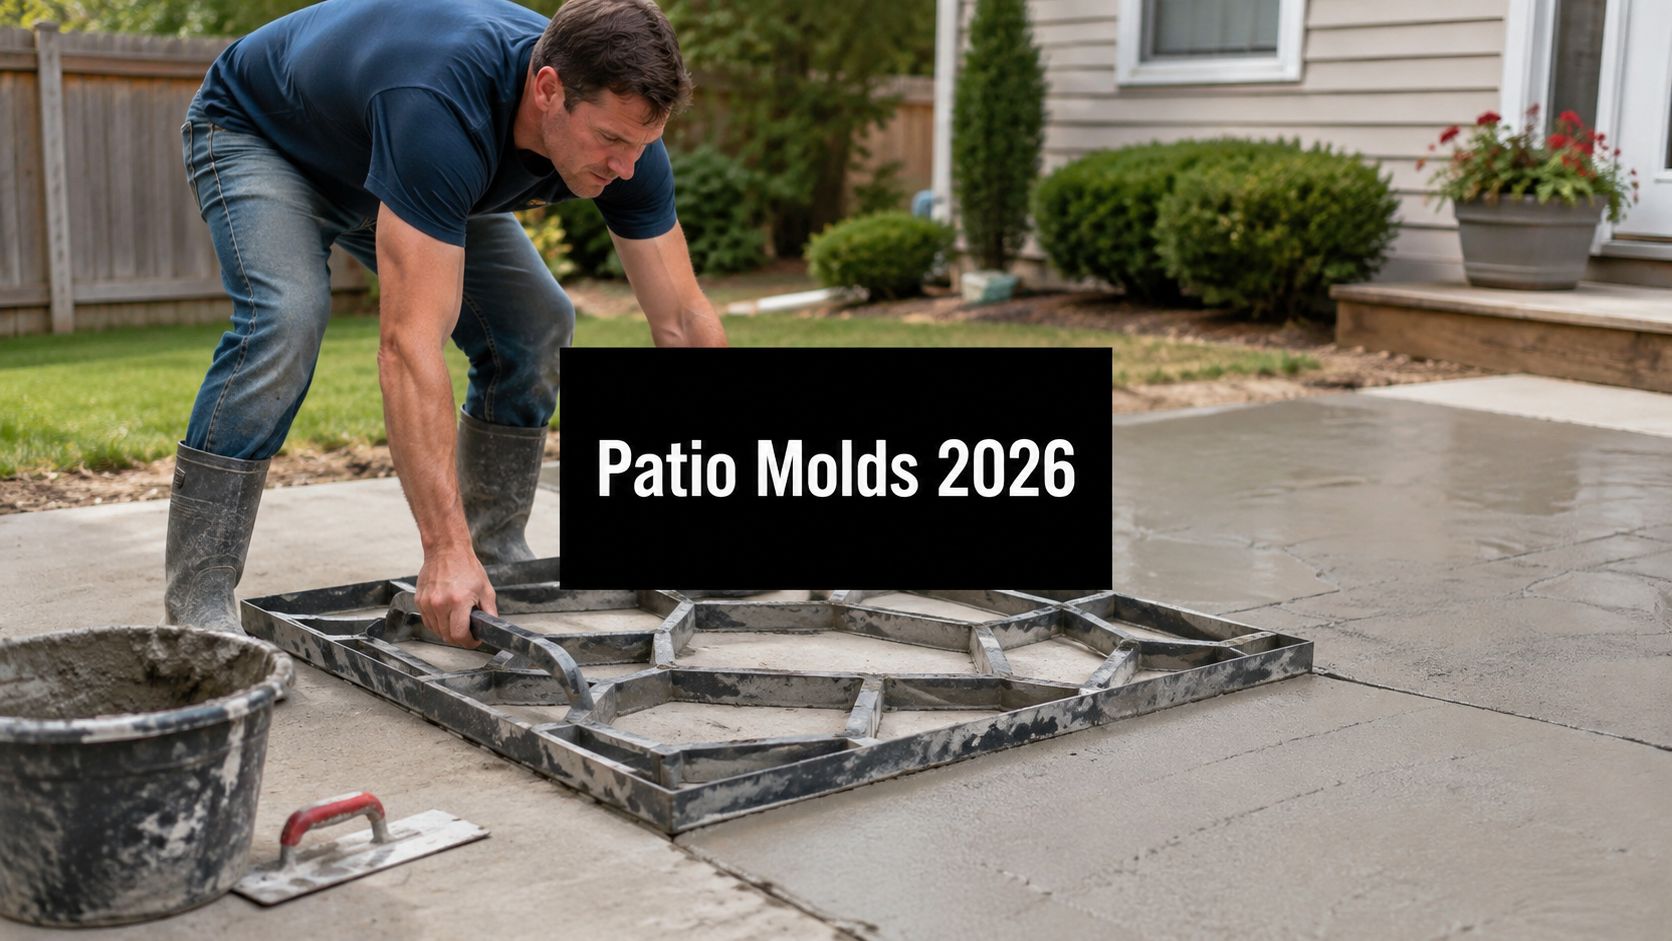
If your patio keeps turning out uneven, holding water, or looking rough after the first season, the problem usually starts before the concrete ever lands. Patio concrete molds can give you a clean decorative finish, but only if the yard is graded right, the mix is stiff enough, and the slab has a dry place to live after the pour. In the Mid-Atlantic and Northeast, that matters even more because shaded yards, leaf litter, and slow drainage can turn a nice-looking surface into a maintenance headache.
The good news is that molded patio work isn't guesswork. The right form, the right base, and the right curing habits decide whether the slab stays crisp or starts breaking down at the edges. If you're planning a shed foundation, gazebo foundation, or a patio that needs to sit flat beside a house, the same site prep rules apply, and they're the ones that separate a one-weekend project from a long-term surface.
Choosing the Right Patio Concrete Mold for Your Yard
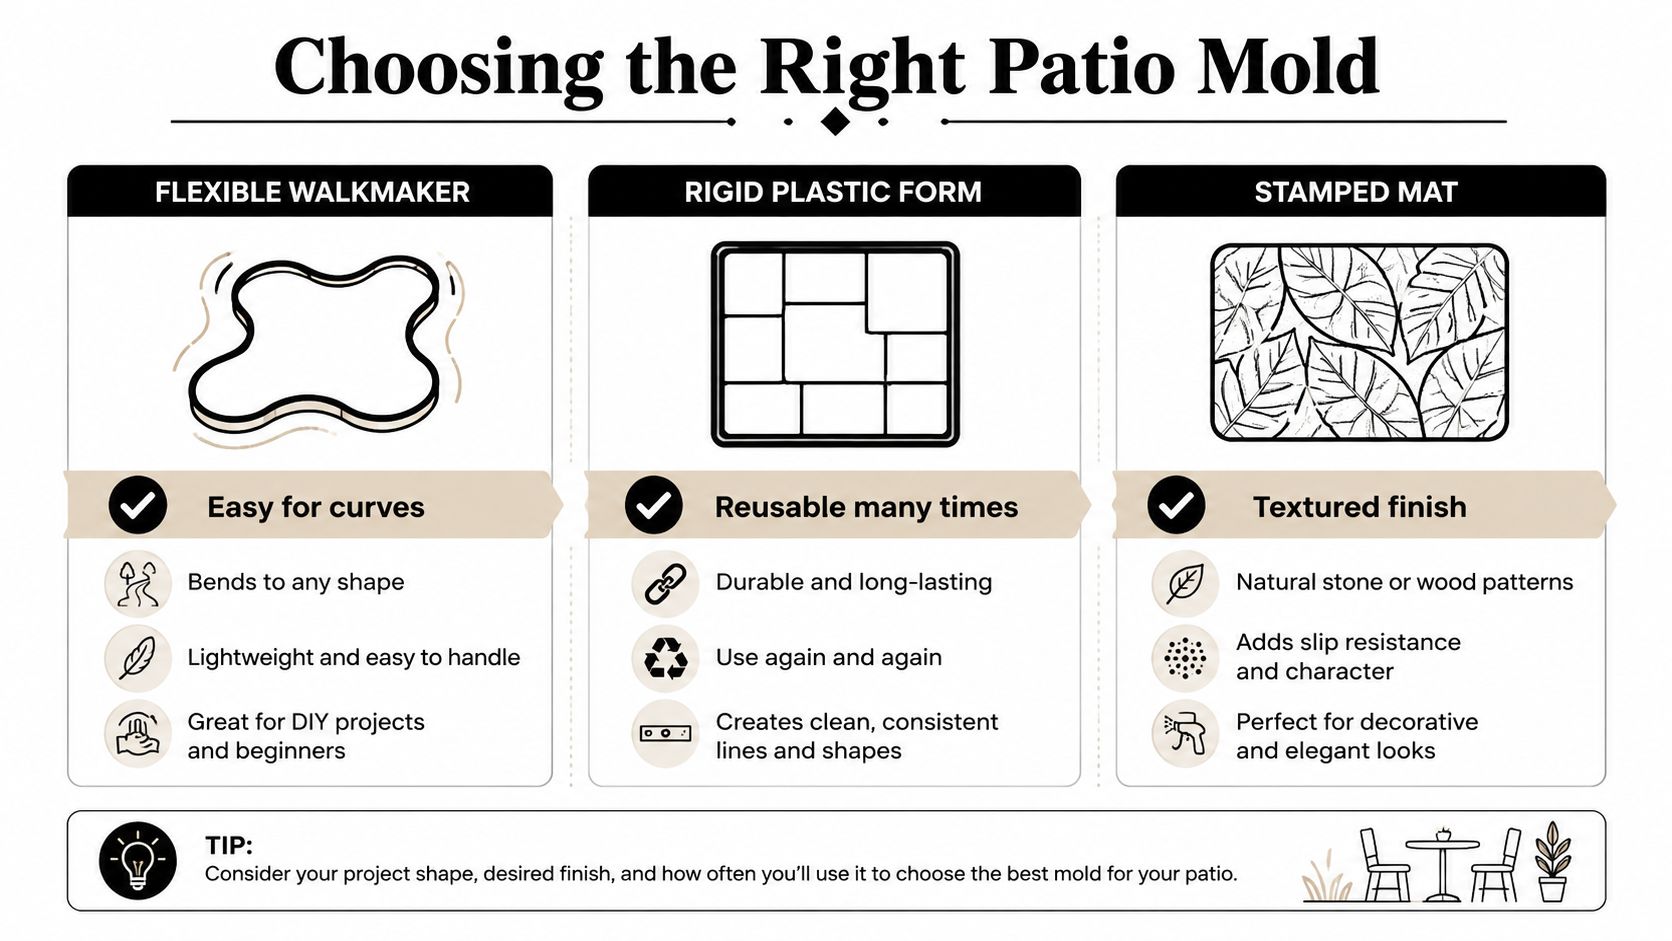
A patio mold choice starts with the yard, the slope, and how you expect the slab to age. For most homeowners, patio concrete molds fall into three groups, flexible walkmaker-style pavers, rigid reusable plastic forms, and stamped mat systems. Each one handles soil movement, edge detail, and cleanup a little differently, so the right pick depends on how much control the site gives you.
Match the mold to the yard, not the picture on the box
Flexible walkmaker molds fit curved layouts, stepping-stone runs, and smaller paths where the edges do not need to be perfectly repetitive. They are forgiving in awkward spaces, but they still work best on ground that is already close to level and drained properly. Rigid reusable forms make more sense when you want straight edges, a consistent patio field, or a concrete foundation for garage style project where shape control matters more than speed.
Stamped mats serve a different job. They are better for a larger continuous pour when you want surface texture across the whole slab and you are comfortable treating the patio as one unit instead of separate blocks. That works well on open sites, but it gets harder to manage around tight corners, broken grades, and places where runoff needs to be guided cleanly away from the slab.
Practical rule: the flatter and more open the area, the more sense a rigid reusable mold or stamped system makes. The more curves and awkward edges you have, the more a flexible form helps.
Read the yard before you buy anything
The footprint matters more than the product photo. A smaller patio tied to a 10×10 storage shed area can often be handled with modular forms, while a bigger entertaining space usually needs a system that repeats cleanly and stays consistent from one section to the next. Pattern repeat matters too, because mismatched joints and offsets stand out fast on a surface people cross every day.
Check how the mold is built before you spend money. Look for rigidity, watertight seams, and a release design that will not twist out of shape while the mix is fresh. Cheap forms usually show their limits early. If the mold flexes when it is empty, it will flex more once it carries concrete.
For a related layout reference on tying outdoor concrete into the front of the house, the front porch ideas for Salt Lake City page gives a useful comparison point, even if you are working on a patio instead of a porch.
What the spec sheet should tell you
A spec sheet should tell you more than the sales copy does. For reusable forms, the questions are simple. Does the mold hold its shape, seal tightly, and release on a schedule that fits your pour plan. Those are the same basic traits called for in ASTM C470/C470M for durable forms, which points to watertight, nonreactive, rigid equipment that will not tear, crush, or deform during use.
If the product description does not tell you how it holds shape, how it releases, or how many uses you can expect, treat it as light-duty. That may be fine for a decorative test patch. It is not the choice for a patio built with a garage footings and foundations mindset, where square corners, consistent thickness, and long-term wear all need to line up. The same long view applies to drainage planning for concrete slabs, because a good mold on a bad site still leaves you with a patio that ages badly.
Preparing the Site So the Patio Actually Lasts
A good mold cannot rescue a bad base. If the ground is soft, pitched the wrong way, or already holding water, that problem shows up in the patio surface sooner than later. Treat site prep as part of the patio itself, because drainage, slope, and support decide whether the concrete keeps its shape or starts looking tired after a season or two.
Set the outline, then strip and shape the ground
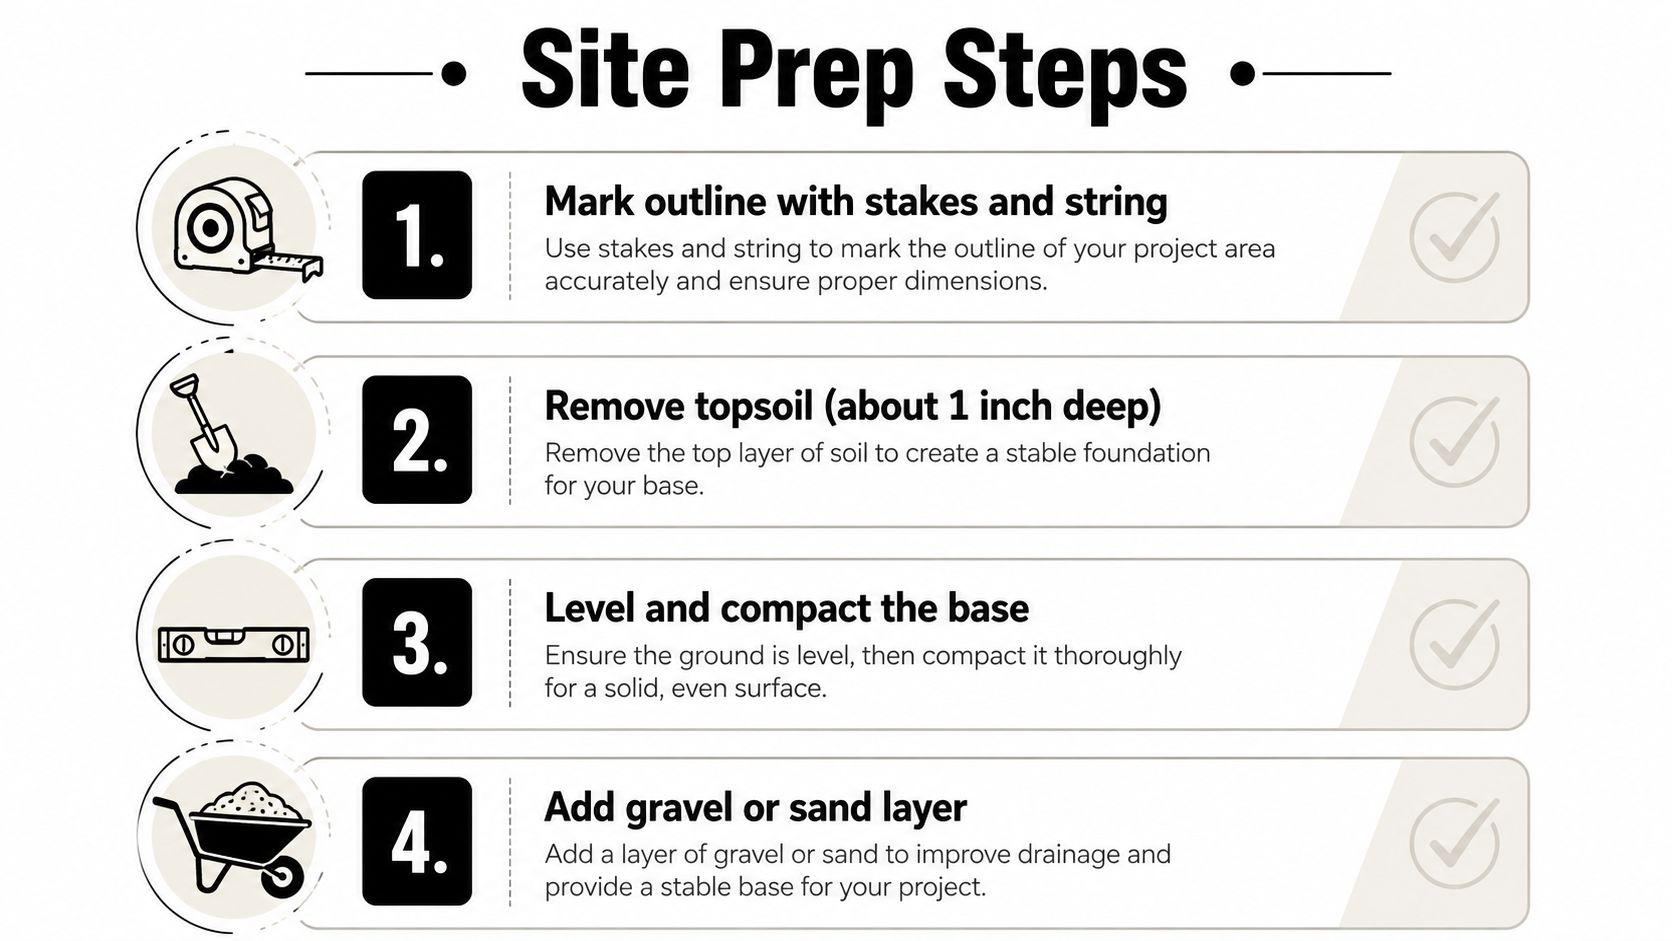
Start by staking the perimeter and pulling string lines so you know exactly where the patio sits relative to the house, the yard, and any drainage path. Strip the top layer cleanly, then shape the work area so the mold has a stable bed instead of loose organic material under it. A neat layout here saves a lot of patchwork later.
Next, dig to the depth needed for the slab plus base. For typical DIY patio mold work, a 2-inch slab is the common target for pedestrian use, so the subgrade has to account for that thickness and the base material below it. Once you have the rough depth, screed the ground, compact the base, and check level in two directions.
A patio that looks level from one side can still pool water if it is low in the middle. Check front to back and side to side before you ever mix concrete.
Flat enough is flatter than most DIYers think
“Flat enough” means the mold sits on a base that does not rock, dip, or twist when you press on the corners. That matters near the house, where runoff can push water toward the foundation if the slab starts with the wrong slope. Concrete patios are a drainage project as much as they are a finish project, and poor grade control is the kind of mistake you keep paying for.
Keep the base consistent, then recheck it after compaction. Loose spots often show up only after the first tamp or wheelbarrow pass. If the ground shifts under pressure, fix that now, not after the concrete is in the mold.
For a deeper drainage-focused reference while you are planning a slab base, the guide at concrete slab drainage planning is worth keeping open beside your layout notes.
The prep checklist I'd trust on a real job
- Mark the perimeter first: Stakes and string make slope visible before you start digging.
- Strip the top layer cleanly: Organic soil under a slab invites movement later.
- Compact before you pour: Loose soil steals support from the mold edge.
- Check level twice: One pass is not enough once you have moved dirt around.
That sequence helps a patio handle freeze-thaw stress and keeps water moving away from the slab instead of collecting on top of it.
Mixing, Pouring, and Demolding the Concrete
A patio can look fine on day one and still fail early if the mix is too wet, the mold shifts, or the release happens before the concrete can carry itself. That is the part that separates a decent-looking pour from a patio that keeps its edges, stays tight around the pattern, and weathers a shaded yard without turning crumbly.
Start with a plastic-like mix, not soup
Use a plastic-like mix that holds shape when you pack it. A common DIY mistake is adding too much water to the mix, which slumps the edges and bleeds the surface. That leaves you with soft corners, weak detail, and a top that looks tired before the season is over.
Water is the biggest failure point. Add too much and the concrete loses edge strength and starts to flow where it should stay put. Add too little and the mix fights you at the corners, especially where the mold needs full contact and a clean face.
Pour, tamp, then trust the shape
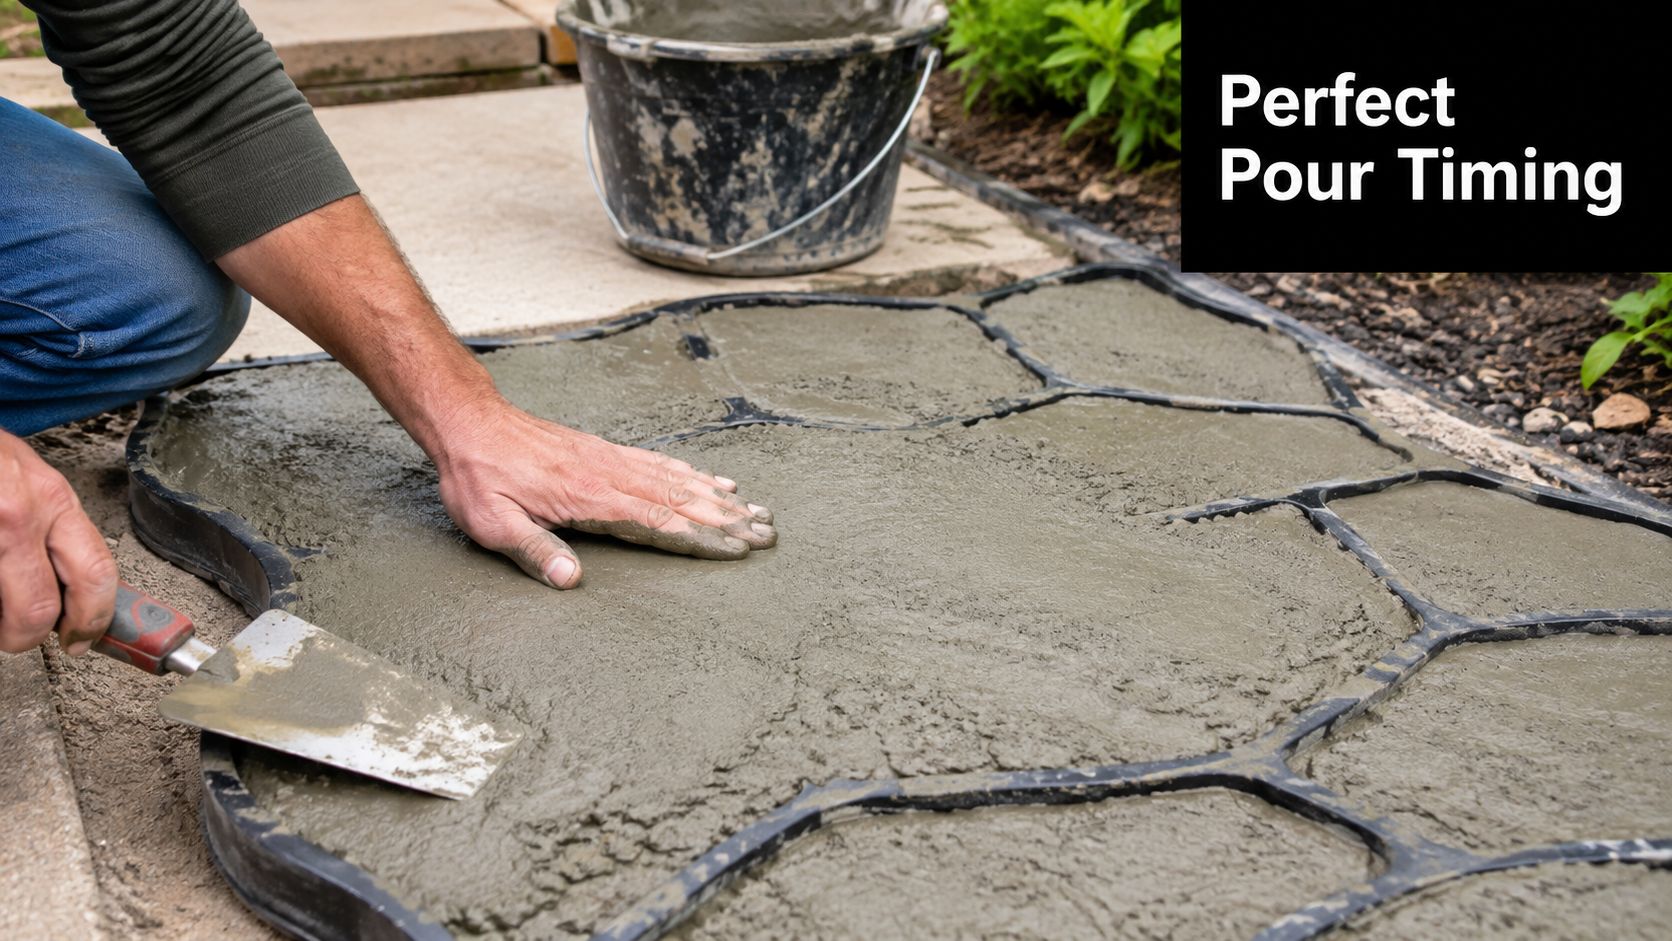
Set the mold on the leveled base, apply release agent if the form calls for it, and place the mix in lifts if the cavity is deep. Work the concrete into the corners with a trowel or tamp tool, because voids show up there first and they are the first place a patio starts looking cheap. Once the form is full, strike the top clean and tap the sides lightly so trapped air can rise out.
Rigid reusable molds are the better bet because they stay square and release more predictably. Thin plastic that bows under pressure changes the edge line before the concrete even hardens, and you can see that mistake from across the yard. Keep the form still while you pack it, and the finished piece usually comes out cleaner.
Plain truth: if the mold moves while you're filling it, the finished edge usually tells on you.
Demold only when the slab can hold itself
Pull the form only after the surface has set enough to keep its shape. If you rush that step, corners snap off and decorative texture chips before the piece has a chance to cure properly. Test the edge lightly, and if it still feels soft, leave it alone.
That timing matters on a patio built for repeatable pieces, and it matters even more in a shaded yard where moisture lingers and the surface dries slower. A clean release is part of ownership, not just part of the pour. Once the piece is out, move it gently and keep traffic off it until it can handle its own weight.
Curing, Sealing, and Joint Control
A patio is ready for the next step when it has cured long enough to gain strength, shed moisture properly, and crack where you planned for it to crack, not where the slab decides to split.
Give the slab a real first week
With DIY patio mold systems, the first curing period is the part that decides how the surface holds up later. Keep heavy furniture, stacked materials, and normal traffic off the slab while it is still in that early curing window. It may look set on top before it is ready underneath, and that is how corners get chipped and decorative edges get damaged before the piece has a chance to harden fully.
Sealing comes after the slab has dried out properly. A damp slab should not be sealed, because coating wet concrete can trap moisture underneath and create a failure point later. Decorative surfaces are slower to dry than plain concrete because texture and crevices hold water longer, so this step needs a little patience.
Keep joints where the slab can handle movement
Every patio section needs a planned place to move as temperatures change. If random cracks end up doing that job, the layout loses its clean lines fast and the surface starts looking tired before its time. Joints give the slab a controlled break line, which helps protect the finish and keeps the movement where you can manage it.
That matters even more on molded or stamped surfaces, since the pattern can hide small stress lines at first. Once those lines open up, they are harder to ignore. Keep the joint layout simple and predictable so the patio can move without tearing the design apart.
Don't rush the finish just because it looks dry
Dry on the surface does not mean dry underneath. Moisture can stay in the slab longer than people expect, especially in shaded yards or after cool, damp weather. If you seal too early, you can trap that moisture and end up with haze, failure, or damp spots that keep coming back.
The safer sequence stays plain. Let it cure, check that it is dry, then seal only if the slab needs it. That order protects the finish and gives the slab a cleaner path to age well over time.
Maintenance, Mold, and Shaded-Yard Durability
The long-term question isn't whether the patio looked good on pour day. It's whether it still looks clean after a wet season, a pile of leaves, and a few months of shade. That's where textured concrete either earns its keep or turns into a cleaning chore.
Moisture, shade, and debris are the real problem
Concrete itself isn't the only issue. Mold growth on patios is tied to persistent moisture, poor drainage, shade, and organic debris, and concrete's porous nature gives growth a place to hold if the moisture never leaves Bust Mold on Concrete. A separate guide on damp concrete notes that shaded, damp exterior patios can support algae, Cladosporium, and Penicillium, with Cladosporium the most frequently encountered mold on damp concrete surfaces Mold Remediation Hotline.
That matters in rain-heavy or tree-covered yards because textured finishes trap dirt in the little edges and pockets. Once those pockets stay damp, they become a better home for growth than a plain slab with good sun exposure.
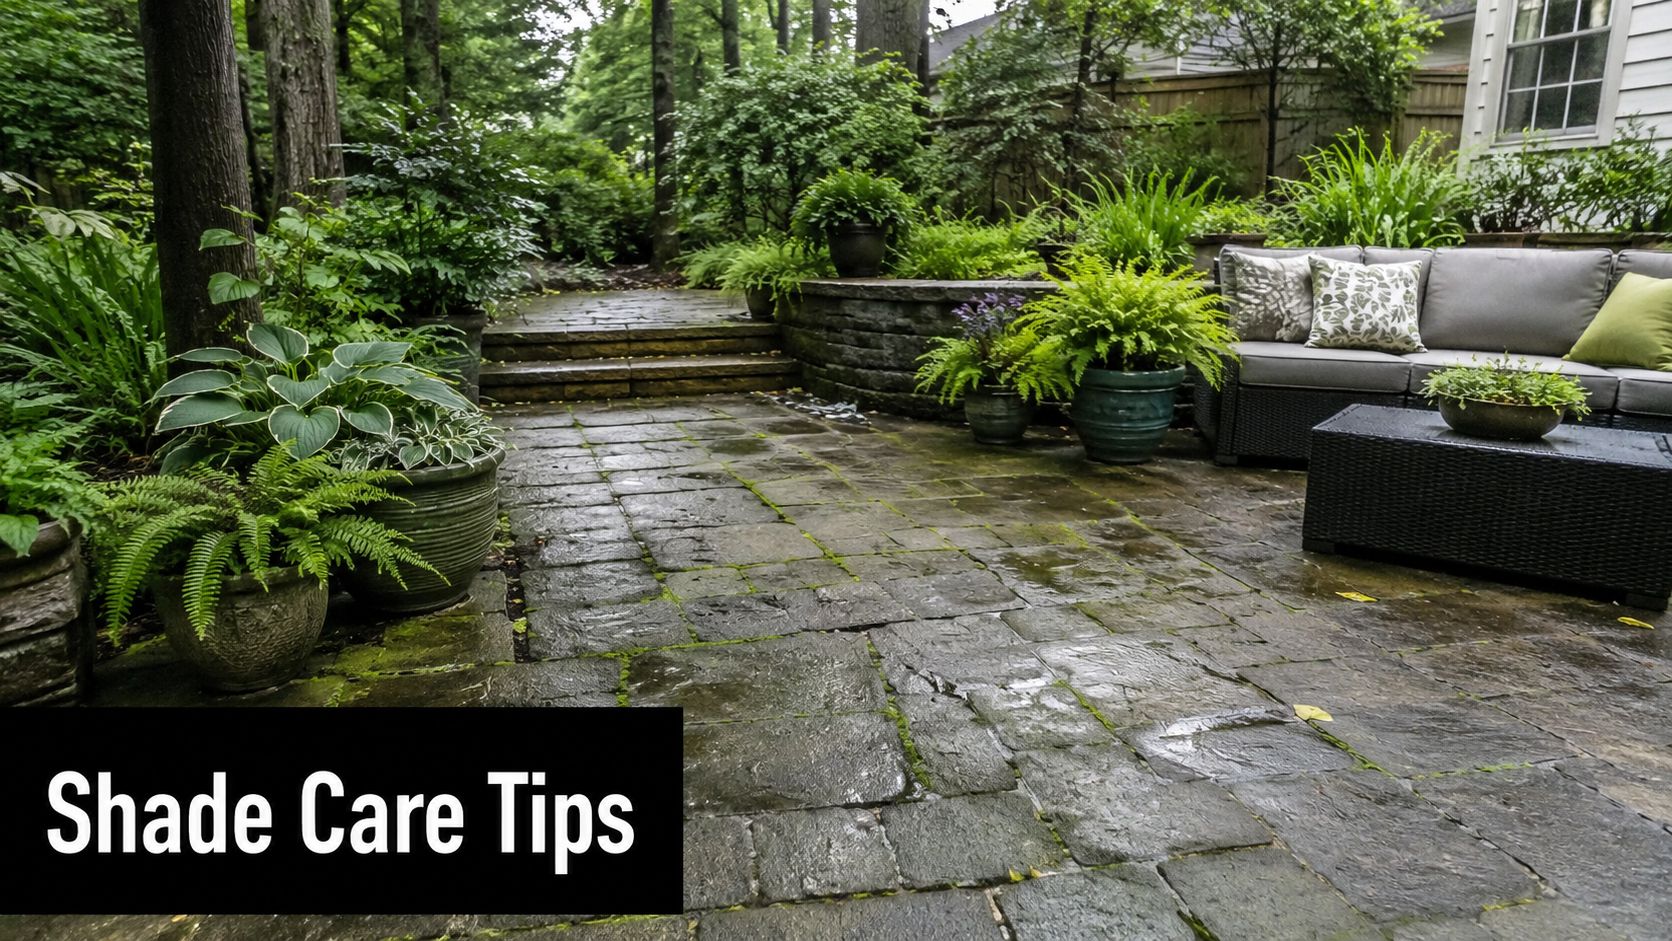
Cleaning helps, but cleaning alone won't solve a drainage problem. If the slab stays wet, the growth comes back.
Clean it in the right order
A safe maintenance sequence starts with removing organic buildup, then using a cleaner meant for concrete, then rinsing thoroughly, then letting the slab dry fully before you think about sealing Prosoco mildew on concrete guidance. That order matters because a sealer over damp or dirty concrete can lock in the very conditions you're trying to fix.
Skip the quick bleach-or-vinegar habit if the slab is sealed or partly sealed. Those shortcuts can leave residue, chase the problem around, or worsen a finish that already needs attention. Decorative patio molds have more crevices than plain concrete, so they need a cleaner that matches the surface, not a kitchen shortcut.
Drainage is part of maintenance, not separate from it
If water ponds near the slab, no cleaner will keep the surface looking right for long. Regular inspections should look for pooling water, clogged edges, leaf buildup, and shaded spots that dry late in the day. That's the same drainage logic that belongs in the site-prep stage, just applied over time.
Homeowners in wetter climates do better when they treat patio care as a system. Keep water moving, keep debris off the surface, and don't seal a damp slab. That's how a molded patio stays attractive instead of becoming a mildew map.
Cost, Time, and When to Hire a Pro
The cheapest patio isn't always the best value. Once you add up materials, base prep, tool rentals, and the time spent getting the site flat, a DIY mold project can move from weekend fun to all-day labor fast. The question is whether your yard is simple enough for the work you want to do.
What the DIY side usually includes
For a 200 to 400-square-foot patio, the budget usually has several moving parts, the mold system, concrete mix, base materials, sealer, and any rented or borrowed tools. A small layout might need simple walkmaker forms, while a larger one can push you toward reusable rigid forms or a stamped surface that's less forgiving. If you need help estimating material quantity, the concrete slab calculator is a practical planning tool before you buy anything.
Time matters just as much as money. A homeowner can spend a full weekend on layout, excavation, compaction, and pouring, then still wait through cure time before the patio is ready for use. If the site is already level and dry, that's manageable. If it isn't, the work stretches quickly.
When the contractor call makes more sense
Hire out when the yard is sloped, access is tight, or drainage already gives you trouble. That's where a licensed, insured crew brings value, because the excavation, grading, and forming decisions affect the finished surface more than the mold itself. The same is true when you're planning concrete foundations, garage foundation contractors near me style work, or a base for storage shed that has to stay stable through seasonal movement.
A local provider like Firm Foundations serves Pennsylvania, Maryland, Delaware, and New Jersey, which is useful if you need a patio base, a shed foundation, or a slab tied into other exterior work. Their experience with excavation and foundation builds fits the same underlying problem: make the ground ready before the concrete shows up.
A quick decision rule
- DIY makes sense when the yard is flat, access is easy, and you're doing a smaller decorative patio.
- Call a pro when drainage is poor, the grade changes, or the patio has to work beside a garage, shed, or house.
- Choose a contractor first when you care more about long-term performance than saving on labor.
If you're comparing options and want to see how real contractors handle outdoor resurfacing and site complexity, the find patio remodeling contractors resource can help frame the decision before you commit.
For homeowners trying to estimate a patio or slab project more precisely, https://shedpads.com/concrete-slab-calculator/ is the right place to sanity-check the size before ordering materials.
If you want a patio, shed pad, or garage slab that drains right and holds its shape, Firm Foundations can help you get the base right before the concrete ever goes down. Visit Firm Foundations to request a free quote and talk through the site prep, drainage, and foundation options for your property.