
Concrete Slab Drain Guide for Shed Pads and Patios
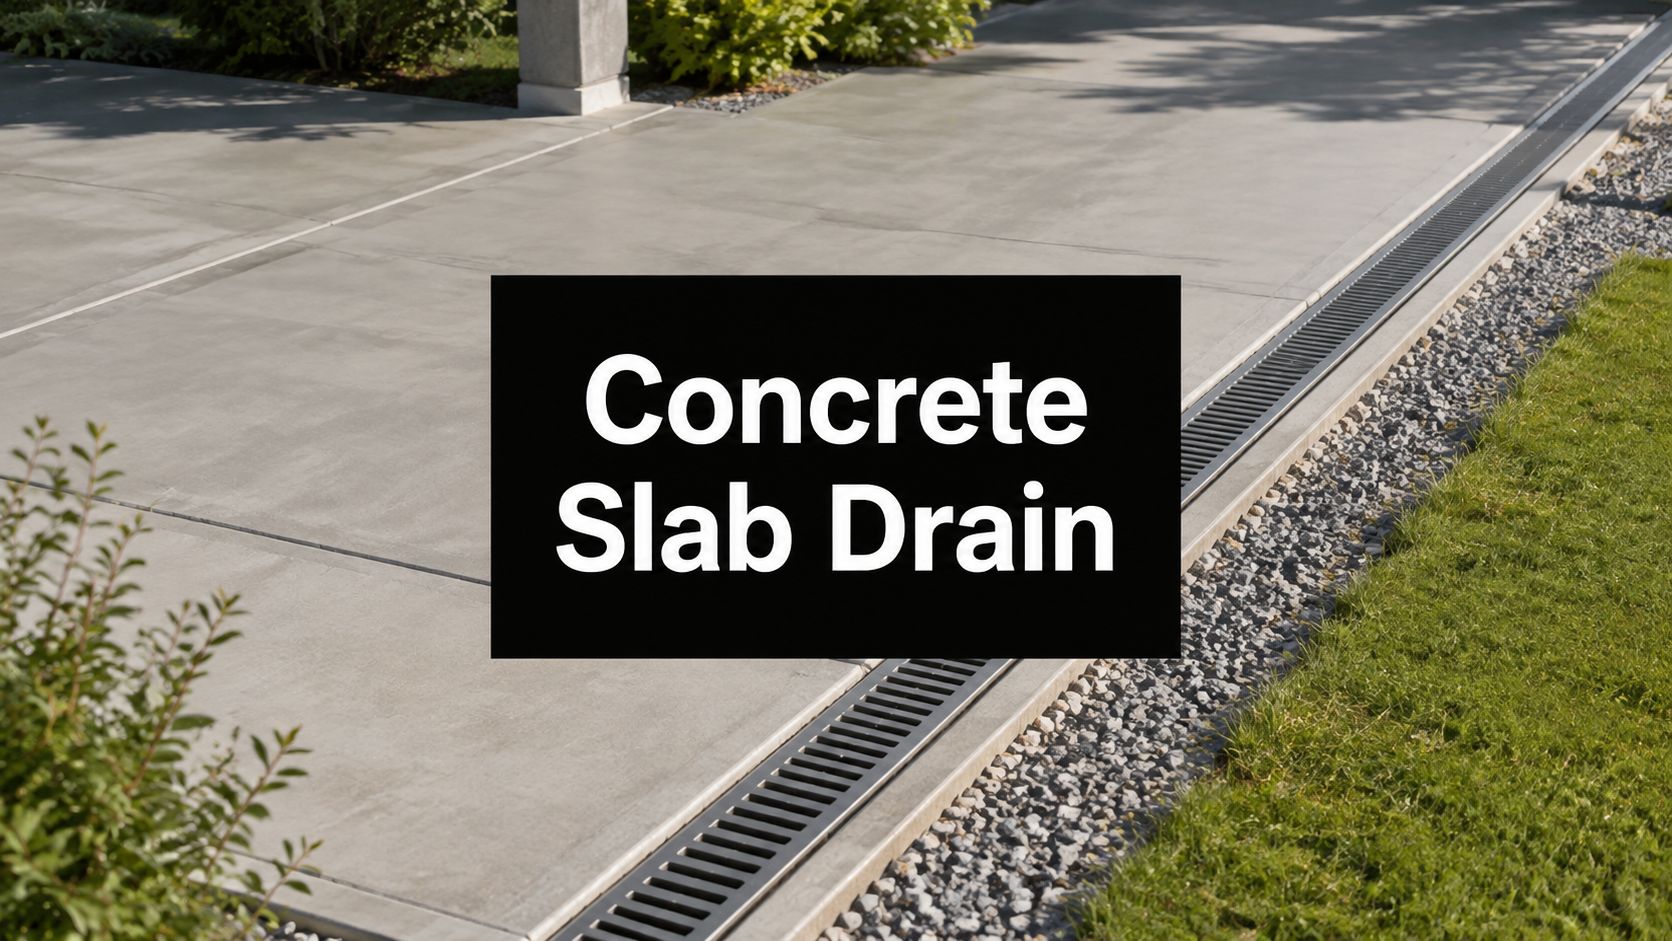
A wet spot that keeps coming back by the garage door. A shed pad that looks finished until the first hard rain leaves water sitting along one edge. A patio that dries everywhere except the low corner where mud and runoff collect. Those are the calls that usually start with, “Do I need a drain, or is the yard just grading wrong?” In a lot of cases, the answer is the second one, and that's where a good concrete slab drain decision starts, not with cutting concrete but with figuring out what's causing the water.
Why Water Pools on Concrete Slabs in the First Place
A homeowner usually notices the problem after a storm, not during construction. The slab looked fine on pour day, but later there's a dark line at the edge, a puddle near the threshold, or dampness that hangs around under a shed or at the garage opening. That doesn't always mean the slab failed. It often means the water path around it was never handled properly in the first place.
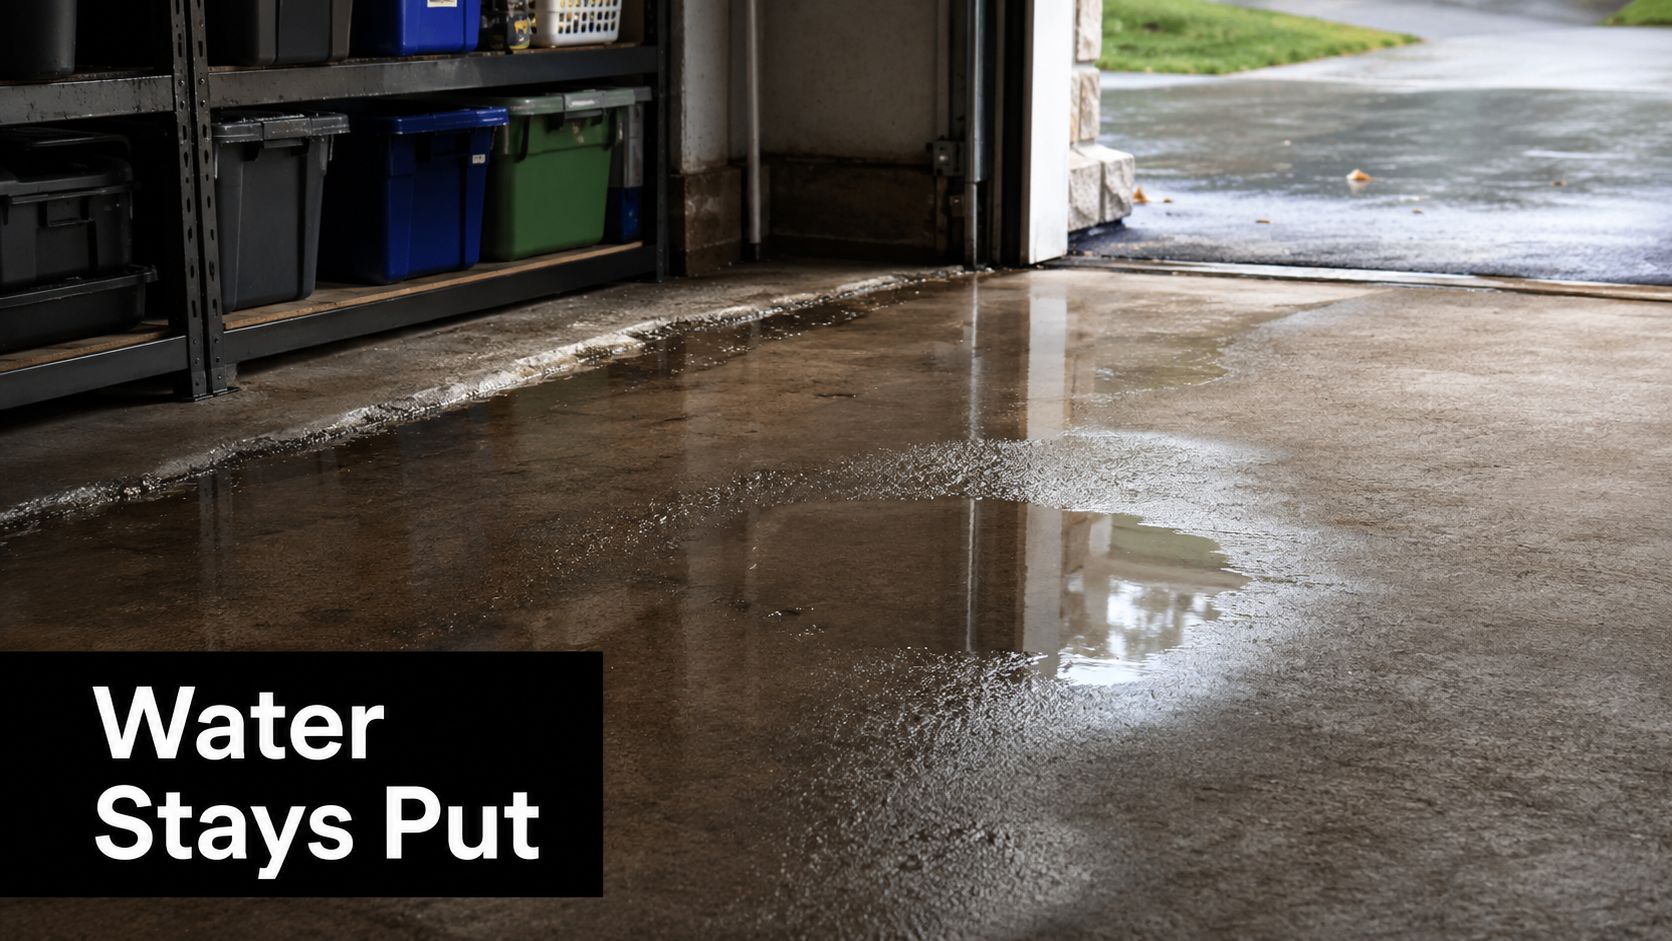
The slab isn't usually the only problem
Concrete gets blamed because it's the visible surface, but water usually shows up there because of what's happening around it. The site may be too flat, the base may have settled, or the downspouts may be dumping right next to the slab. I see the same pattern on patios, shed pads, and garage approaches across the Mid-Atlantic, the concrete itself is only one part of the drainage picture.
The history of slab drainage backs that up. Modern drainage design became more engineering-driven in the 19th and 20th centuries, with the rational method attributed to Mulvaney in 1850, then refined by Kuichling in 1889 and Lloyd-Davies in 1906, while concrete moved from occasional use into mainstream construction after Joseph Aspdin patented Portland cement in 1824 and concrete pavement spread in the late 1800s and early 1900s, including the first U.S. concrete pavement in Bellefontaine, Ohio, in 1893 (historical drainage and concrete background). That shift matters because today's slabs are built with drainage in mind, not left to chance.
Practical rule: If the water is pooling because the site pitches wrong, fix the site first. If the water is coming from a low point the site can't realistically change, then a drain starts to make sense.
Good gutter discharge matters too. If roof runoff lands beside the slab, the problem isn't the slab, it's the water management around it, and this gutter system benefits resource explains why controlled roof drainage is part of the fix, not an afterthought.
Do You Actually Need a Drain or Just Better Grading
A lot of people jump straight to channel drains because they want the water gone fast. That's understandable, but it's not always the right first move. If the slab can be regraded away from the problem area, that's usually cheaper, less invasive, and easier to maintain than cutting into concrete.
Start with the site, not the saw
The National Construction Code requires the external finished surface around a slab to fall away from the building, at least 25 mm over the first 1 m in low-rainfall or reasonably impermeable conditions, or 50 mm over the first 1 m in other cases (NCC drainage requirement). That's a useful real-world benchmark even for shed pads and patios, because it tells you what “good slope” looks like.
On site, that means looking at the obvious fixes first. Clean the downspouts. Extend discharge farther from the slab. Build a small swale. Restore the grade so the water has somewhere to go. A lot of the time, especially on a base for storage shed or a patio edge, a 1% to 2% slope away from the slab is enough to stop ponding if the rest of the drainage path is open. For a homeowner comparing options, that may eliminate the need for a drain entirely.
When a drain becomes the right answer
There are projects where grading just isn't practical. A slab might be boxed in by a property line, a retaining condition, or another structure that leaves no room to move water away. That's when a drain starts to earn its keep, because the concrete can't be re-pitched without major disruption.
If the fix involves cutting concrete before you've checked the grade, you're probably solving the symptom instead of the cause.
For a broader drainage layout, this swale drainage design guide is a useful companion to the grading question. And for flat-roof-style runoff logic, the Four Seasons Roofing drainage guide is a good reminder that the water path matters more than the product.
Drain Types That Work With Shed Pads, Garages, and Patios
Once grading is ruled out or handled as much as it can be, the drain choice gets more specific. The right drain depends on where the water is coming from, how fast it moves, and whether you're dealing with surface runoff or groundwater pressure. A concrete slab drain for a garage door is not the same thing as a French drain along a shed pad on a hillside.
Match the drain to the water
Channel drains work best where water sheets across a hard edge, like a garage opening or patio border. French drains are better when water is moving through soil toward the slab. Perimeter drains sit at the edge of the footing or slab and catch water before it reaches the structure. Catch basins help in larger paved areas where low spots collect runoff.
For a drain outlet, the grate can't be the bottleneck. Manufacturer guidance says the grate free area should be sized to pass the expected flow without ponding, and for most indoor locations it should be about 1.5 times the transverse area of the connecting pipe, while for small exterior areas it should be about 2 times the pipe area (floor drain sizing guidance). In plain terms, undersizing the opening is a fast way to create backwater.
| Drain Type by Project | Best For | Typical Placement | Key Trade-off |
|---|---|---|---|
| Channel drain | Garage doors, patio edges, paved transitions | Along a hard edge where runoff sheets across the surface | Needs careful slope and regular grate cleaning |
| French drain | Shed pads, side yards, groundwater seepage | In a gravel trench upslope or beside the slab | Slower to install, harder to inspect after backfill |
| Perimeter drain | Foundations and slab edges with chronic seepage | At or near footing level, tied to an outlet | More invasive if the slab is already finished |
| Catch basin | Larger paved areas with a low point | At a runoff collection point in the paving | Needs a discharge route and debris control |
If you're comparing options for a shed foundation, the right answer may be a gravel perimeter with surface shaping instead of a drain body at all. For homeowners asking about installed pricing and layout choices, this French drain installation cost guide is worth a look before any excavation starts.
Slope, Depth, and the Installation Sequence That Actually Works
A drain only works if the water can reach it. That sounds obvious, but a lot of failed jobs happen because the trench looked good before backfill and went bad after settlement. On the jobs that hold up, the crew thinks about slope, outlet path, and compacted base before the first shovel goes in.
The grade has to be right from the start
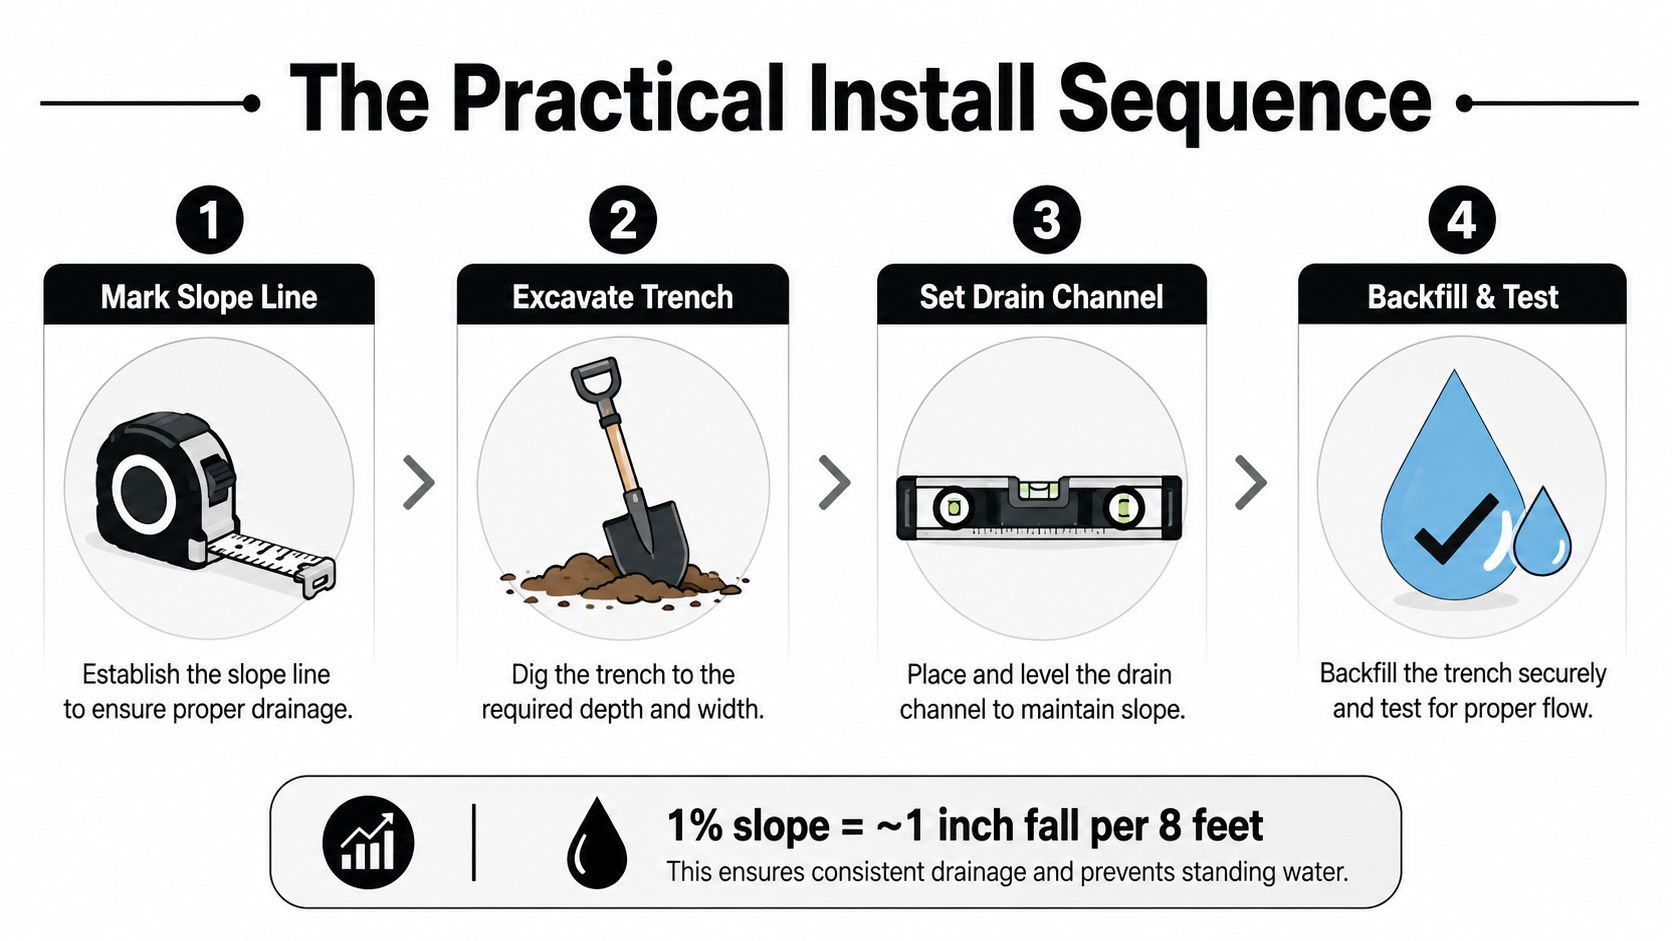
A useful field target is 1% slope, which is about 1 inch of fall per 8 feet. That number matters because it controls trench depth and the elevation of the drain body, and it keeps the system moving without creating a dip that holds water. If the slope is too flat, the pipe sags. If it's too steep in the wrong place, the drain body can sit proud and let water sheet past it.
The sequence that works starts with utility locates and a marked line. From there, the trench gets excavated to consistent depth, not guessed depth. A compacted crushed-stone base goes in next, then the drain or pipe, then the backfill, then the test run with water. On a French drain, the perforated pipe is typically oriented to collect water from the trench, while under-slab or collector runs may use solid sections where the goal is to move water toward a discharge point without adding more entry points.
Details that matter on cast-in-place work
For structural drainage details, cast-in-place concrete drains commonly call for a minimum 150 mm slab thickness, minimum clear cover of 70 mm on the water face and 50 mm on the earth face, and expansion joints at maximum 35 m intervals with a 13 mm gap filled with approved joint filler and sealant (structural drainage details). Those details aren't decoration. They help keep the drain from cracking, leaking, or heaving.
Practical rule: Plan the joint locations before the pour. Don't let reinforcement run through an expansion joint, and don't leave the finished drain without checking for ponding at the slab edge.
A good install also includes cleanouts at direction changes, because maintenance is much easier when the line can be flushed or rodded later. The install should end at a discharge point that daylightes away from the slab or ties into an approved outlet, not into a low spot that just hands the problem back to the property.
Realistic 2026 Cost Ranges and What Drives the Number
Homeowners usually want a straight number before they start calling contractors. For a typical patio edge, a channel drain kit can be a few hundred dollars in materials, but a full professional install usually lands in the low-to-mid thousands once excavation, base stone, and concrete patching are included. French drains for a shed pad or garage side are usually priced by linear foot, and catch basins rise in cost as the grate size and sump depth increase.
What pushes the price up
Access is a big one. If the crew can get in and out easily with a trencher or skid steer, the job moves faster. If the concrete is already poured and needs to be cut, repaired, and finished, the retrofit adds time and mess. The farther water has to travel to reach a legal discharge point, the more pipe, stone, and labor the system needs.
What's worth paying for
Cleanouts matter. Filter fabric matters. A proper pop-up emitter or other outlet detail matters. These are the pieces homeowners often skip on a DIY job, and they're usually the first things that come back to haunt them when fines get into the trench or the outlet clogs with leaves and silt.
A lot of the drainage evolution in Quebec shows why materials and installation methods matter over time. Stone trenches were used before 1850, clay-tile drains showed up between 1870 and 1885, and by the late 1960s plow-in equipment and corrugated plastic tubing changed how quickly drainage could be installed and maintained, especially as modern materials replaced older clay and concrete systems (historical subsurface drainage development). That history is why modern installs lean on more durable, inspectable components.
If you're pricing a garage foundation contractor scope or a patio retrofit, ask what's included at the outlet, how the line will be cleaned later, and whether the install changes the surrounding grade. Those details usually matter more than the headline price.
Common Mistakes We See on Callbacks
Most drainage callbacks come from the same handful of misses. They're not mysterious, and they're usually preventable with a little more care on the front end. The bad news is that each one looks fine until the first real storm.
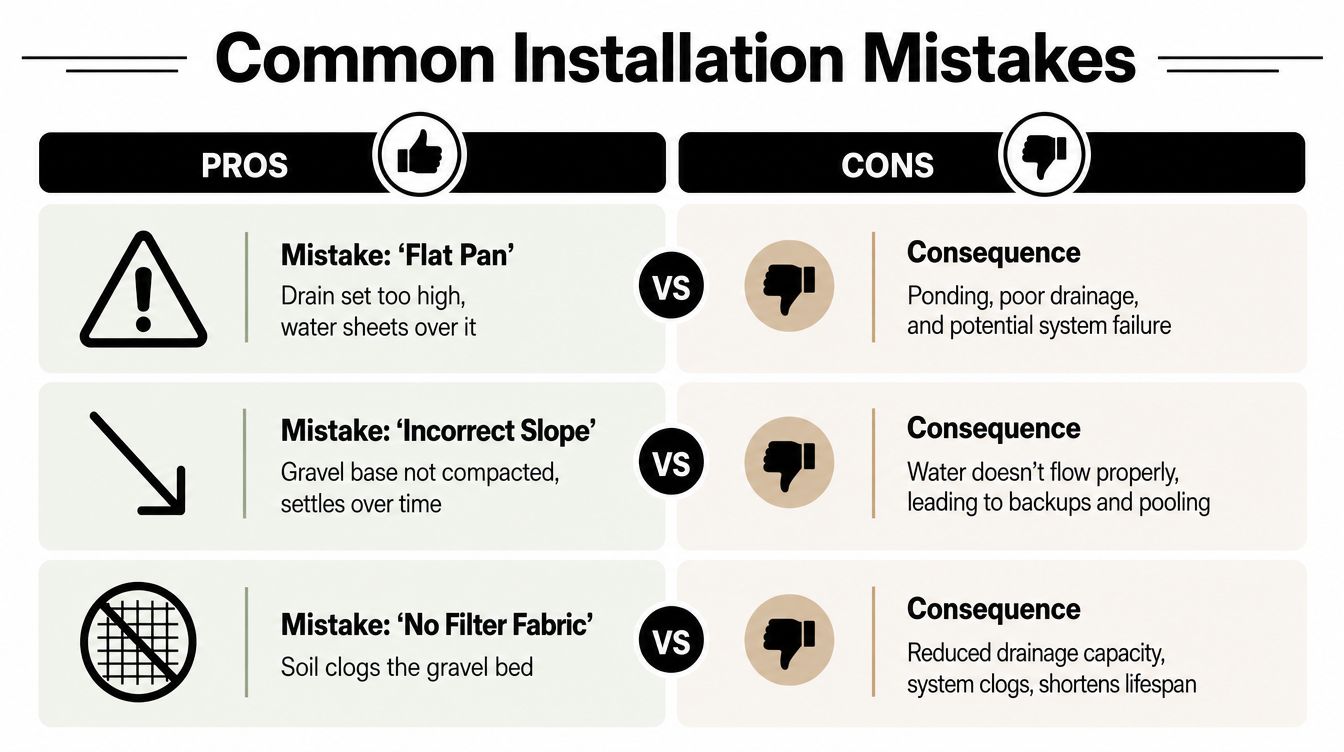
The failures that come back
- Flat pan: The drain sits too high, so water sheets right past it instead of entering. The fix is simple, set the drain lower and confirm the finished surface falls to it.
- Missing outlet: The pipe dumps into a dead low spot or nowhere useful. The fix is a real discharge route, daylight or an approved outlet that keeps water moving away from the slab.
- Clogged grate: Leaves and grit build up because there's no removable cover or no leaf protection upstream. The fix is routine cleaning and a grate system that can be serviced.
- Belly in the pipe: Backfill settles and creates a low spot that traps water and silt. The fix is a compacted base and proper bedding before the line goes in.
- Forgotten cleanout: The drain works until fines build up, then nobody can service it. The fix is to plan access before backfilling.
- No filter fabric: Soil migrates into the gravel bed and chokes it. The fix is fabric that keeps the trench open over time.
For compliance questions, I also tell property owners to verify stormwater compliance before tying a drain into anything that may be regulated, and this Safety Space stormwater compliance resource is a useful reminder that the outlet matters as much as the inlet.
A drain that can't be cleaned is only half a drain.
The other recurring issue is the wrong assumption that more pipe automatically means better drainage. It doesn't. If the slope is wrong, the grate is undersized, or the outlet is blocked, extra pipe just creates more places for water to sit.
When to DIY, When to Call a Contractor, and How to Get a Quote
A small retrofit channel drain at an open patio edge can be a reasonable DIY if the homeowner has good access, a clear daylight outlet, and the tools to keep the trench on grade. Anything that means cutting an existing slab, crossing a footing, tying into a storm system, or moving water a meaningful distance belongs with a foundation and excavation crew. That's especially true for concrete foundations, garage footings and foundations, or a finished concrete foundation for garage where one mistake can create a bigger structural problem.
A simple decision rule
If the work is above grade and straightforward, DIY may make sense. If the work involves structure, buried utilities, or reconnecting runoff to a legal discharge path, hire it out. A shed foundation or gazebo foundation can sometimes benefit from a regrade and gravel base instead of a drain, but once the slab is in the ground and the problem is under or against it, the job gets harder fast.
The other reason to call a contractor is diagnosis. Under-slab drain failures aren't always clogs. They can involve pipe separation, soil movement, bellies, root intrusion, or deteriorated pipe, and that changes the repair path. Non-invasive diagnostics like acoustic listening, thermal imaging, tracer gas, and pressure testing can help narrow the issue before any concrete gets opened, which is a smarter place to start than jackhammering first and asking questions later.
Firm Foundations serves Pennsylvania, Maryland, Delaware, and New Jersey, and since 2011 the crew has handled excavation, gravel pads, and concrete work for sheds, garages, patios, and other foundation builds. If you're sorting through shed foundations contractors near me, garage foundation contractors near me, or gravel shed foundation contractors near me, a free quote is the cleanest way to find out whether regrading, a drain, or a new pad is the right fix.
Call before the next storm makes the problem bigger, and bring the site photos if you've got them. A short conversation can save a lot of guesswork.
Firm Foundations installs gravel pads, concrete slabs, and drainage-conscious foundations for sheds, garages, patios, and other outbuildings across Pennsylvania, Maryland, Delaware, and New Jersey. If you're dealing with pooling water, a bad slope, or a slab that needs a drain or a better base, visit Firm Foundations to request a free quote and get the right fix planned before the next rain.