
Sump Pump Installation: Your 2026 Home Protection Guide
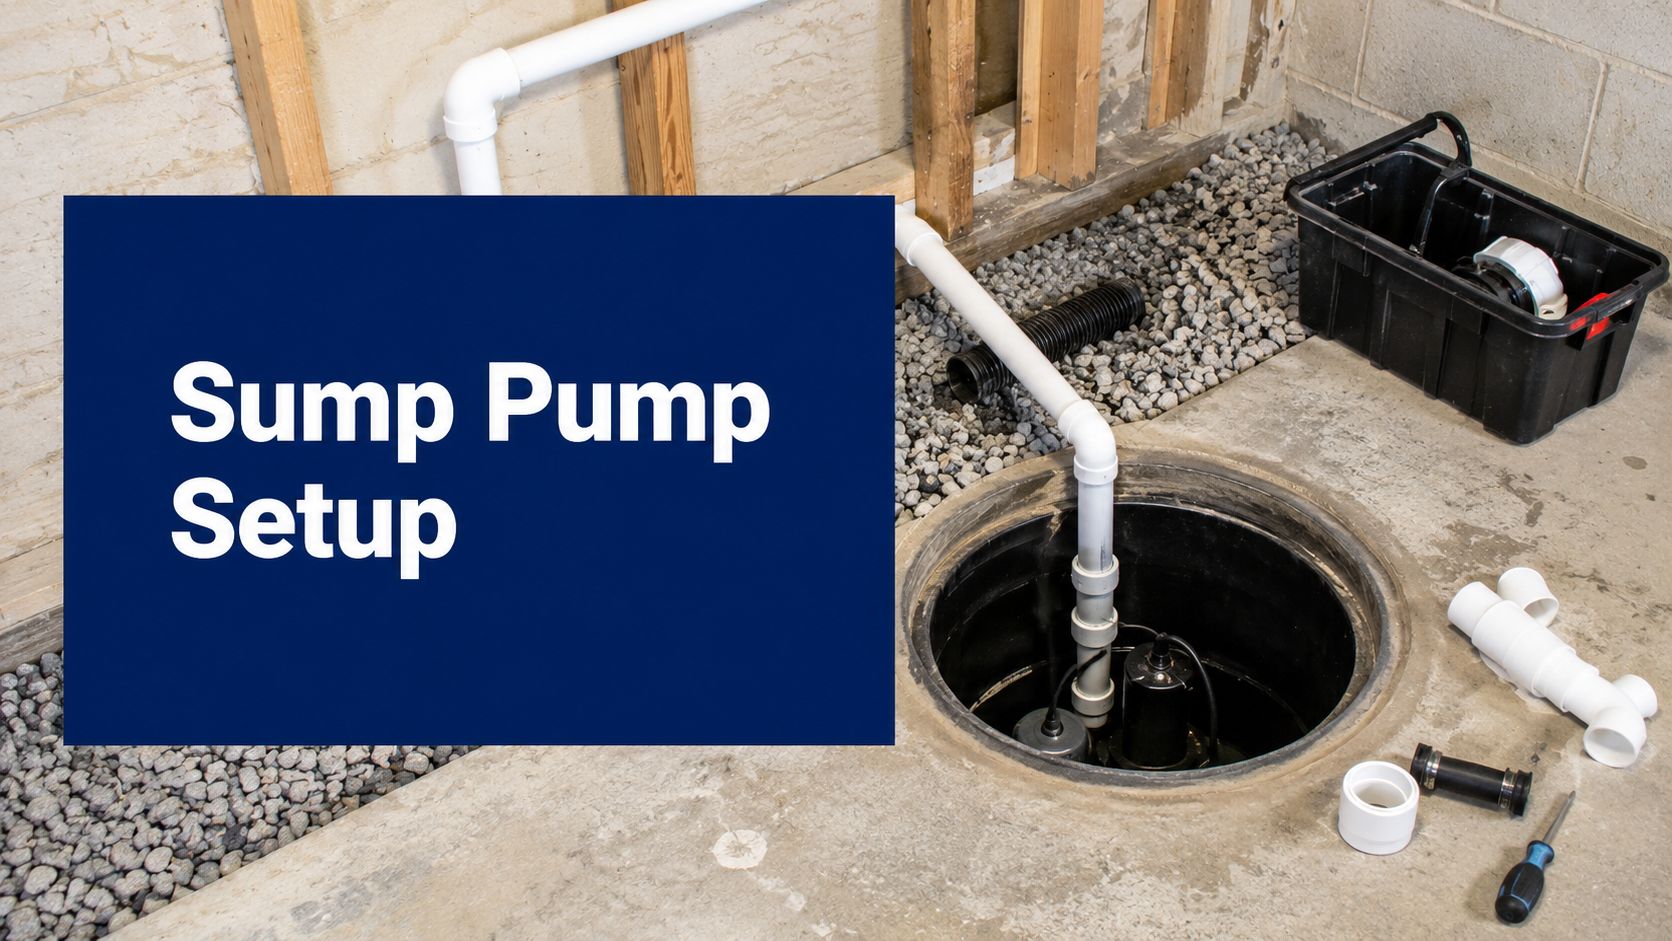
A wet basement usually starts as a small clue, not a flood. Maybe you smell something musty after a storm, see a pale line of mineral staining on the foundation wall, or notice water sitting at the cove joint where the floor meets the wall. By the time a homeowner calls for sump pump installation, the underlying problem is often broader than the pump itself, because water has already found a path through the foundation, the soil, or the grading outside.
That's why we look at sump work as a drainage and foundation decision first, and a pump decision second. In the Mid-Atlantic, that matters a lot. Clay soils hold water, older stone foundations let moisture move through them differently than poured walls, and seasonal high water tables can keep a basement damp even when the rain has stopped. A pump can be the right answer, but only when the rest of the system is ready to support it.
If you're trying to figure out whether your basement is a true sump candidate or whether gutters, grading, or perimeter drainage need attention first, a good companion read is find top French drain professionals from Voyager Plumbing. For homes where water is pushing in from the sides as much as from below, that kind of drainage planning matters just as much as the equipment in the pit. You can also compare the bigger picture with the drainage concepts in foundation drainage design.
Why Basement Water Problems Start Long Before the Pump
A homeowner usually notices the problem after the damage has already started. Water shows up on a finished basement floor, boxes feel damp, or a musty smell lingers even when the space looks dry. Those symptoms point to a water-management issue around the house, not just a failed appliance in the basement.
What the basement is trying to tell you
A sump pump makes sense when the basement collects water at the lowest point and needs a controlled place for it to go. It's the right tool when you see standing water after storms, water stains along the cove joint, or efflorescence on foundation walls, because those signs mean moisture is actively moving through the structure. A pump does not fix poor exterior grading, overflowing gutters, or downspouts that dump water too close to the house.
Practical rule: if the basement is dry in mild weather but gets wet after heavy rain, the pump may be part of the answer, but the yard and foundation still deserve a look.
Mid-Atlantic homes add a few complications that generic advice often skips. Older homes in Pennsylvania, Maryland, Delaware, and New Jersey may have mixed foundation materials, patchwork additions, or previous waterproofing that never solved the source of the water. In those houses, the question is not, “Should I add a pump?” It's, “What path is water using, and where should it be controlled first?”
How to read the signs before digging
A simple homeowner check can tell you a lot. If the basement smells damp, the walls show mineral deposits, or the floor gets a wet ring after storms, the system is probably dealing with groundwater or seepage, not just a one-time leak. If the problem appears only near a specific wall, that can also point to grading or gutter discharge before it points to the sump pit.
When the issue is broader than the pump, the fix may start outside. Downspout extensions, regrading, or perimeter drainage can reduce the amount of water reaching the foundation in the first place. A properly placed sump system still has a role, but it works best when it is catching the water that the rest of the site couldn't keep away.
Site Assessment, Permits, and Code Basics in PA, MD, DE, and NJ
Before any concrete gets cut, the job needs a real site check. We start by finding the lowest point in the basement, looking for a footing drain if the house has one, and mapping out anything hidden in the slab or wall. The discharge route matters too, because the outlet needs to send water away from the foundation, and in many homes that means planning a path that reaches at least 10 feet from the house.
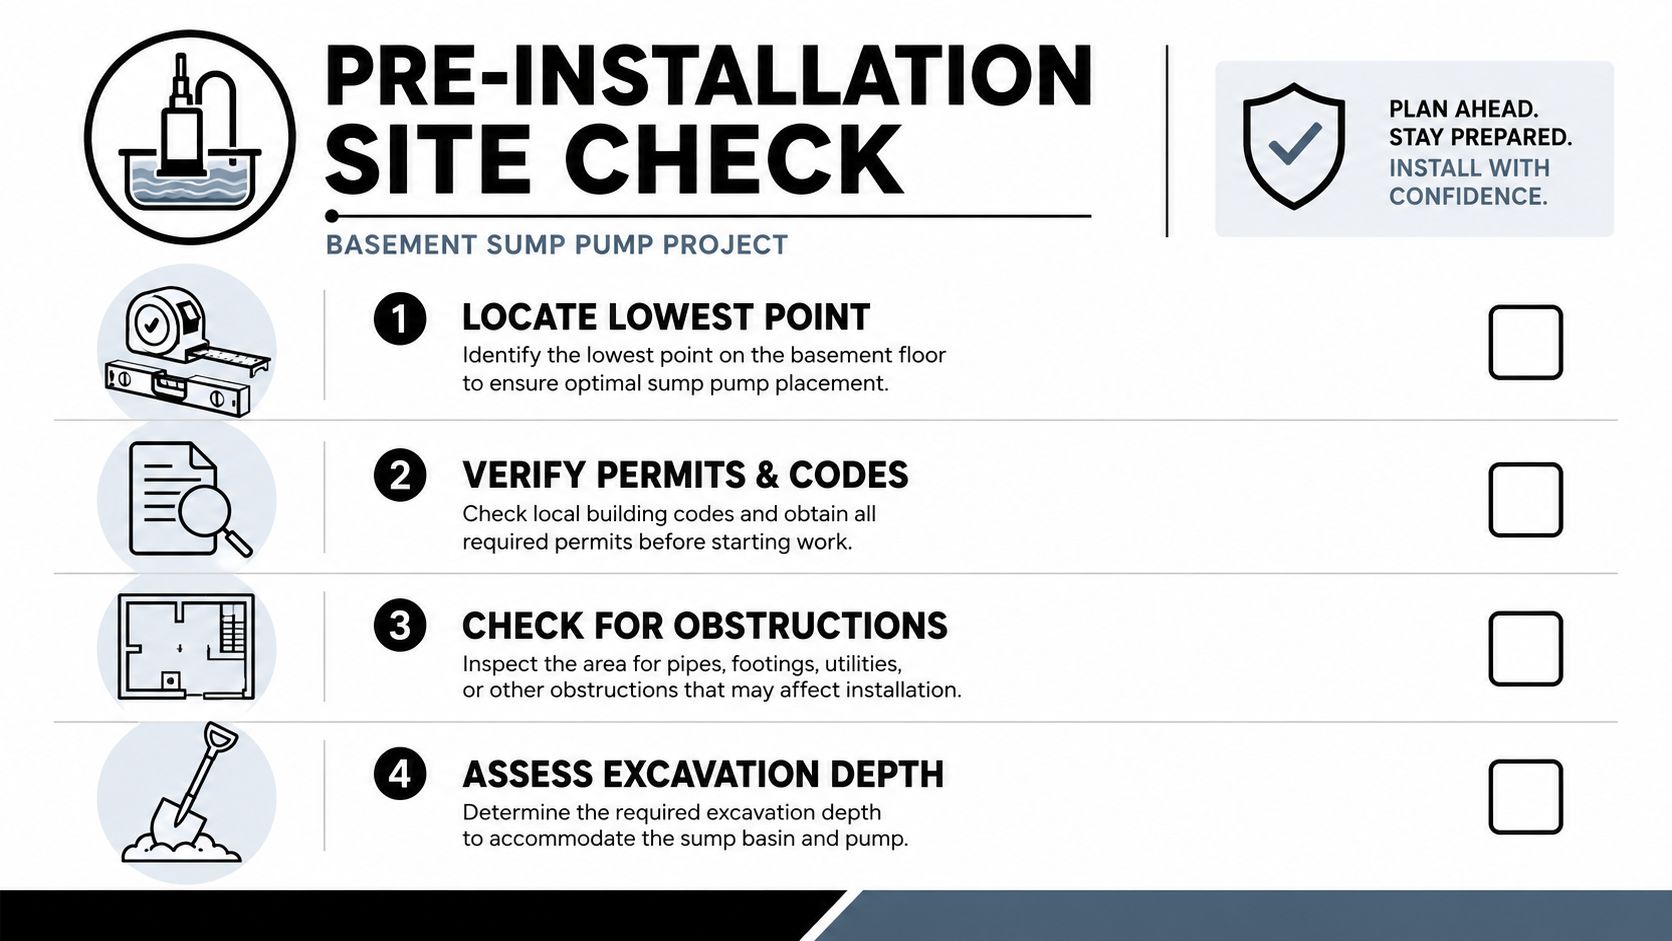
A clean install also means checking local rules before the first cut. Electrical work for a new GFCI circuit often triggers a permit, and some towns treat the sump discharge as part of the plumbing system, which can bring a plumbing permit into the picture. HOA rules can also matter in newer neighborhoods, especially where lot lines are tight and discharge water can't just run wherever the pipe happens to point.
Angi reports an average sump pump installation cost of $1,100 in 2026, with a common range of $800 to $3,000 depending on pump type, labor, and project complexity. That same guide notes that a full new professionally installed system often lands between $1,200 and $1,800, with many residential projects between $650 and $2,500 depending on the site and the equipment used. Those figures are useful because permit work, electrical changes, and basement access all affect the final price.
Conditions that should stop the job
If you see structural settlement, active foundation cracks that are widening, or a wall that's bowing, the sump project should pause until the foundation is evaluated.
Other warning signs are easier to overlook. A house with unresolved water entry at multiple wall sections may need more than a pit and pump. If the discharge location violates neighborhood rules or would send water onto a neighbor's property, that issue needs to be solved before the system goes in.
When the site checks out, the project can move forward with confidence. When it doesn't, fixing the source first saves money and avoids installing a pump into a setup that still can't manage the water.
Choosing the Right Pump, Basin, and Capacity
The pump itself should match the basement, not the other way around. A small unfinished basement with modest seepage does not need the same equipment as a finished family room or a home that sees frequent storm water intrusion. The right choice starts with how much water the system needs to move and how often the basin is likely to cycle.
Pump style and capacity in plain language
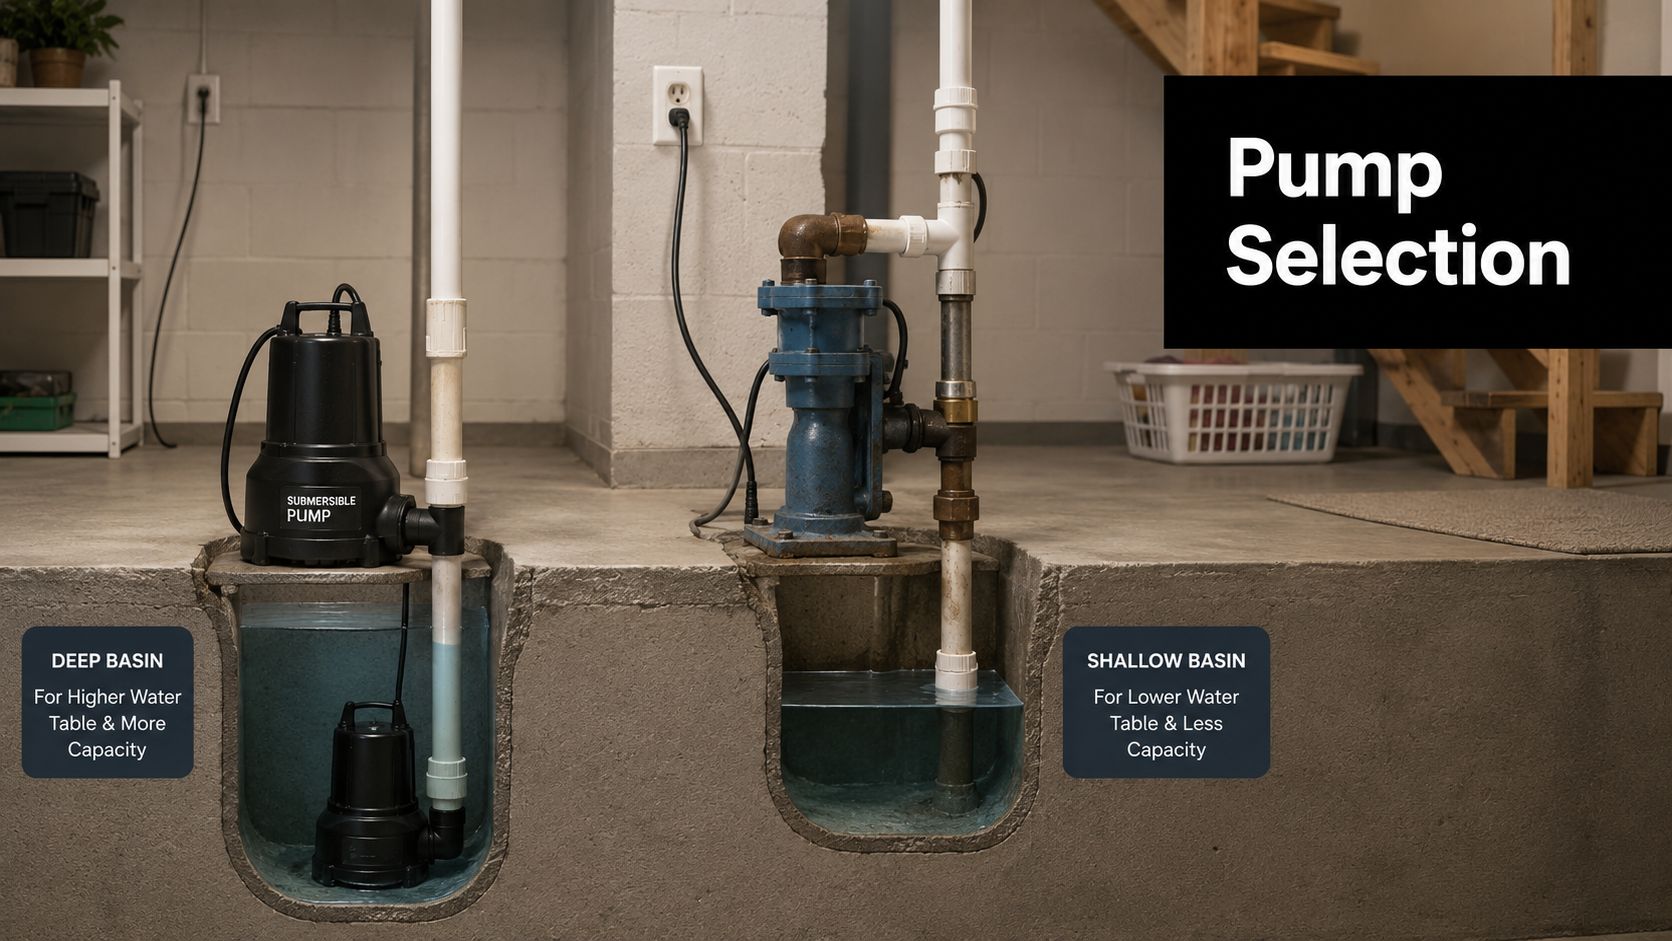
A submersible pump sits in the basin and runs quieter, which makes it a strong choice for finished basements. A pedestal pump keeps the motor above the pit, so it's easier to service, but it's more visible and usually louder in operation. Either can work, but the basement layout, noise tolerance, and maintenance access should drive the decision.
The horsepower tier matters too. In practical terms, one-third HP units are suited to smaller pits and can handle up to about 2,000 GPH, while one-half HP units fit typical residential use up to 3,000 GPH. For higher-volume basements or homes that need more aggressive drainage, three-quarter HP or higher systems are often the better match for 3,000+ GPH. Those equipment tiers also line up with the common cost bands homeowners see in the market, with lower-capacity systems at the bottom of the range and higher-capacity systems at the top.
Basin size, lid choice, and backup planning
The basin should be deep enough to collect water without short cycling, and the lid should be sealed when possible. A sealed lid helps control humidity, improves safety, and keeps the pit from becoming a source of damp basement air. In many Mid-Atlantic homes, that matters just as much as the pump rating because basement air quality and moisture control are tied together.
Float switch style also deserves attention. A simple float is common and reliable when the pit is sized correctly, while an electronic switch can offer a cleaner profile in tighter basins. Backup power is worth a hard look in storm-prone neighborhoods, especially where outages show up during the same weather that fills the pit. A primary pump paired with backup protection is often the more practical choice when a basement can't afford to wait for utility power to return.
The right spec sheet usually includes the pump type, capacity, basin size, sealed lid, and backup plan. If those pieces line up with the home, the system tends to run smoother and needs fewer surprises later.
Step-by-Step Sump Pump Installation From Pit to Power
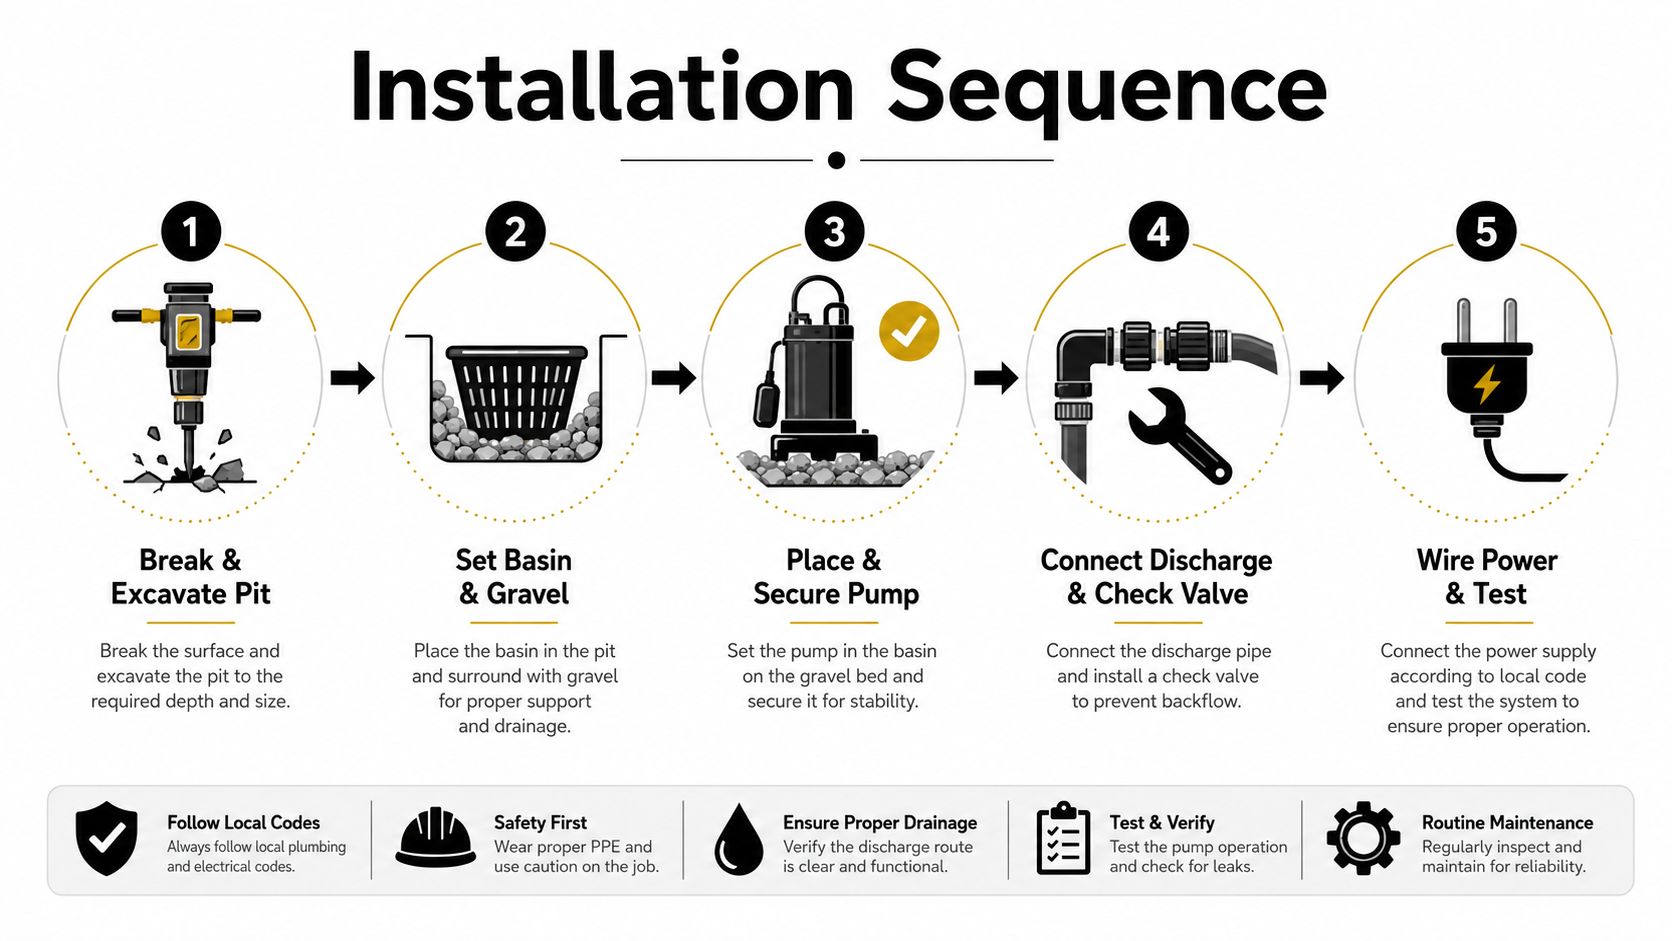
A good install starts at the lowest interior point, because that's where water wants to collect anyway. The crew cuts the slab, excavates a pit to the proper depth, and sets the basin so the rim sits flush with or slightly above the floor. That keeps the finished surface clean and helps prevent the edge from becoming a trip point or a place where surface water sneaks back in.
What the crew does in the pit
We set 4 to 6 inches of gravel at the bottom for drainage and stability, then lower the basin into place. The gravel keeps the pit from shifting and gives water an easy path to the pump intake. From there, the pump gets set, the basin is checked for level, and the discharge route is planned before anything is permanently glued.
A small but important detail is the 3/16-inch weep hole drilled between the pump and the check valve. That hole helps vent trapped air and reduces air-lock problems that can keep the pump from moving water when it should. The float also has to move freely, so cords get secured out of the way instead of hanging where they can bind the switch.
The test that matters most is simple, fill the pit with water and watch the cycle from start to stop.
Plumbing, power, and the final test
The discharge line gets assembled with PVC fittings and a check valve, with the arrow on the valve pointing in the correct flow direction. The wall or rim joist penetration needs to be sealed, because an unsealed exit point lets moisture and pests find their way back inside. Power should come from a dedicated GFCI-protected outlet, not an extension cord or power strip, because the pump needs a safe and dependable circuit.
The final step is a controlled fill test. Water goes into the basin until the float starts the pump, the unit should drain the pit cleanly, and the system should shut off without hesitation. We also check that the check valve closes at shutoff, because backflow can cause nuisance cycling and put the basin right back where it started.
For homeowners who want to see the process visually, this short video covers the kind of field sequence a real install follows.
Discharge Routing, Freeze Protection, and Backup Power
A sump pump only works as long as the water has somewhere to go. That sounds obvious, but the discharge line is where a lot of systems fail in real homes. If the pipe runs uphill, traps water, freezes, or backs up toward the foundation, the pump can still run and the basement can still get wet.
Why the discharge line matters more than most people think
The line should run with a continuous downward slope wherever the layout allows, then exit through the wall or rim joist with a sealed penetration. The goal is simple, move water out quickly and leave as little standing water in the line as possible. On sites with tighter lots, the discharge still has to terminate far enough from the foundation to keep the water from cycling right back to the house.
Cold-weather protection is a major issue in Pennsylvania and New Jersey, and it comes up in Delaware and Maryland too when nights turn cold enough to freeze water in a shallow run. A freeze-resistant outlet, popup emitter, or grated head helps reduce icing at the discharge point, and burying the line below frost depth where possible adds another layer of protection. A larger diameter pipe and a line that drains fully when the pump stops can also reduce winter headaches.
For a deeper look at the perimeter side of the system, perimeter drain systems are worth reviewing because the sump and the drain field need to work together, not compete with each other.
Backup power and alarms
Backup planning is just as important as freeze protection. Battery backup makes sense when storms knock out power during the same rain that fills the basin. Water-powered backup can help in some situations, but it depends on local water conditions and the plumbing setup, so it isn't a one-size-fits-all answer.
High-water alarms are a useful extra layer because they tell you the basin is rising before the basement floor is. That matters when a float binds, when a discharge line freezes, or when a breaker trips at the wrong time. The system that works for one winter isn't always the system that survives ten of them.
Best practice: design the discharge so gravity helps the water leave, then add backup for the failures you can't control.
A full professionally installed system often sits in the $1,200 to $1,800 range, with many residential projects landing between $650 and $2,500 depending on the equipment and the site. That pricing makes sense when you remember that freeze protection, routing, and backup power are part of the job, not optional extras.
DIY Versus Hiring a Licensed Contractor
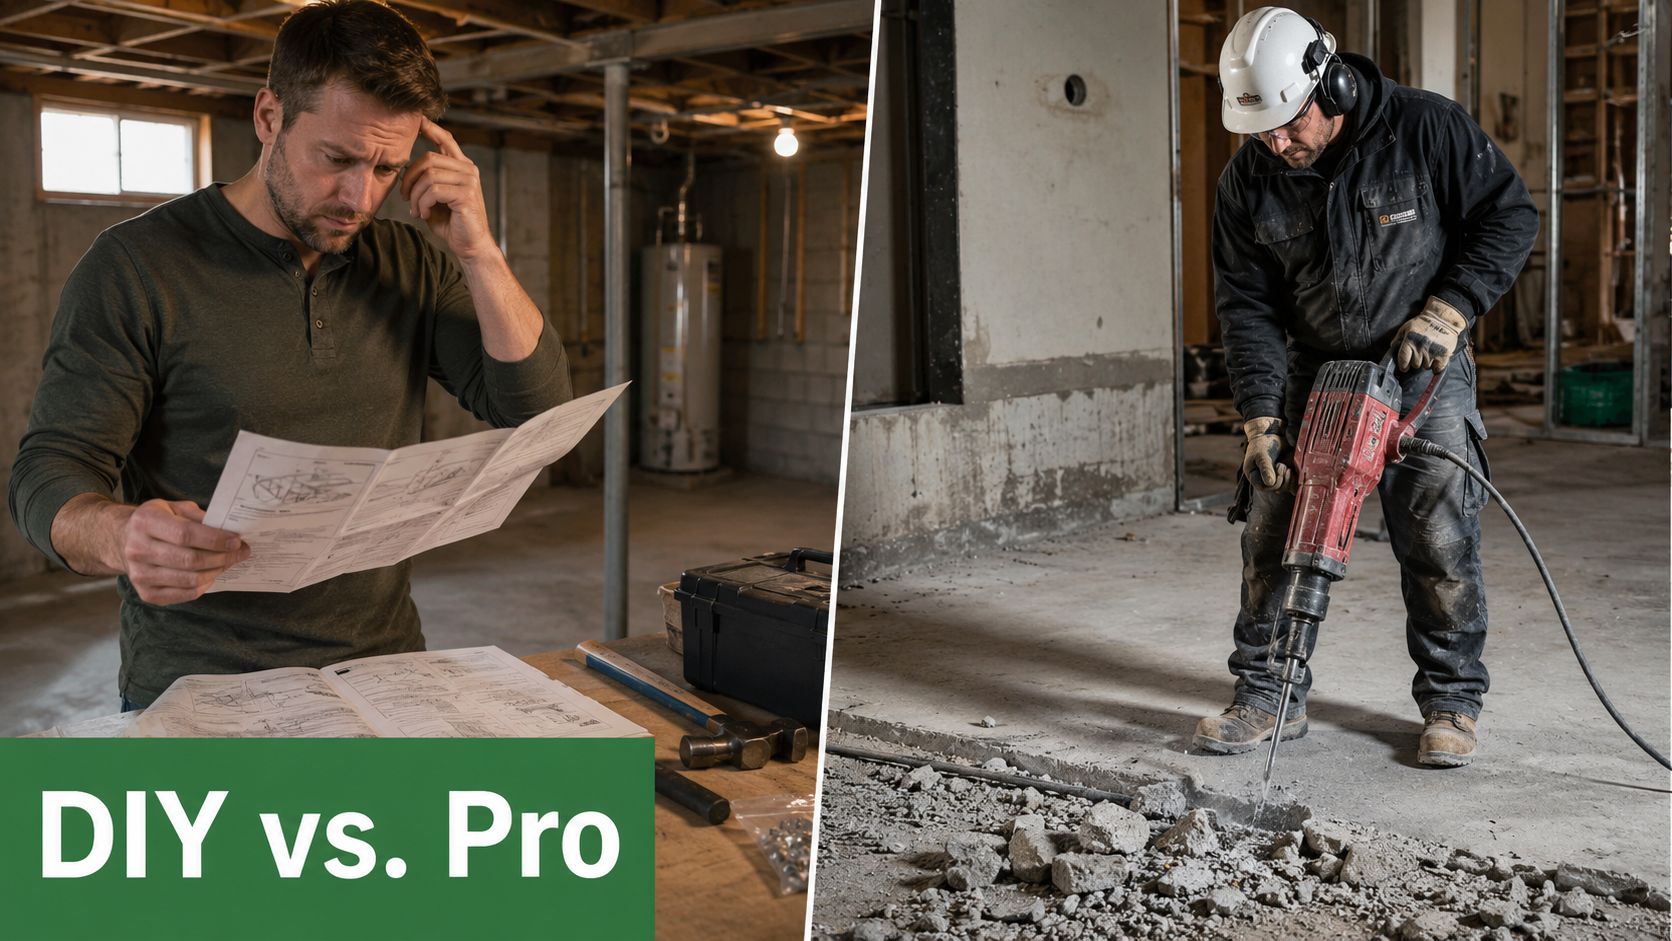
A homeowner can handle a simple like-for-like swap when the old pump is easy to replace, the pit is in good shape, the discharge line already works, and the outlet is where it should be. A new sump pump installation is a different job. On real sites, it ties together concrete cutting, excavation, plumbing, electrical work, and drainage judgment, and the water problem usually starts outside the pit, not inside it.
What DIY really involves
A do-it-yourself install looks simple on paper, then gets hard in the basement. Cutting the slab cleanly, digging a pit that stays plumb, solvent-welding PVC joints that do not leak, and wiring a GFCI circuit all take experience. If the house has stone foundation walls, settlement, or visible cracks, the job stops being a routine pump swap and turns into a foundation and drainage problem that needs a better look before anyone starts cutting.
Permits and HOA rules can add another layer of friction too, especially in older Mid-Atlantic homes where the work may need to fit local code and discharge limits. In PA, MD, DE, and NJ, crews run into tight lots, old masonry, and short discharge runs that freeze in winter if the line is not pitched right. That is why the question is not just whether someone can install a pump. It is whether the whole drainage path makes sense in that basement.
When hiring is the safer move
Hiring a licensed contractor makes more sense when the basement is finished, the water table is high, or the discharge route is tight. It also makes sense when the owner wants the system sized and installed as one job, with code compliance, warranty coverage, and one company responsible if the float sticks, the line freezes, or the pit was set too shallow. Older Mid-Atlantic homes raise the stakes because the foundation may need to be checked before a basin gets cut into the slab.
For homeowners comparing plumbing and mechanical crews, choosing the best plumber nearby is a useful place to start. The same standard applies here. Ask who handles the route, the power, the discharge, and the backup plan, and listen for a straight answer.
A simple rule works. A confident homeowner with a clean replacement and a clear discharge path may be fine on a small project. New installs, finished basements, stone foundations, and houses with outside drainage problems are better left to a crew that cuts pits, runs discharge, and handles foundation work every week.
Testing, Maintenance, and Regional Tips That Actually Help
A sump system should be treated like a working part of the house, not a set-it-and-forget-it accessory. The simplest test is still the best one, pour water into the pit or lift the float manually and make sure the pump starts, moves water, and shuts off cleanly. Annual inspection is smart, ideally in spring before flood season, because that's when stuck floats and weak connections show up before the first hard storm.
Seasonal maintenance that keeps the system honest
| Season | Task | What to Check |
|---|---|---|
| Spring | Full inspection and bucket test | Float movement, pump start, shutoff, and check valve closure |
| Summer | Humidity and basin check | Mold odor, basement dampness, and outlet function |
| Fall | Discharge review | Leaves, dirt, and exterior blockage at the outlet |
| Winter | Freeze watch | Ice buildup, line slope, and shifted pipe joints |
Quarterly attention helps too. Clear the basin inlet screen, look at the discharge outlet for ice or debris, and confirm that the GFCI outlet trips and resets correctly. If the line shifted during freeze-thaw weather, correct it before the next storm puts the system under load.
Regional habits that save trouble
Mid-Atlantic basements often need more than flood control alone. Summer humidity can creep up around the basin and create mold conditions in a finished space, so a working dehumidifier is a good companion to the sump system. After winter thaw cycles, check the discharge line again, because ground movement can change slope and create standing water where it wasn't before.
A pump that only gets attention after a flood is already behind.
Flood preparedness guidance recommends annual sump pump inspections, ideally in spring before flood season, and identifies stuck floats as a leading cause of pump failure during storms. That lines up with field experience, because a float that hangs up by an inch can turn a working system into a flooded basement fast.
If you're planning shed pads, garage foundations, or other concrete work across Pennsylvania, Maryland, Delaware, and New Jersey, request a quote from Firm Foundations and talk through the drainage needs before the next storm tests your basement.