
Shed Foundation Gravel Base
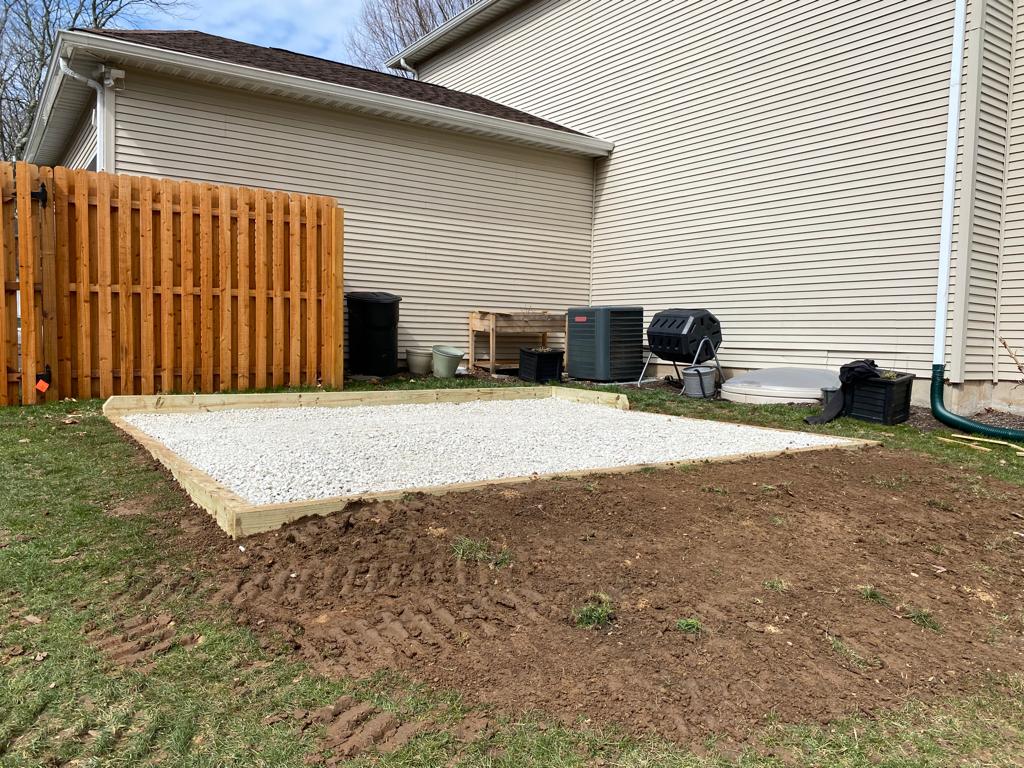
Table of Contents
ToggleFrom Ground to Greatness: Building a Shed Foundation Gravel Base
A beautiful, functional shed starts long before the walls go up or the roof goes on. The secret to a long-lasting outdoor structure lies right beneath it. Every shed needs a solid foundation to protect it from moisture, prevent structural warping, and ensure the doors and windows operate smoothly for years to come. Placing a shed directly on bare dirt or grass is a recipe for rot, settling, and costly repairs down the line.
Homeowners have several options when it comes to preparing a shed site. Concrete slabs offer extreme durability but come with a hefty price tag and require specialized labor. Concrete blocks or skids are cheaper but can look unsightly and often shift over time.
For many outdoor projects, a shed foundation gravel base hits the sweet spot between affordability, performance, and ease of installation. Gravel provides an incredibly stable base that naturally repels moisture away from the timber of your shed. It creates a clean, uniform look that complements almost any yard design. This guide will walk you through everything you need to know about preparing the perfect gravel base for your new shed.
Understanding Gravel Foundations
A gravel foundation, often called a crushed stone pad, is exactly what it sounds like. It is a carefully prepared, level bed of compacted gravel that serves as the resting place for a shed’s runners or floor joists. Rather than pouring wet concrete, you create a contained area of compacted stone to support the weight of the structure.
Benefits of using gravel for shed foundations
Gravel foundations offer several distinct advantages that make them a favorite among property owners and shed builders alike.
First, they are incredibly cost-effective. The materials required—crushed stone, landscape fabric, and pressure-treated lumber—are relatively inexpensive compared to pouring a concrete slab.
Second, gravel provides excellent drainage. Water naturally trickles down through the crushed stone rather than pooling around the base of your shed, which keeps the wooden flooring dry and prevents premature rotting.
Third, they are very easy to install for DIYers. You do not need a concrete mixer or specialized masonry skills to build a gravel pad. With some basic tools and a bit of sweat equity, most homeowners can complete this project over a weekend.
Fourth, gravel acts as a natural pest deterrent. Burrowing insects and rodents have a much harder time tunneling through sharp, compacted stone than they do through soft topsoil.
Finally, gravel pads are highly customizable. You can easily adjust the size and shape to fit the exact footprint of your shed, even if you change your mind about the shed dimensions at the last minute.
When a gravel foundation is the best option
Gravel foundations shine in yards with minor to moderate slopes where a concrete slab would require massive retaining walls. They are ideal for pre-built sheds that come with their own wooden floor systems. If you plan to park heavy machinery like a tractor or a vehicle inside the shed, a concrete slab might be necessary. For standard storage sheds, garden sheds, and workshops, gravel provides more than enough structural support.
Step-by-Step Guide: Building Your Gravel Shed Foundation
Planning and Preparation
Choosing the right location is the critical first step. Look for an area in your yard that is relatively flat, accessible for delivering the shed, and free from large tree roots or underground utilities. Check your local zoning laws and homeowner association guidelines to obtain any necessary permits before you begin digging.
Next, gather your tools and materials. You will need a specific type of gravel, usually 3/4-inch crushed stone (often called “clean stone”), which locks together well when compacted. Calculate the square footage of your pad and multiply by the desired depth (usually 4 to 6 inches) to determine how many cubic yards of gravel to order. You will also need high-quality woven landscape fabric, pressure-treated lumber (like 4x4s or 4x6s) for the retaining frame, leveling tools like a string line and a long spirit level, and a manual or gas-powered tamper for compaction.
Site Preparation
Start by clearing the chosen area of all grass, rocks, and debris. Use stakes and string to mark out the exact dimensions of your foundation. It is best practice to make the gravel pad one foot larger than the shed dimensions on all sides. For example, a 10×12 shed should sit on a 12×14 gravel pad. This extra border prevents dirt from splashing up onto the siding during heavy rain.
Excavate the base by digging down roughly 4 to 6 inches to remove the soft topsoil. The goal is to reach the harder, more stable subsoil. Keep the bottom of this excavated area as flat and even as possible.
Building the Retaining Frame
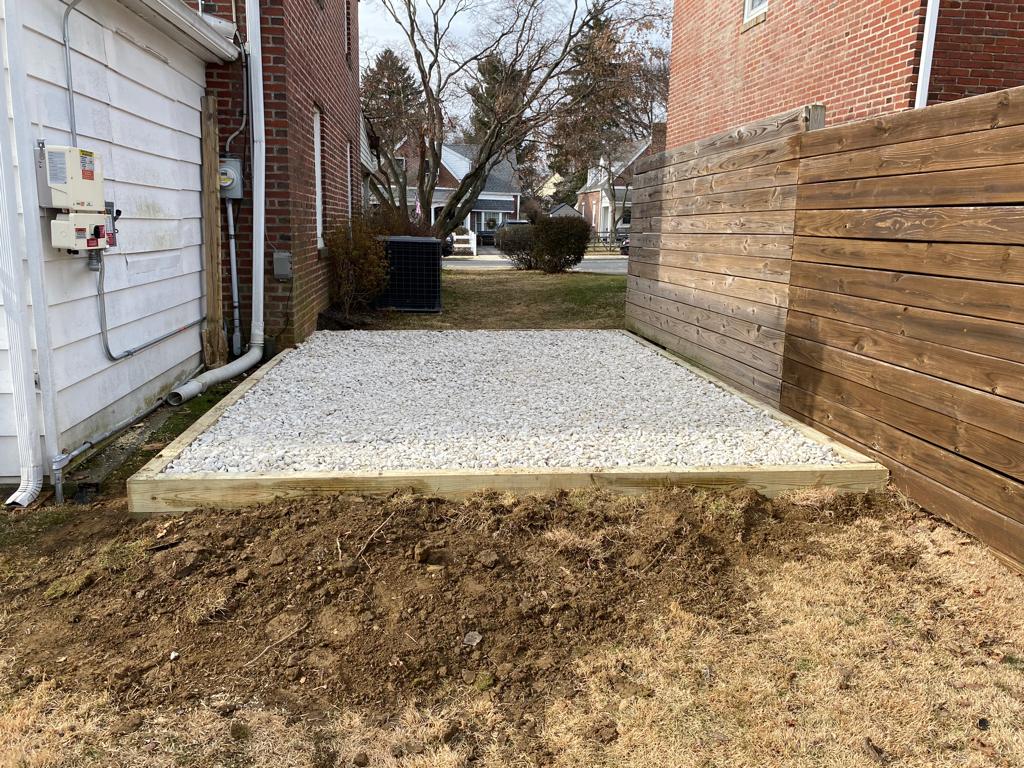
While some people simply pile gravel into a hole, building a perimeter frame out of pressure-treated lumber is highly recommended. The frame keeps the gravel contained, prevents it from washing away during heavy rain, and gives the foundation a neat, finished appearance.
Cut your pressure-treated 4x4s or 4x6s to match the dimensions of your excavated area. Assemble them using heavy-duty timber screws. To ensure the frame stays firmly in place, drill holes through the lumber and drive half-inch rebar stakes deep into the ground. Use your level constantly during this step. A perfectly level frame makes leveling the gravel much easier later on.
Laying the Landscape Fabric
Once the frame is secure, line the bottom of the excavated area with heavy-duty landscape fabric. This crucial step prevents weeds from growing up through the stone. It also stops the gravel from slowly sinking into the muddy subsoil over the years. Overlap the seams of the fabric by at least six inches and run it slightly up the inside edges of your wooden frame.
Adding and Leveling the Gravel
Now comes the heavy lifting. Have your crushed stone delivered directly onto the pad if possible, or use a wheelbarrow to transport it. Spread an initial layer of about three inches evenly across the fabric using a hard steel rake.
Compact this first layer thoroughly. A heavy hand tamper works fine for smaller pads, but renting a gas-powered plate compactor will save your back and yield much better results.
Add the remaining gravel until it is flush with the top of your wooden frame. Compact this top layer again. To ensure a perfectly level surface, use a long, straight board (like a 2×4) with a spirit level placed on top. Drag the board across the surface of the gravel to identify any high or low spots, adjusting the stone as needed.
Final Touches and Inspection
Walk around the completed pad and double-check the perimeter frame for stability. Lay your level across various points of the gravel bed one last time. The foundation must be perfectly flat so the shed’s doors hang correctly and the walls remain plumb.
Common Mistakes to Avoid
Insufficient site preparation
Failing to remove the soft topsoil before building your frame is a major mistake. Topsoil compresses easily, especially when wet. If you build your pad directly on grass or loose dirt, the entire structure will eventually settle and sink unevenly.
Using the wrong type of gravel
Do not use pea gravel or river rock for a shed foundation. These stones are smooth and round. They act like tiny ball bearings, constantly shifting and rolling under weight. You must use crushed, angular stone (like 3/4-inch clean or 3/4-inch minus) that will lock together securely.
Skipping compaction
Pouring the stone into the frame and walking away is not enough. Without proper tamping, the stone will settle naturally over the first few months. This settling will be uneven, leading to a warped shed. Always use a hand tamper or plate compactor.
Not accounting for drainage
If your yard slopes heavily toward the shed location, you must implement a drainage solution. Building a French drain uphill from the pad can redirect water around the structure, keeping your base dry and stable.
Inaccurate leveling
A shed built on a tilted foundation will cause endless frustration. The doors will constantly swing open or bind against the frame. Take the extra time to use a high-quality long level and a string line during the frame construction and final stone grading.
Maintaining Your Gravel Foundation
Gravel foundations are remarkably low maintenance, but they are not entirely maintenance-free. Conduct regular checks around the perimeter of your shed, especially after heavy storms, to ensure the gravel is not washing away. Check for signs of settling by looking at the shed doors; if they suddenly start sticking, the foundation may have shifted.
Keep an eye out for aggressive weeds that might take root in the dust and debris that blows onto the gravel over time. Pluck them early or use a mild weed killer. Every few years, you might need to order a few bags of crushed stone to replenish any sparse areas around the outside border of the shed.
When to Call the Professionals: Firm Foundation’s Expertise
While building a gravel pad is an accessible weekend project for many, it involves a lot of heavy lifting and precision. If your yard has a severe slope, if the soil is excessively wet, or if you simply do not have the time or physical capability to move tons of crushed stone, it is time to call the experts.
This is where Firm Foundation steps in. As an experienced foundation contractor, Firm Foundation handles the heavy lifting, the complex leveling, and the site prep that makes homeowners scratch their heads.
Professional installation means the job gets done quickly and correctly the first time. Firm Foundation provides custom foundation solutions tailored exactly to your property’s unique topography. They conduct expert site assessments to identify drainage issues before they become disasters. With Firm Foundation managing the project, you get quality assurance and the peace of mind that your shed will stand tall and proud for decades.
Setting Your Shed Up for Success
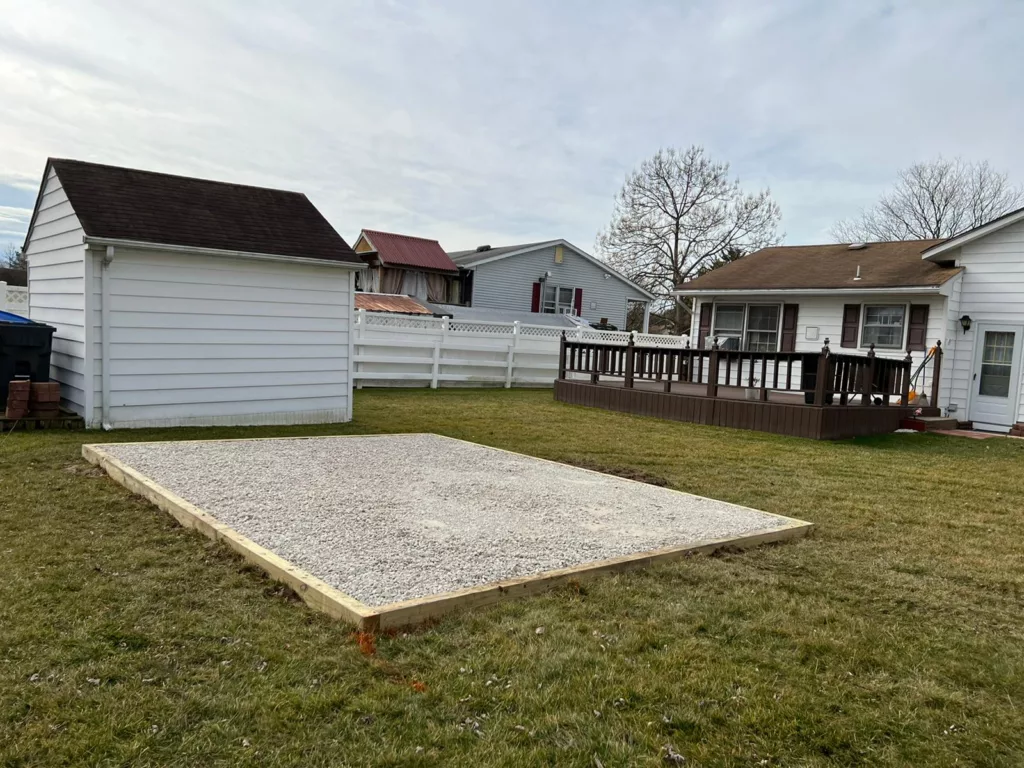
A gravel foundation offers an unbeatable combination of affordability, excellent drainage, and structural stability. It is the perfect starting point for almost any backyard storage building, workshop, or garden shed.
Taking the time to dig out the topsoil, build a sturdy retaining frame, and properly compact angular crushed stone will protect your investment from rot and settling. For those who enjoy working outdoors, it is a highly rewarding DIY project that pays off immediately when the shed is delivered.
Do not let a beautiful new shed suffer on a subpar base. Whether you decide to grab a shovel and tackle the project yourself or hire the trusted experts at Firm Foundation, providing a solid, level gravel pad ensures your outdoor structure will serve you faithfully for years to come.
Firm Foundations LLC
https://maps.app.goo.gl/Uf6XdgtpBTETgNrr7
1535 White School Rd, Honey Brook, PA 19344, United States
(717) 716-7267
https://shedpads.com/