
Master Floor Framing Plans for Sheds & Garages
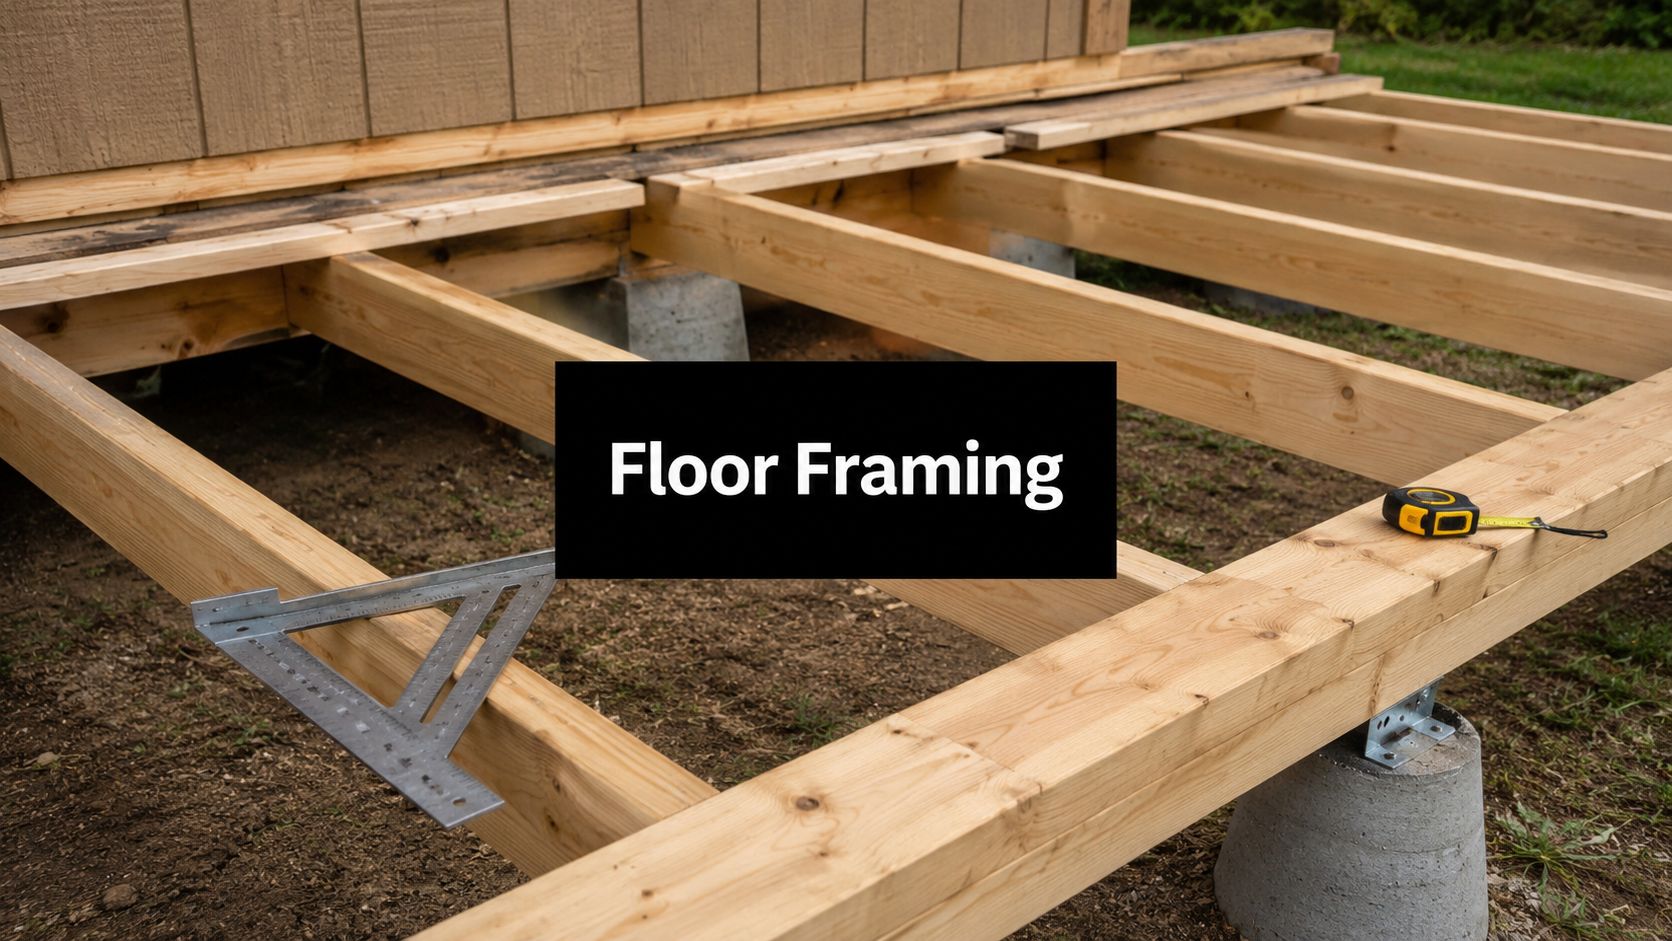
You're ready to add a shed, garage, gazebo, or barn shed to your property. You may already have the building picked out, a spot in mind, and a rough budget. Then the hard part shows up. What goes under it, how the floor frame should sit on that base, and whether the whole thing will stay level through Pennsylvania winters and wet seasons.
That's where many projects go off track. Homeowners often focus on walls, roofing, and siding first, but fundamental building performance starts lower. A good floor framing plan isn't just about lumber layout. It's the roadmap that ties the frame to the gravel pad or concrete foundation underneath, so the structure stays square, drains properly, and carries weight the way it should.
Your Project Starts with a Solid Plan Not Just Lumber
A floor system only works when the plan matches the use of the building. A 10×10 storage shed doesn't get treated the same way as a garage with heavier point loads, and neither one should be approached like a horse barn or a shipping container base. In Pennsylvania, Maryland, Delaware, and New Jersey, that difference matters even more because freeze-thaw movement, drainage, and soil conditions can punish shortcuts fast.
Most online guides skip the part that causes the expensive problems later. They talk about cutting joists and fastening subfloor panels, but they don't spend enough time on the relationship between the floor frame and the base below it. That's the part that determines whether your doors will swing right, whether your floor feels firm underfoot, and whether the building settles evenly.
What a floor framing plan actually does
A proper floor framing plan answers a few basic but important questions:
- Where the loads go so beams, joists, and bearing points line up with the base
- How the platform will stay square before walls are framed
- What happens at openings like stairs, loft access, or utility penetrations
- How the frame connects to the foundation so movement and moisture don't create trouble
Practical rule: If the base is out of level or the frame is out of square, every trade that follows has to fight that mistake.
That's why I always tell homeowners to slow down at the planning stage. A rushed start often turns into rework on the back end. Concrete forms may need adjustment. Gravel may need to be regraded. Anchors may end up in the wrong place. All of that costs more than getting the layout right before anything is poured or compacted.
Good planning starts before the crew arrives
Even a small outbuilding benefits from clear communication between the owner, builder, and anyone handling the base work. If you're coordinating deliveries, installers, or design help, tools like AI receptionist services for architects can help manage inbound calls and scheduling without letting project details slip through the cracks.
For homeowners in places like Honey Brook Township and surrounding communities, the big takeaway is simple. The floor frame and the foundation can't be planned separately. If they are, one of them usually gets forced to fit the other, and that's when avoidable problems start.
The Foundation First Approach to Floor Framing
The strongest joist layout in the world won't save a project sitting on the wrong base. That's why the best floor framing plans begin with the foundation choice, not with a lumber order. For a shed foundation, gazebo foundation, or garage footings and foundations, the first decision is whether the building belongs on a gravel pad, a concrete slab, piers, or another approved system for the site and use.
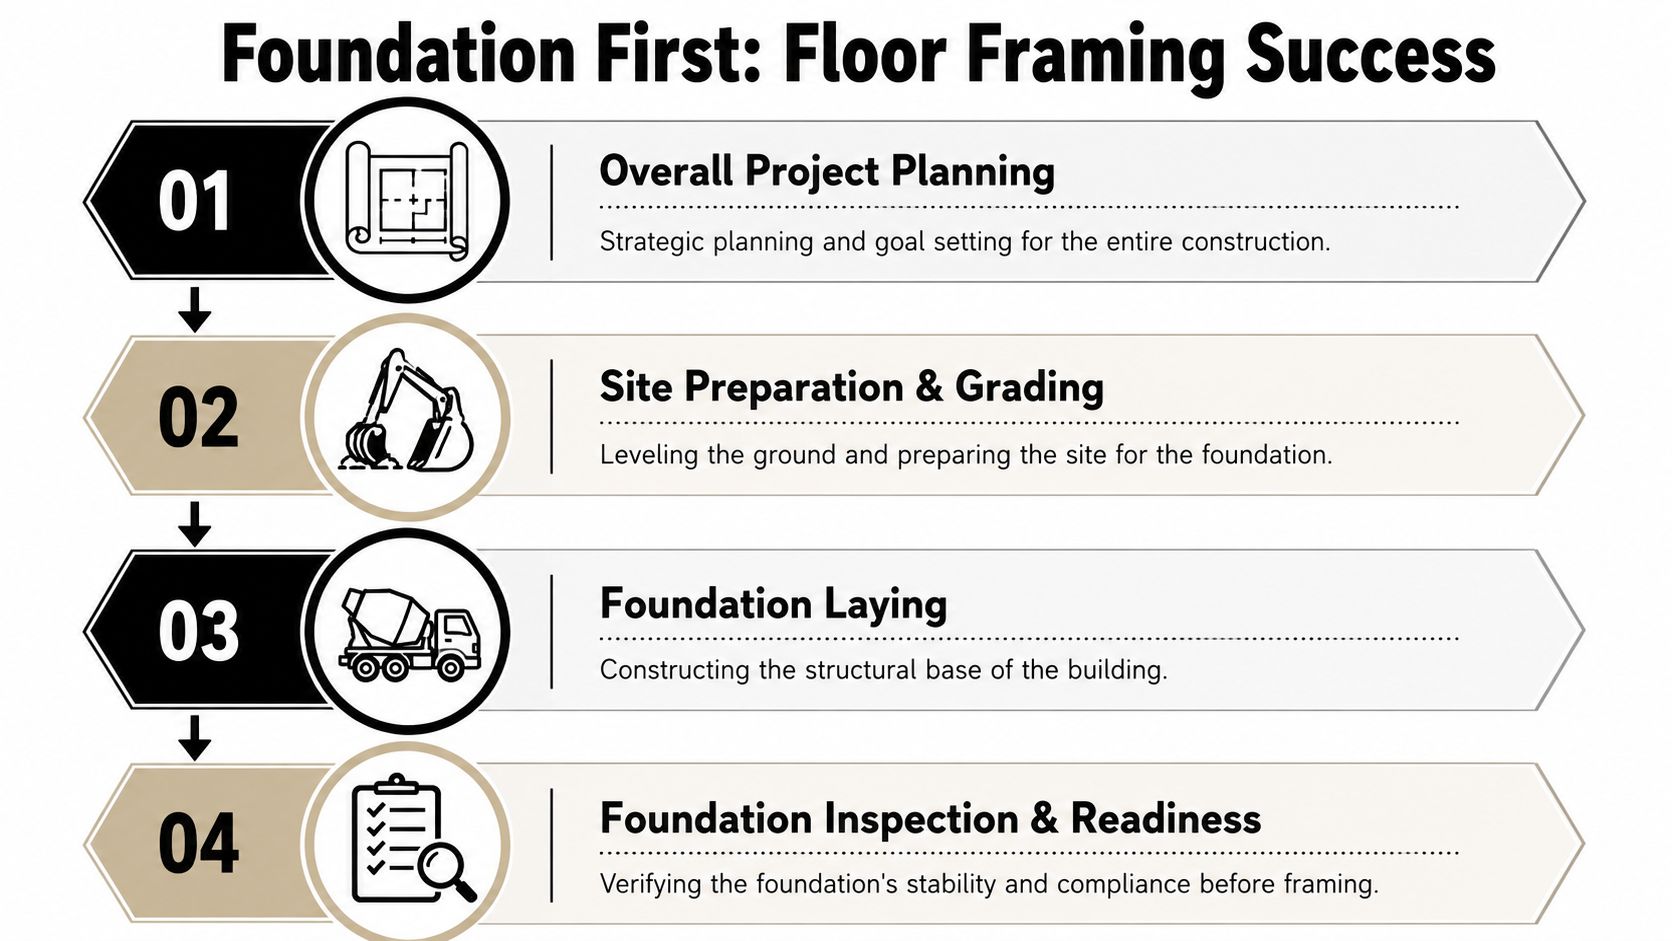
A lot of “shed foundations near me” searches come from homeowners comparing price, but the smarter question is performance. A base for storage shed needs drainage and compaction. A concrete foundation for garage needs to support vehicles, resist movement, and match the intended framing and anchor details. What works for one won't always work for the other.
Gravel pad versus concrete slab
A well-built gravel pad is often a strong solution for storage sheds, playsets, and some prefab buildings. It handles drainage well and gives installers a stable working surface when it's excavated, compacted, and edged correctly. It's also a practical option when a raised wood floor system is part of the building package.
Concrete makes more sense when the use calls for a harder-wearing surface, more direct support, or a clean slab-on-grade setup. Garages, hot tub pads, some gazebo foundation projects, and heavier outbuildings often fit this category better. If you're comparing slab options, this guide to a concrete pad for shed is a useful starting point for understanding where a slab makes sense and where it doesn't.
Outbuildings don't always follow house rules
Dynamic load redistribution, a frequent pitfall for many DIY plans, is essential for non-standard structures like sheds and barns. Industry data reveals that 30% of framing errors in these outbuildings stem from incorrectly applying residential load assumptions, risking structural failure under real-world conditions like concentrated animal weights or heavy equipment storage according to guidance on framing a floor for non-standard structures.
That matters in our region. A garden shed, a detached garage, and a small barn all look similar from the road, but they can load the floor and foundation very differently. A riding mower, stack of feed, compact tractor, or container corner load changes what the base needs to do.
The right question isn't “What foundation is cheapest?” It's “What foundation gives this structure a stable, long-lasting starting point?”
What works and what doesn't
Here's the trade-off in plain language:
| Foundation option | Works well for | Usually goes wrong when |
|---|---|---|
| Gravel shed foundation | Sheds, some prefab outbuildings, drainage-focused sites | Base isn't excavated and compacted correctly |
| Concrete slab | Garages, heavier storage, durable finished surfaces | Slab is poured before layout and elevation are fully verified |
| Pier system | Select shed foundation projects on suitable sites | Spacing, depth, and alignment aren't coordinated with the frame |
The floor frame should land on a level, stable surface with the bearing points where the plan expects them. If the base misses that target, the frame crew ends up correcting for foundation errors with shims, forced connections, and compromises that never should've been necessary.
Mapping Your Layout and Ensuring Squareness
A shed or garage can sit on a base that looks fine and still give you trouble if the floor layout is off by even a little. I've seen outbuildings in Pennsylvania where the gravel pad was level, the slab was poured cleanly, and the frame still fought the crew because the layout was never checked against the foundation lines. That is how you end up forcing sheathing, shimming walls, and wondering why the overhead door opening never looks quite right.
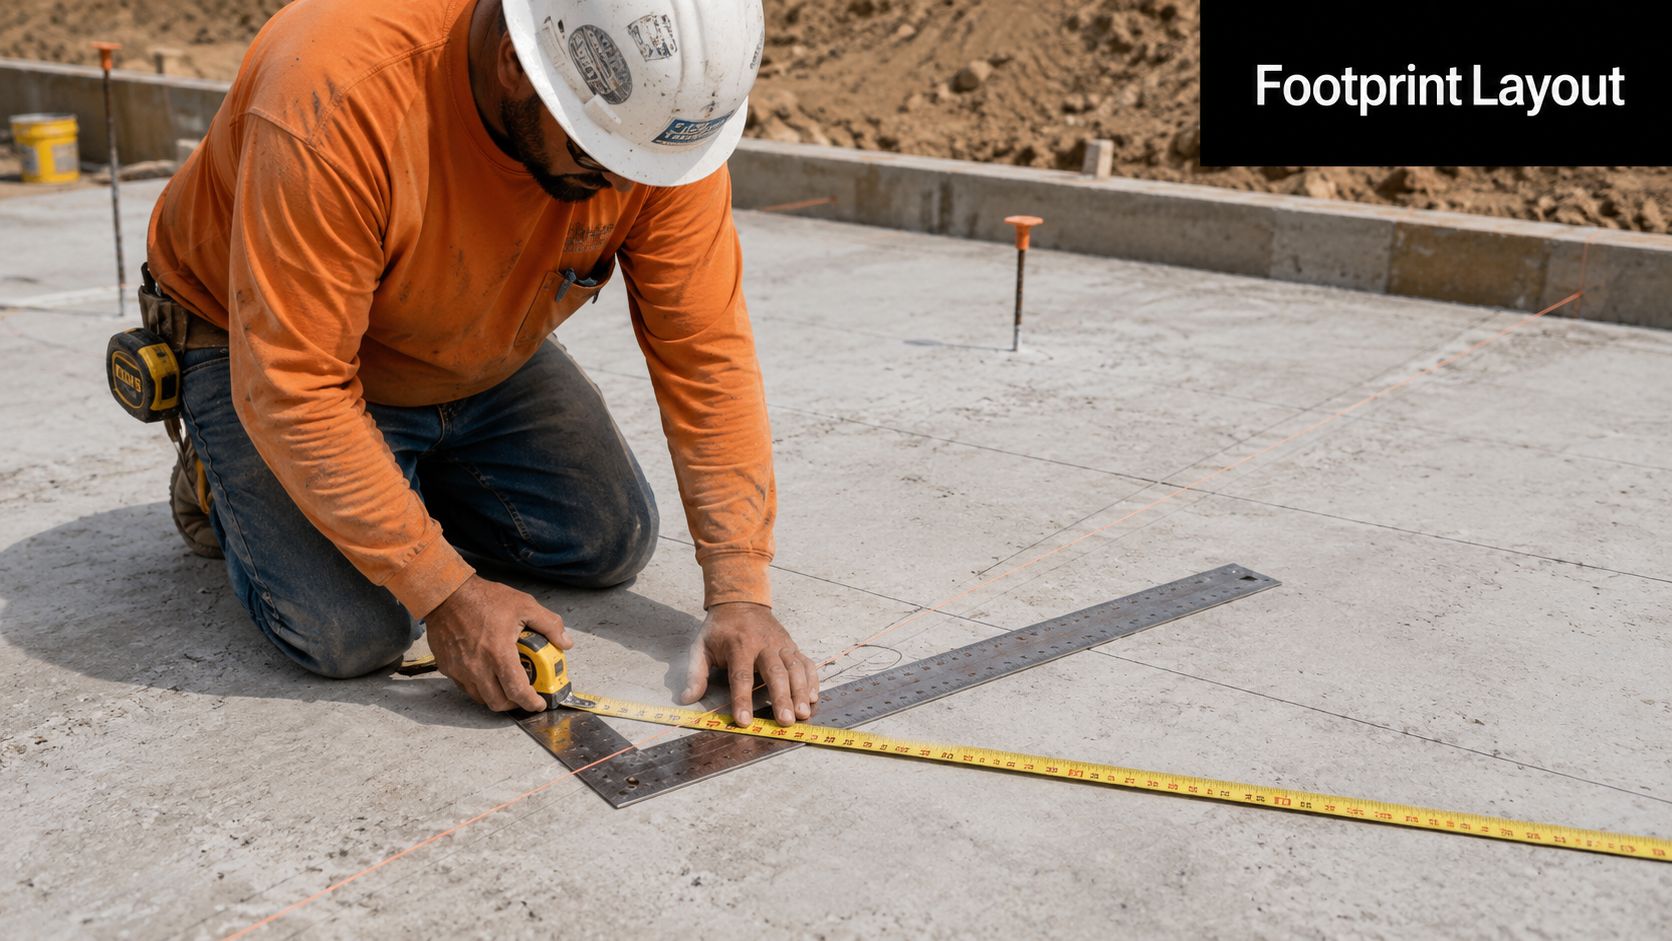
Good floor framing plans start at the base. On a gravel foundation, the control points need to come from the prepared pad and any installed perimeter system, not from a rough guess at the stone edge. On a concrete slab, the slab dimensions, anchor locations, and finished edges all need to agree with the framing plan before lumber gets cut.
Lay out the building on the foundation before you frame it
The first marks should establish the actual footprint and bearing lines. After that, the crew can mark girders, rim boards, and joist locations at the spacing called for in the plan. If you are comparing common member sizes while laying out that structure, this guide to a 2 x 12 floor joist for shed and garage framing helps clarify where larger framing members are typically used.
That sequence prevents a common mistake. A lot of DIY shed and garage builds start with lumber on sawhorses and a general idea of the size. The better approach is to confirm that the frame will sit where the foundation can support it.
For outbuildings, that matters more than people expect. Garage slabs often need clean alignment for vehicle door openings. Shed pads need the floor frame centered and supported so rim and joist ends are not hanging past the bearing area.
Check square with string lines and matching diagonals
Squareness is simple to verify in the field, but it has to be done carefully. The International Association of Certified Home Inspectors explains the basic layout method clearly in its overview of building square footings with diagonal measurements. The same principle applies whether you are setting a small shed floor or laying out a detached garage.
A clean field check usually follows this order:
- Mark the corners from the plan dimensions.
- Run string lines or snap control lines that represent the outside of the frame.
- Measure both diagonals from opposite corners.
- Adjust the layout until the diagonal measurements match.
- Recheck bearing points so beams, skids, or perimeter supports land where the frame expects them.
Crews also use the 3 4 5 method to establish a true right angle at a corner. The method is reliable because it is based on geometry, not guesswork. On a larger garage pad, we often stretch that proportion out to fit the building size and get a cleaner read.
Small errors at the base show up everywhere else
A floor frame can look close enough from a few feet away and still create problems later. The usual signs are easy to recognize:
- Wall plates drift out of line with the slab or pad edge
- Subfloor sheets need trimming or forcing instead of breaking clean on layout
- Door openings end up slightly out of true
- Roof framing picks up the error and makes corners harder to finish neatly
This quick demonstration shows the concept in action on site:
What careful crews verify before fastening anything down
The best crews do more than pull one diagonal and call it done. They compare the layout to the actual foundation, check setbacks from slab edges or pad boundaries, and confirm that anchor bolts, post brackets, or bearing lines will not force a field change later.
That is the part many online guides skip. On sheds and garages across PA, MD, DE, and NJ, the floor frame and the foundation have to work as one system. If the frame is square but shifted on the base, you still have a problem. If the base is level but the diagonals are off, you still have a problem.
Doing this correctly at layout stage prevents expensive fixes after the walls are up. It also gives the whole building a better start, which is exactly what we aim for at Firm Foundations.
Choosing the Right Joist Size and Spacing
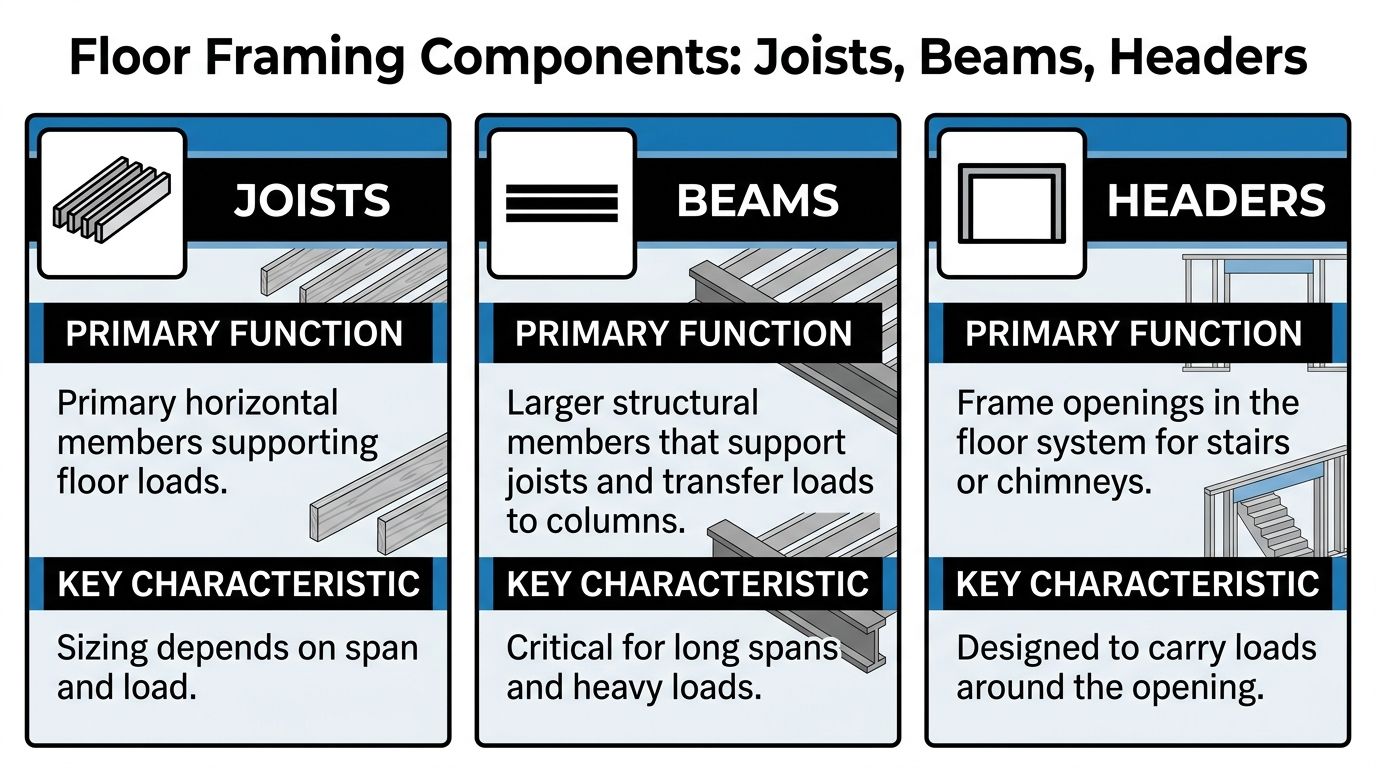
Once the layout is true, the next concern is strength. Floor framing plans transition from a mere sketch to a structural design. Joists, beams, and headers all do different jobs, and if one piece is undersized or spaced incorrectly, the floor tells on you fast. It feels soft, bouncy, or uneven under load.
What each framing member does
Think of the floor system as a chain of support.
| Component | Main job | Why it matters |
|---|---|---|
| Joists | Carry floor loads across the span | Their size and spacing affect stiffness and feel |
| Beams | Support joists and transfer loads downward | They become critical when spans grow or loads increase |
| Headers | Carry loads around openings | They keep the floor system continuous where framing is interrupted |
If you're comparing lumber choices for a wood floor platform, this overview of a 2 x 12 floor joist is helpful for understanding where larger members fit into the bigger picture.
Span, spacing, and floor feel
Joist spacing is often 12, 16, or 24 inches depending on the plan and load requirements, and that spacing has to work with the span and lumber size. Tighter spacing can help support subfloor performance. Wider spacing may be fine in the right design, but only when the member size and load assumptions support it.
For floor joist spans under 15 feet, structural design standards specify a maximum deflection limit of L/360 under design live loads only, where L is the clear span in inches, according to this wood framing design reference. In plain terms, that rule limits how much a joist is allowed to bend under normal use so the floor doesn't feel weak or sag over time.
Field note: Homeowners rarely complain that a floor is too stiff. They absolutely notice when it feels springy.
A related benchmark is just as important in practice. A key benchmark for floor-framing is limiting deflection to L/360 under typical loads. Exceeding this limit leads to a 60-70% increase in perceived floor bounce. A common pitfall is undersizing joists for long spans, which causes excessive sagging and occupant complaints, especially in open-plan areas, based on fine homebuilding guidance on floor framing performance.
Where homeowners get into trouble
The most common mistakes usually come from treating all outbuildings the same. A simple storage shed, a lofted garage, and a workshop with equipment don't stress the floor in the same way.
What doesn't work:
- Picking joists by habit instead of matching them to span and intended use
- Stretching spacing too far because it saves material on paper
- Ignoring floor feel and focusing only on whether the floor stands up today
- Forgetting openings and concentrated loads that interrupt a simple joist run
What does work is matching joist size, spacing, bearing conditions, and the subfloor assembly to the actual use of the structure. That's why precise planning matters as much for a 4×8 shed with foundation as it does for larger foundation builds. The building may be smaller, but the consequences of a weak floor are still real.
Accounting for Openings and Connection Details
A floor frame for a shed or garage gets more complicated the moment you add a stair opening, an access hatch, or a utility chase. In our work, this is often where a solid-looking plan starts to fail on paper. A homeowner knows where they want the opening. The frame still has to carry load back to the rim, beam, and foundation without creating a soft spot.
That matters even more on small outbuildings common across Pennsylvania, Maryland, Delaware, and New Jersey. On a house, one weak area may be buried in a larger system. On a shed or detached garage, a poorly framed opening can concentrate load in a small area and telegraph problems quickly through the floor. You feel it underfoot, and in some cases that extra stress ends up at the slab edge or at isolated bearing points on a gravel pad.
Openings need a framing plan before the saw comes out
Cutting a joist and adding support later is a costly way to build. The opening should be laid out first so the joists that get interrupted can transfer their load into headers and trimmer joists sized for that job. The International Residential Code addresses framing around stair openings and requires the supporting members and connections to be designed to carry the redirected load, as shown in the 2021 IRC floor framing provisions.
For a typical opening, the sequence is straightforward:
- Mark the finished opening size from the plan, not from a rough field guess.
- Identify every joist that will be cut or shortened.
- Install trimmer joists alongside the opening where the cut joists will bear.
- Frame the headers so the interrupted joists transfer load cleanly into those trimmers.
- Check that the added loads still land over solid bearing below, especially near slab edges, thickened slab sections, or compacted pad zones.
That last step gets missed all the time online. The floor frame and the foundation have to work together. If an opening shifts load toward one side of a small garage or shed, the support below that area needs to match it.
Connection details decide whether the plan works in the field
The drawing may show doubled members and headers, but the hardware and fastening schedule are what make those pieces act as one unit. Hangers, structural screws, nails, anchor spacing, and bearing length all need to match the materials and the manufacturer instructions. For some metal-to-wood connections, products like Contractor's Den T17 fasteners are worth reviewing before the crew starts so the right fastener is on site.
Small mistakes here cause real problems. The wrong screw can reduce connector capacity. Missing hangers can leave a header carrying load in a way it was never intended to carry. On a detached garage with storage above, or a shed with a loft ladder opening, those errors usually show up as movement, squeaks, or subfloor joints that never stay tight.
Clean framing protects the whole platform
Good work shows up in the details. Openings are framed as part of the original layout. Bearing points line up. Connectors match the assembly. Loads are sent where the foundation can support them.
That is the standard we use at Firm Foundations, because fixing a weak opening after the building is up is far more expensive than framing it correctly from the start.
Navigating Local Codes and Getting Your Project Started
A good plan still has to pass the practical test of local code, local permitting, and local site conditions. In Pennsylvania especially, that can get confusing fast because state rules and township rules aren't always the same. Homeowners often assume a detached shed is automatically exempt from permits, then find out their municipality has a lower threshold.
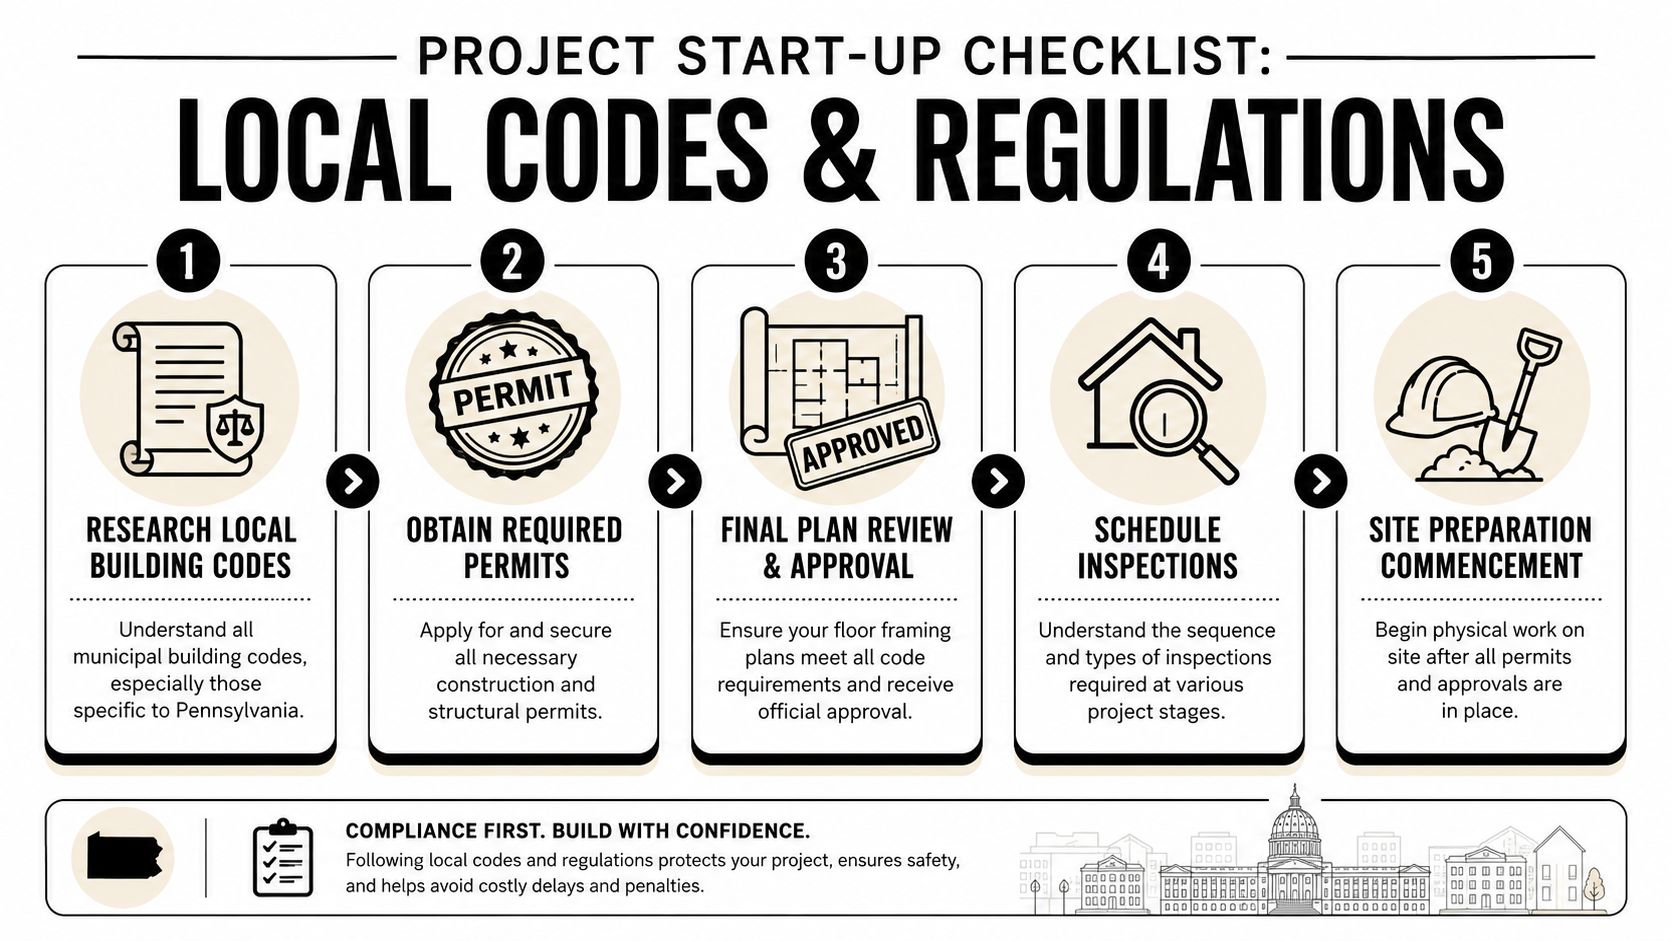
In Pennsylvania, the state's Uniform Construction Code exempts detached sheds under 1,000 square feet from building permits, but many local municipalities have reduced this threshold to as low as 120-200 square feet, creating a patchwork of local rules that homeowners must work within, according to Pennsylvania shed permit guidance.
That means your neighbor's experience may not apply to your project. It also means a search for shed foundations contractors near me or garage foundation contractors near me should lead you toward companies that understand local approval processes, not just excavation and pouring.
A simple pre-construction checklist
Before you break ground, review these items:
- Verify permit requirements with your municipality, not just at the state level
- Confirm the structure use so the base and floor frame match real loads
- Match the foundation type to the site instead of choosing by price alone
- Check drainage and grade before any gravel, concrete forms, or framing materials arrive
- Coordinate builder dimensions early so the shed pad or slab fits the delivered structure exactly
For some projects, foundation details are also tied to climate and frost depth. For example, Philadelphia's frost line depth is 36 inches, and permitted sheds over 200 square feet typically require concrete piers or a full slab extending below that 36-inch frost line according to Philadelphia shed permit and frost line guidance. That's a good reminder that local conditions affect foundation planning just as much as floor framing does.
Site prep details that affect the framing later
Even basic dimensions during site work matter. For concrete shed pads, the recommended excavation depth is 4 to 6 inches, or 8 inches if crushed stone will be added underneath, and the finished slab should be about 4 inches thick, based on this shed pad preparation guide. For pier foundations, post holes should be spaced about 4 feet apart, with each hole 12 inches in diameter and 12 inches below the local frost line, with 4 to 6 inches of compacted gravel at the bottom before concrete is added, according to this shed foundation installation guide.
Those details are easy to overlook when you're focused on the building itself. They're also the kind of details that determine whether the floor frame lands on a base that's ready for it.
Why local experience pays off
The floor frame, the pad or slab, the drainage plan, the permit path, and the intended use all have to line up. If one of those is off, the project slows down or gets rebuilt. That's why homeowners looking for gravel shed foundation contractors near me, concrete contractors, excavation near me, or driveway contractors near me usually get the best outcome from a crew that handles the site as a full system instead of one isolated task at a time.
When you're planning a shed foundation, a garage slab, a gazebo foundation, or even a larger house foundation or outbuilding base in Pennsylvania, Maryland, Delaware, or New Jersey, getting the plan right up front is what protects your budget later.
If you want the base and floor layout done right from the start, Firm Foundations can help. The team builds gravel pads, concrete foundations, garage slabs, shed pads, and excavation-ready sites across Pennsylvania, Maryland, Delaware, and New Jersey. Reach out for a free, transparent quote and get a foundation plan that fits your structure, your site, and your local code requirements.