
Garage Floor Drain Installation Guide


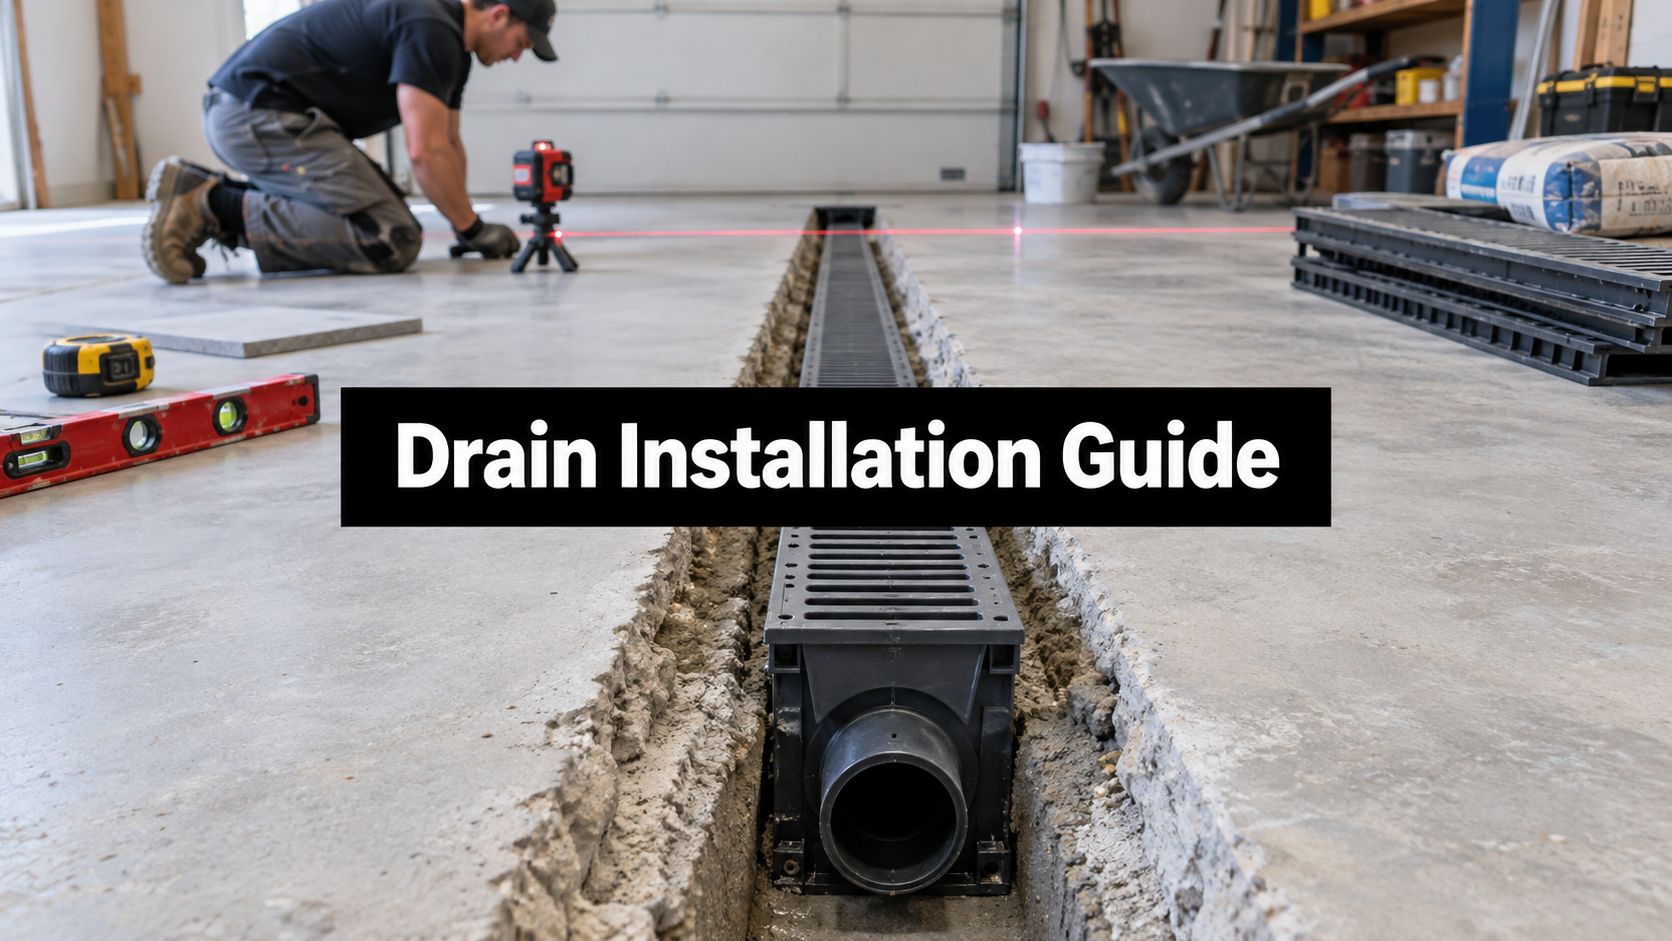
The popular advice is simple: cut a hole in the garage slab, install a grate, and let the water disappear. That approach can create a flooding problem, a failed inspection, or a soil-gas pathway if the drain connects to the wrong system. Proper garage floor drain installation starts with the intended use of the space, the legally approved discharge route, the slab elevation, and the local plumbing code.
For homeowners in Pennsylvania, Maryland, Delaware, and New Jersey, a garage drain may be appropriate, but it isn't automatically required. A garage used only for parking may be better served by a slab sloped toward the overhead door, while a workshop, wash area, or repair space can trigger additional drainage and oil-separation requirements. The safest time to resolve those questions is before excavation and concrete placement.
Why Garage Floor Drain Installation Requires Careful Planning
Model plumbing-code records show that a proposal requiring a floor drain in every garage was disapproved, so the first question is whether your garage needs one at all (International Residential Plumbing Code proposal record). Local authorities may amend the model code or apply separate requirements based on sewer connections, flood risk, site conditions, and the garage's intended use.
That decision also affects radon and sewer-gas control. A drain tied to the wrong piping system can create an unauthorized connection, allow gases into the garage, or provide a pathway for soil gas. In the Mid-Atlantic, where freeze-thaw cycles, wet soils, and high water tables can affect drainage, the discharge plan deserves as much attention as the opening cut into the slab.
A garage used for occasional vehicle storage may need only a properly formed slab that directs incidental water toward the vehicle-entry doorway. Washing, servicing, repairing, or fueling vehicles can require an approved drainage system, a different discharge route, and an oil separator.
Practical rule: Define the water, gases, and debris the drain may carry before choosing its location or piping.
Use determines the drainage design
Resolve these questions before excavation or concrete placement:
- Identify the purpose. Is the drain for wash water, incidental vehicle drippage, emergency flow, or routine automotive work?
- Confirm the discharge point. Ask the local plumbing or sewer authority whether the connection may enter sanitary sewer, storm drainage, a sump, daylight discharge, or another approved system.
- Check permits and inspection. Some jurisdictions require approval and inspection before piping or concrete is covered.
- Document the route. Record the drain location, trap, cleanouts, discharge line, and any separator before the slab hides them.
Los Angeles treats emergency garage drains as a separate system and requires them to remain independent from sanitary, storm, subsurface, and condensate drainage. Ohio guidance addresses permits, inspection before covering, and trapped and vented connections when a residence connects to sanitary sewer. Those examples show why a neighboring municipality's practice cannot establish the rule for your property.
Site drainage matters too. Guidance on home grading and drainage principles supports managing surface water before it reaches the building. In some locations, a slab correctly sloped toward the overhead door is safer and easier to approve than an interior drain connected to an unapproved outlet. Planning the destination first helps prevent costly rework and limits radon and sewer-gas risks.
Establishing the Correct Slope and Elevation
A garage drain can be perfectly installed and still fail if the slab sends water toward the wrong place. The finished surface needs a continuous fall, with a practical benchmark of approximately 1/8 inch per foot, about 1%. The constructed slope should not flatten below roughly 1% after deflection and volume changes.
Coordinate that pitch with the drain rim, overhead-door threshold, wall framing, equipment pads, and finished-floor elevation. A rim set too high leaves water around the grate. Set it too low, and the resulting depression collects grit, takes vehicle and equipment impacts, and creates a trip hazard.

Verify the fall before concrete arrives
Visual screeding cannot reliably confirm a garage slab's drainage grade. Establish the finished-floor elevations, mark reference points across the slab, and use a laser or level grid to check the pitch from several locations. A gradual flat spot may be invisible from the garage doorway but still hold wash water and winter melt.
Set the drainage path deliberately:
- Set the final drain elevation against the planned finished floor, not merely the rough excavation.
- Form a continuous fall from walls, vehicle bays, and equipment areas toward the approved exit point.
- Check the doorway transition so water does not run toward wall framing or create an abrupt threshold.
- Recheck after reinforcement and forming because preparation work can shift the finished grade.
Where local design permits, the slab may drain toward the main vehicle-entry doorway instead of an interior drain. That approach still requires protection for structural members, wall coverings, and adjacent finishes.
On a 24-foot-deep garage, the benchmark produces roughly 3 inches of fall from the back wall to the drain. Elevation stakes therefore need to be set before the concrete truck arrives.
The embedded video offers a visual reference for establishing drainage grades and elevations:
Trenching and Setting the Drain Body
Once the elevations are established, trench the sub-base, prepare firm bedding, set the drain body, and protect the rough-in during the pour. A drain that floats, tilts, or shifts under wet concrete can leave a permanent low spot and a grate that will not seat correctly.

Build the rough-in around serviceability
Use a stable granular base beneath the pipe and drain body to support the slab and hold the planned elevation. Shape the trench for the pipe bedding and fittings, leaving enough working room for watertight connections. Avoid forcing the pipe into a sharp bend or creating an unintended low spot that can retain water.
Coordinate every slab or foundation penetration with the structural layout before concrete placement. The drain body must be fixed at its final elevation, then braced or staked so it cannot move. Cover the grate opening to keep concrete out, and recheck the rim while the crew places and consolidates the pour.
The model plumbing-code record calls for a waste outlet at least 2 inches, or 51 mm, in diameter, with a removable strainer, cleanability, and readily accessible inlets. The grate also needs clear access after cabinets, lifts, water heaters, shelving, and other equipment are installed. A drain hidden behind permanent equipment is difficult to clean and maintain.
Treat the pipe route as part of the drainage design, not as an afterthought. Guidance on drainage pipe installation shows why bedding, alignment, connections, and the approved discharge path deserve the same attention as the visible drain body. In a Mid-Atlantic garage, protect the buried line from frost conditions and avoid routing it where seasonal movement can stress the connections.
Before covering the line, run the verification list from the radon section and add backwater protection when the outlet connects to a sewer.
Complete a water or pressure test before closing the slab. A flood test confirms that the line accepts water and reaches the approved destination. It can reveal a blocked, disconnected, or poorly sloped section while repairs remain accessible, but it does not replace the required local inspection.
Protecting Your Home from Radon and Sewer Gases
The drain's hidden connection can create a larger problem than standing water. If it opens into soil beneath the slab, a missing trap, dried seal, or poorly sealed penetration can give radon and sewer gases a path into the garage and the home.
Pennsylvania radon guidance specifies a 3- to 6-inch standing-water trap for drains terminating beneath a slab. It also calls for a radon-resistant drain when discharge enters sub-slab soil directly or remains exposed to soil (Pennsylvania radon technical guidance). Untrapped floor drains, missing cleanout plugs, and unsealed sump pits can all provide routes for radon entry.
Keep the water seal working
A trap works only when it retains water, and a garage that sits unused for long periods lets evaporation remove that seal, especially when the drain receives little routine flow. Occasional rain or wash water is not a dependable maintenance plan.
For an infrequently used drain, specify an approved trap primer or another code-accepted method of maintaining the seal. In a cold Mid-Atlantic garage, protect the trap and its branch from freezing. Road salt, sand, and grit brought in by vehicles can also increase cleaning and maintenance needs.
The installation should include:
- A trapped branch. Keep the run practical and provide the venting required by the local plumbing design.
- A cleanout. Make it accessible and protect the plug from being removed or overlooked.
- A tested connection. Pressure-test or water-test the piping before concealment.
- An airtight slab penetration. Use compatible sealing material around the pipe.
- A sealed sump cover. Secure the cover mechanically while preserving pump service access.
An open sump can undermine an otherwise effective sub-slab radon-control system.
Keep the floor drain separate from any sump used for sub-slab ventilation. EPA floor-drain guidance recommends routing new-construction floor drains to daylight, a sewer, or a sump with pump discharge, and warns against connecting them to a sump used for sub-slab ventilation. The final route should be documented so a future owner does not remove the trap, open a cleanout, or replace a sealed sump cover with an unsuitable lid. A proper discharge plan protects indoor air quality and prevents the drain from becoming an unplanned connection to the soil or sewer system.
Choosing the Right Discharge Destination
The drain's destination matters more than the grate. A line connected to the wrong system can carry oil, sediment, or contaminated runoff into a sewer, septic treatment system, absorption area, or soil pathway that was never designed for it. Confirm the outlet before cutting the slab. In practice, discharge planning determines whether the installation is legal and whether it creates a radon or sewer-gas problem later.
Compare the practical options
| Discharge Route | Best For | Code Considerations |
|---|---|---|
| Approved sanitary sewer | Residential wash-down where local authorities approve the connection | Requires the applicable trap, venting, cleanout, inspection, and discharge rules. |
| Approved storm drainage | Locations where the authority permits garage or emergency drainage to storm infrastructure | The garage drain may need to remain separate from sanitary and subsurface systems. Confirm the connection with the authority before work begins. |
| Daylight discharge | New construction with a safe exterior outlet and suitable site grade | The outlet must protect the building, prevent erosion, and comply with local plumbing and site-drainage requirements. |
| Sump with pump discharge | Sites where an approved sump system can receive the drain and discharge safely | Use a sealed, mechanically secured cover, and keep the drain separate from any sump used for sub-slab ventilation. |
| Septic system | Only where the authority expressly approves the specific wastewater and connection | Pennsylvania rules prohibit floor drains not connected to sewage-generating fixtures, roof gutters, foundation drainage, and surface runoff from entering a treatment tank, absorption area, or spray field (Pennsylvania sewage regulations). |
An unapproved dry well or blind discharge into sub-slab aggregate is not a safe shortcut. It can introduce soil-gas concerns, weaken support beneath the slab, and violate local plumbing requirements. The EPA's recommended destinations are daylight, sewer, or a sump with pump discharge, subject to project-specific design and authority approval. That recommendation should be treated as a starting point, not permission to choose an outlet without review.
Automotive use changes the requirements
The International Plumbing Code requires repair garages, car-washing facilities, and locations producing oil-bearing or flammable waste to discharge through oil separators (2021 International Plumbing Code guidance). Its cited provision also specifies separator capacity based on drained area. A garage used only for vehicle storage, without servicing, repairs, washing, or gasoline dispensing, does not require a separator under that provision.
Pennsylvania utility guidance addresses vehicle garages as well. It requires floor and repair-pit drains to discharge through an interceptor that captures oil, gasoline, flammable fluids, sand, silt, and solids, with required maintenance (Pennsylvania Public Utility Commission model regulation). Tell the contractor how the garage will be used. A space that stores vehicles today may later become a workshop, wash area, or repair bay, and that change can affect the approved discharge arrangement.
Hiring Local Concrete Foundation Contractors
Garage floor drain installation combines excavation, plumbing coordination, concrete forming, grading, finishing, and code compliance. A DIY slab cut may appear manageable, but it can't correct a drain that has been set at the wrong elevation, connected to an illegal outlet, or installed without a trap and inspection access.
A qualified local contractor evaluates the entire assembly before work begins. That includes the subgrade, granular base, slab thickness, wall and door elevations, reinforcement, drain location, pipe route, and discharge destination. The same coordination matters for garage footings and foundations, a concrete foundation for a garage, or a larger project involving a house foundation, shed foundation, gazebo foundation, or barn shed pad.
What professional coordination prevents
A careful crew should be able to explain:
- Where the water goes. The proposed destination is identified and confirmed before excavation.
- How the slab falls. Finished elevations are measured rather than guessed from the screed.
- How the drain stays serviceable. The grate, strainer, cleanout, trap, and any separator remain accessible.
- How winter affects the system. Freeze protection, trap maintenance, salt, and sediment are part of the plan.
- What gets tested. The line is tested before the concrete hides the work.
Local knowledge is especially valuable across Pennsylvania, Maryland, Delaware, and New Jersey, where requirements can change between neighboring authorities. The same planning discipline applies when comparing concrete foundation services or reviewing practical advice on choosing a concrete contractor. Look for a licensed and insured team that can handle excavation, concrete forms, pouring, finishing, and drainage coordination rather than treating the drain as an isolated add-on.
Firm Foundations serves homeowners and commercial clients across the region with excavation and foundation work for garages, sheds, houses, gazebos, barns, driveways, patios, and other structures. A transparent quote should identify the foundation approach, site preparation, drainage scope, concrete work, and any required coordination before construction begins.
Firm Foundations can plan and build your garage slab, garage footings and foundations, excavation, grading, and approved floor-drain rough-in with the site conditions and local requirements in mind. Request a transparent quote by visiting Firm Foundations, and let the team review your proposed garage use, discharge route, and concrete foundation before work starts.