
Concrete Slab Foundation Installation Made Simple
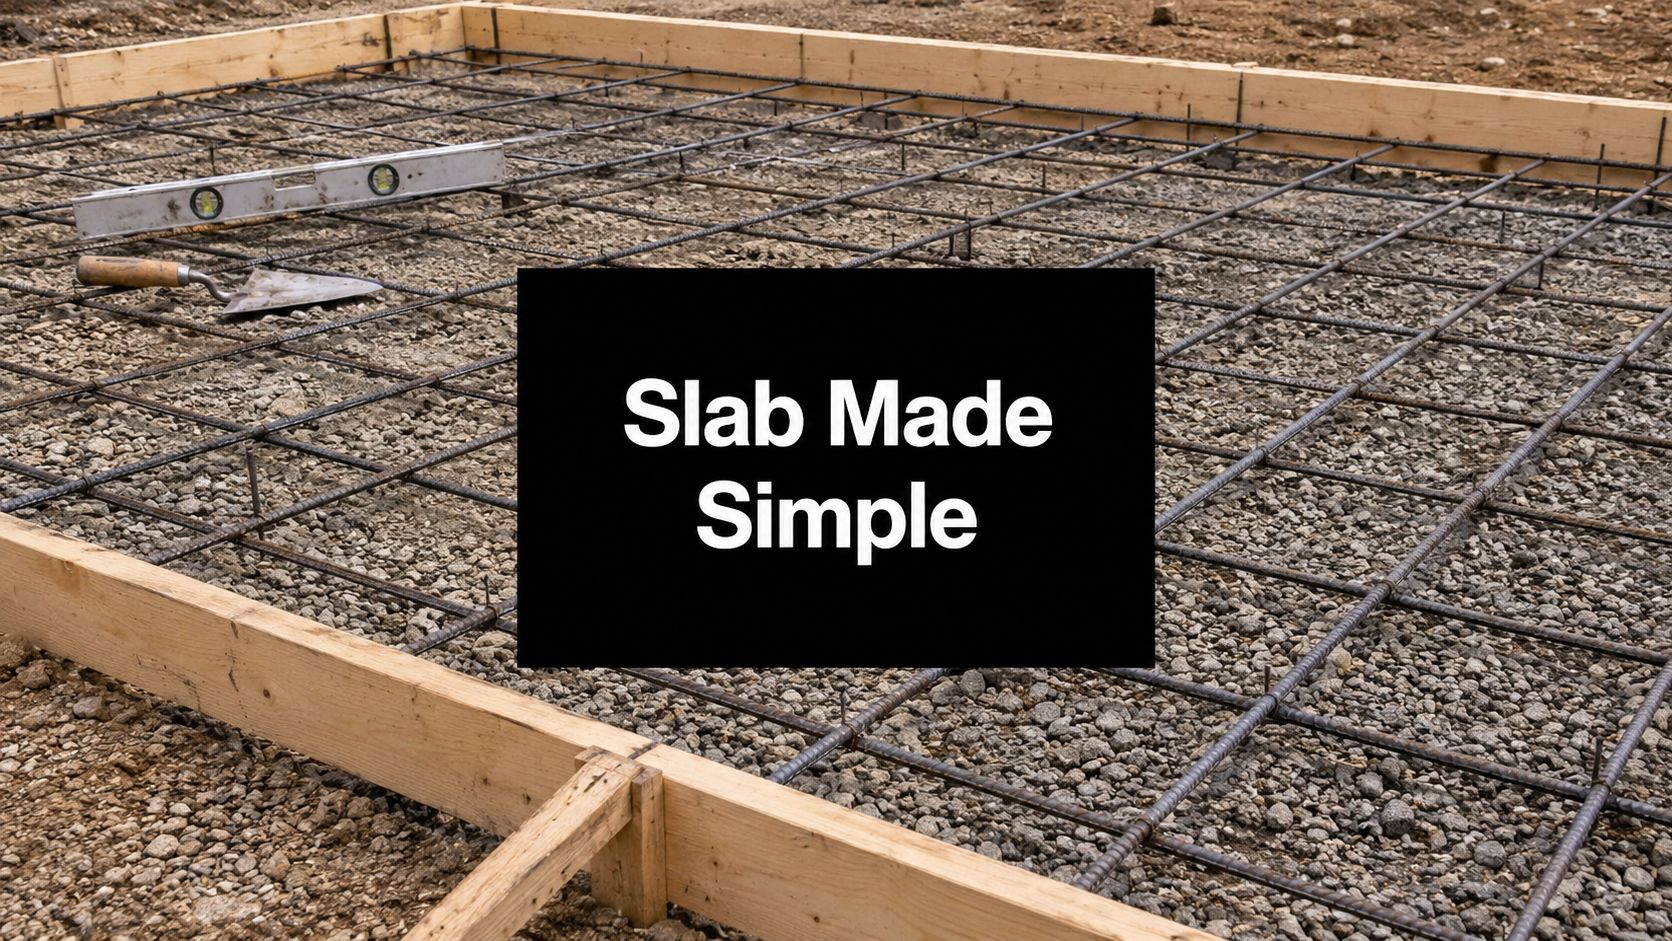
You're standing beside a freshly staked yard, looking at a future shed, garage, gazebo, or home site and wondering what happens first. The concrete truck is the part everyone notices, but a dependable concrete slab foundation installation starts with decisions made long before the pour. Soil, drainage, access, reinforcement, moisture control, and curing all determine whether the finished pad stays level and useful.
Whether you're searching for shed foundations contractors near me, garage foundation contractors near me, or concrete contractors for a house foundation, the right approach depends on the structure and the ground beneath it. Firm Foundations serves homeowners and property owners throughout Pennsylvania, Maryland, Delaware, and New Jersey with excavation, gravel pads, concrete foundations, and site preparation built around long-term performance.
What a Concrete Slab Foundation Actually Involves
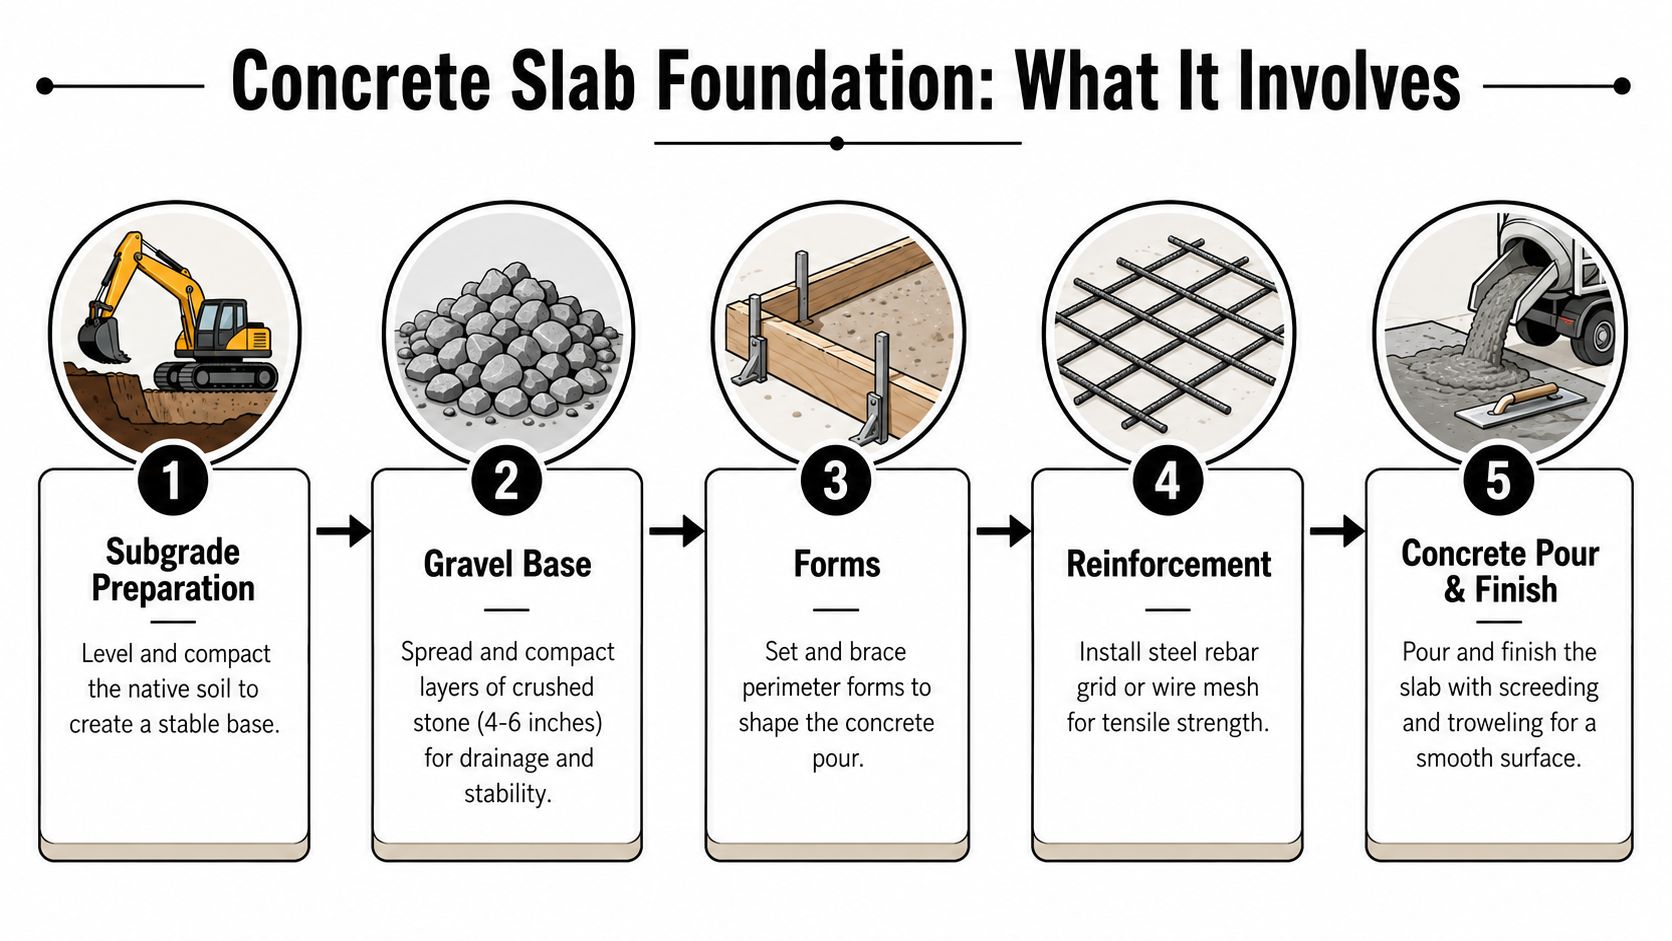
A homeowner often sees a slab as one flat piece of concrete. On site, it's better understood as a complete foundation system: prepared soil, compacted aggregate, perimeter forms, reinforcement, concrete, finishing, and curing. Each layer has a job, and skipping one can affect everything above it.
A typical installation begins with excavation and removal of organic material. The crew grades the exposed subgrade, places and compacts a gravel base, installs forms, positions steel or fiber reinforcement, and prepares sleeves or anchor points before the concrete arrives. The finished slab may be a simple pad for a 10×10 storage shed, a reinforced base for a garage, or a more involved house foundation with thickened edges and structural details.
Three uses, three different decisions
A shed slab usually has lighter demands than a garage slab carrying vehicles, shelving, or workshop equipment. A gazebo foundation may focus on accurate layout and support at post locations. A home slab must account for load-bearing walls, utilities, local soil, frost conditions, and applicable code requirements.
The baseline also varies by project. Residential slab-on-grade guidance identifies 3.5 inches as a minimum slab thickness, while the same code source notes that reinforcement isn't universally required for slab-on-grade floors (residential concrete slab requirements). That doesn't mean reinforcement is unnecessary for every project. It means thickness and reinforcement should match the building, soil, loads, and local requirements.
Practical rule: The pour is the visible milestone, but much of the work that protects the slab happens before the truck arrives and after the surface is finished.
A good installation also addresses drainage slope, vapor retarder placement, edge insulation where required, and curing. By 2023, 72.4% of new single-family homes in the United States were built on slab foundations, compared with 45.8% in 2000, according to NAHB's analysis of slab foundation use. That widespread use makes careful preparation more important, not less.
Planning the Site and Preparing the Ground
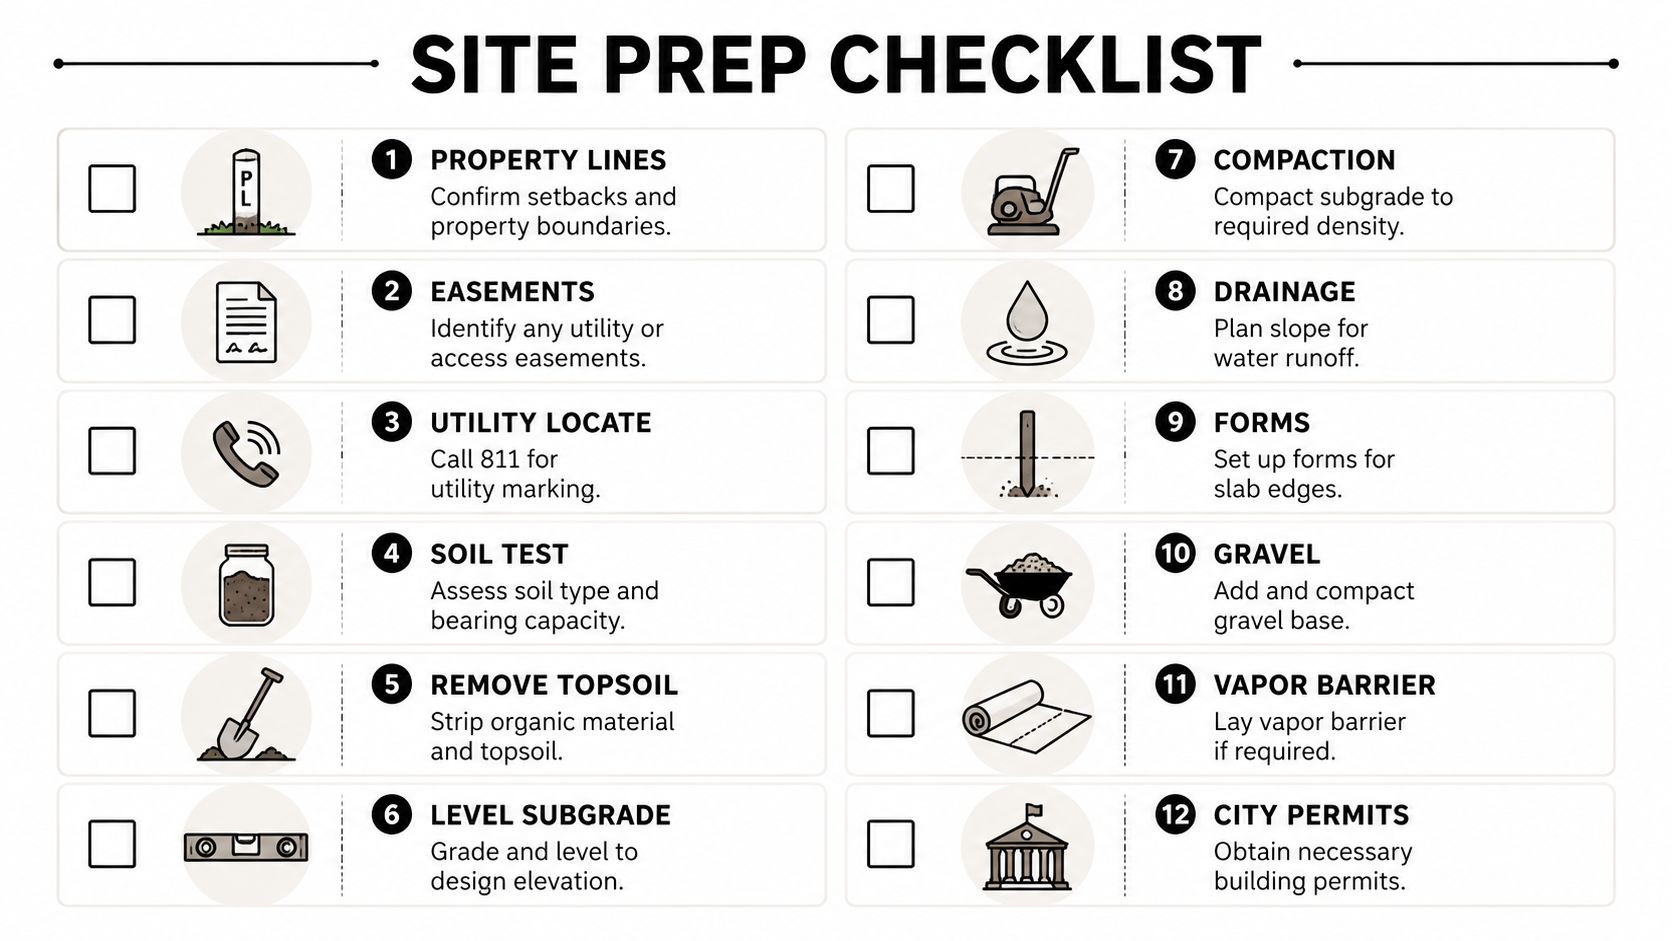
Site preparation is where many slab failures begin. Before excavation, confirm the proposed location against property lines, setbacks, easements, and the structure's final dimensions. Utility locate services should mark buried lines before digging, even for a small shed or gazebo foundation.
Remove grass, roots, topsoil, and other organic material until the crew reaches suitable mineral soil or approved engineered fill. Buried organics decompose, leaving voids that can allow the base and slab to settle unevenly. Weak native soil may need removal and replacement, while clay often needs more attention because it can swell and shrink with changing moisture.
Establishing a site that sheds water
The finished area should direct water away from the structure. A common design target is a minimum 2% slope away from the future building, checked with a laser level, string line, or other reliable elevation method. Grading alone won't solve every drainage problem, especially on a clay site or a lot that naturally sends runoff toward the building. Perimeter drains, swales, gutters, or a French drain may be part of the solution.
The soil testing resource for foundations can help homeowners understand why soil condition matters before choosing a pad or slab approach. If you're also planning a patio or outdoor living area, an AI outdoor patio design resource can help visualize the finished layout before excavation begins.
Access belongs in the plan
A ready-mix truck needs a practical route to the pour area. Backyard work may require a longer chute, concrete pump, wheelbarrow relay, or a revised placement sequence. Limited access can affect labor, scheduling, and the amount of concrete that can be placed continuously.
Clay, sand, and fill behave differently. Clay needs moisture and drainage control. Sand drains well but still needs confinement and compaction. Engineered fill can work when native soil is weak, but only when it's placed and compacted to the project requirements. The crew should document elevations and confirm that the subgrade is stable before building the gravel base.
Building the Gravel Base and Subgrade
A slab performs only as well as the ground beneath it. Use clean, angular crushed stone that locks together under compaction. Loose pea gravel rolls under equipment and leaves a less stable platform. Many shed and garage projects use a 4 to 6 inch base. A home foundation may need 6 to 8 inches or more where soil, frost, or drainage conditions call for additional support.
Residential guidance commonly identifies a 4-inch minimum aggregate or crushed-stone subbase and a 6-mil polyethylene vapor retarder beneath the slab (concrete slab foundation guidance). Those are starting points, not automatic specifications. Poor soil, groundwater, or a need for more drainage capacity can require deeper excavation and a different base design.
Compact in workable lifts
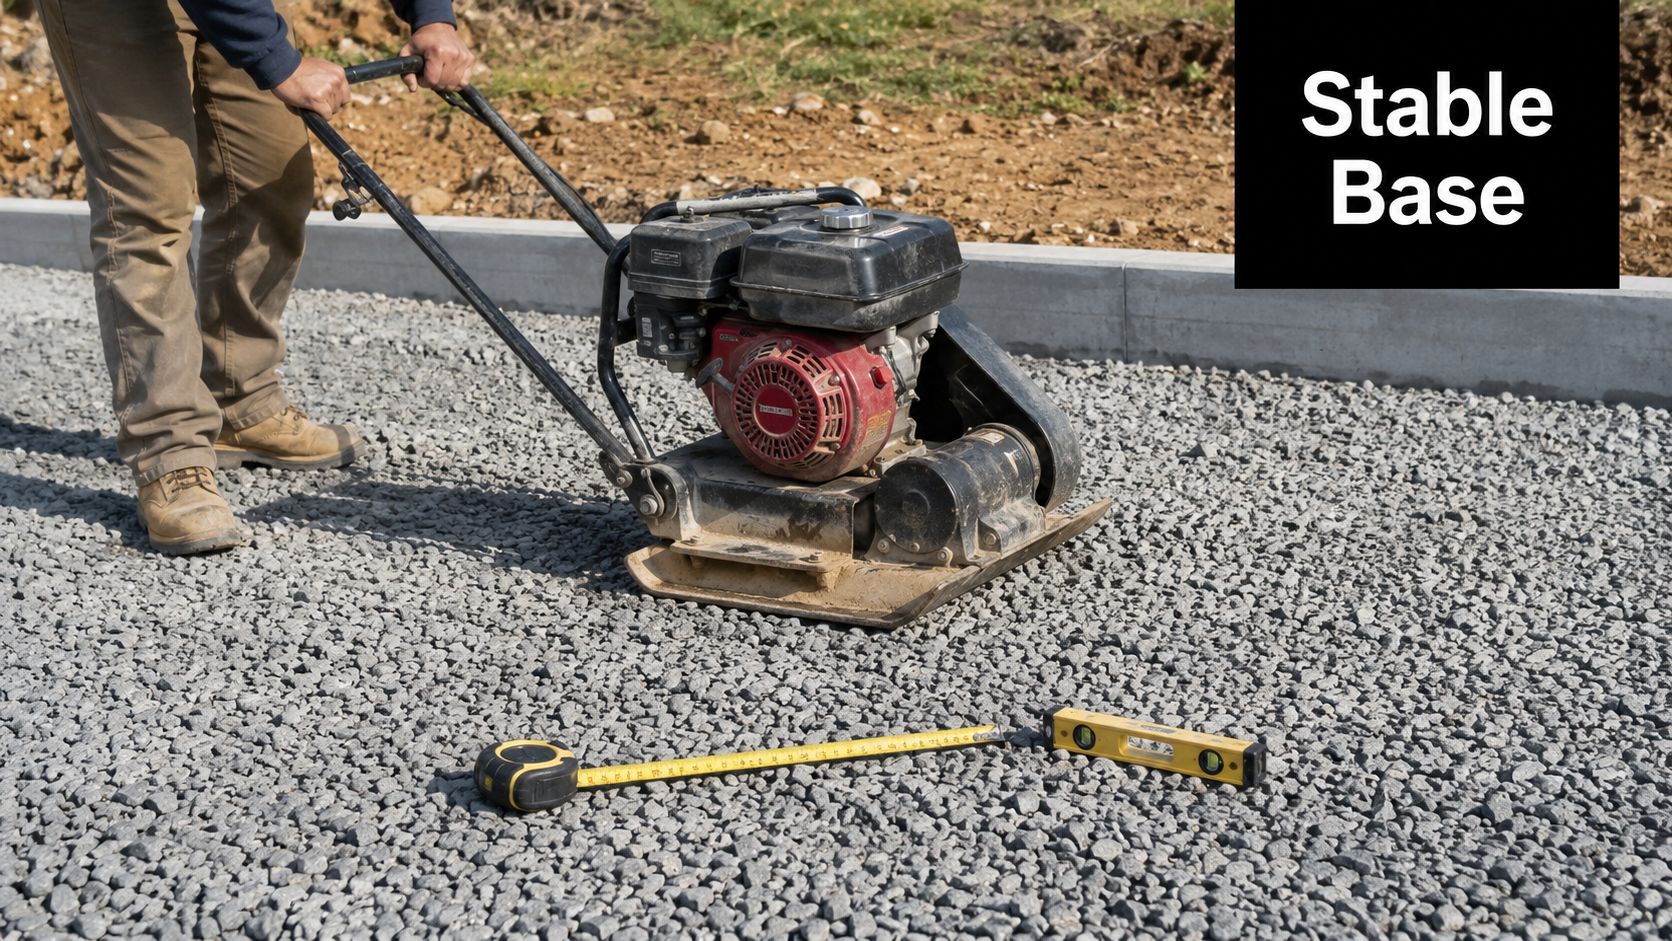
A plate compactor suits many residential pads. Larger areas may justify a vibratory roller. Place the aggregate in lifts thin enough for the equipment to compact through the full layer. Dumping the entire depth at once usually compacts the top while leaving weaker material below.
Check grade throughout the work. A base can look level from across the yard and still contain low spots, soft pockets, or high areas that alter slab thickness. Compaction targets are often tied to about 95% of maximum dry density, according to residential slab preparation and compaction practices. The crew should verify the finished elevation and correct unstable areas before the forms are set.
Treat moisture as a design issue
A vapor retarder limits ground moisture moving upward through the slab. It should cover the floor area, have sealed or properly lapped seams, turn up at the perimeter where appropriate, and be sealed around penetrations. IRC-based guidance specifies 6-inch seam laps for the vapor retarder (IRC slab-on-grade requirements).
ASTM guidance emphasizes continuity at footings, foundation walls, and penetrations (ASTM vapor retarder placement guidance). A sheet with open seams or unsealed pipe penetrations leaves the moisture-control layer incomplete. The base, its compaction, and the vapor retarder must work together because a strong concrete mix cannot correct settlement or moisture problems below it.
The plate compactor consolidates the material supporting the slab, so pass over each lift until the surface resists footprints.
Setting Forms, Reinforcement, and Pouring the Concrete
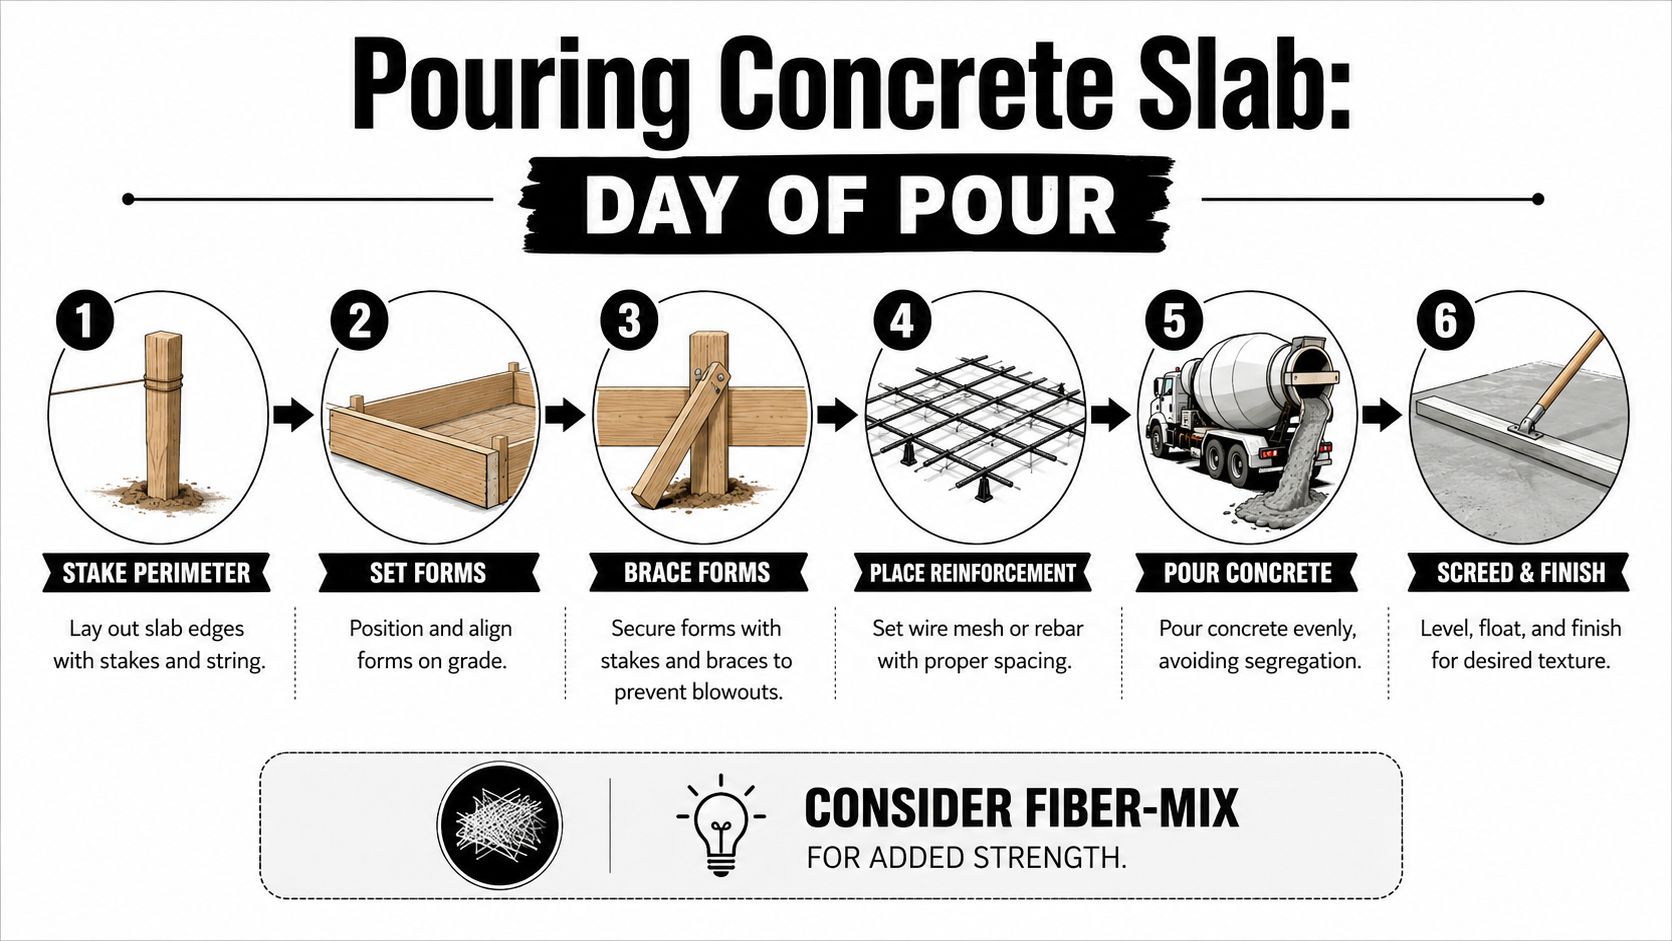
Pour day starts with decisions already checked on site. The crew stakes the perimeter, stretches string lines, verifies dimensions and diagonals, then sets the forms to the planned elevation. Forms must remain straight and stable against wet concrete, so proper stakes and braces matter as much as the lumber or metal. A small layout error can leave walls, doors, or anchor points in the wrong place.
Reinforcement depends on the structure and its expected loads. Wire mesh, a rebar grid, fiber-mix reinforcement, or a combination may suit the slab based on its geometry, edges, and local requirements. Reinforcement must stay positioned within the concrete, rather than lying on the gravel where it cannot perform as intended.
Details to settle before the truck arrives
A garage foundation may need thickened edges or added reinforcement near walls and vehicle loads. A house foundation can require anchor bolts, utility sleeves, plumbing penetrations, and carefully coordinated wall locations. A shed slab may be simpler, but the manufacturer can still specify dimensions or anchor placement. Confirm those details before concrete is ordered.
The concrete pad reinforcement details help compare mesh, rebar, and other reinforcement approaches. Ask the contractor to identify the reinforcement type, placement, and supports instead of accepting “reinforced” as a complete specification.
What happens during the pour
The ready-mix truck should be positioned for continuous, safe placement. Workers distribute the mix evenly, use vibration where needed to reduce voids and honeycombing, and screed the surface to the forms. Bull-floating closes and levels the surface. Final troweling or broom finishing supplies the texture the project requires.
Before placement, a homeowner can ask:
- Mix strength: What compressive strength is specified?
- Slump: Is the delivered slump appropriate without uncontrolled water?
- Joints: Where will control joints go?
- Embedments: Are anchor bolts, sleeves, and utility openings set before placement?
- Finish: Should the surface be smooth, broomed, or prepared for a later coating?
A standard slab-on-ground is commonly specified at 2,500 psi compressive strength at 28 days, according to residential foundation guidance. Confirm the project specification with the contractor, because use, soil conditions, reinforcement, and local requirements can change the design. Before the truck arrives, check the forms, reinforcement supports, penetrations, access route, and finishing plan.
Curing, Drainage, and Waterproofing the Finished Slab
Concrete doesn't become durable just because it looks hard. Curing keeps moisture and temperature favorable while cement hydration continues. ACI identifies favorable curing conditions above 10°C, or 50°F, and relative humidity above 80% inside the concrete. For low water-cement ratios below 0.4, water curing should begin as soon as possible (ACI curing guidance).
Wet burlap, fogging, ponding, polyethylene sheets, and curing compounds can all be used when selected and applied correctly. The surface shouldn't be allowed to dry rapidly during finishing and the early curing period. Residential installation guidance also emphasizes curing for at least 7 days to help the slab reach its design strength and limit cracking risk (residential slab curing guidance).
Manage cracking instead of pretending it won't happen
Concrete shrinks as it dries and changes temperature. Control joints create planned weakened lines so movement is more likely to occur in predictable locations rather than randomly across the slab. Joint layout should suit the slab's shape, openings, re-entrant corners, and use.
Drainage remains important after the pour. Keep soil graded away from the building, carry roof water through gutters and downspouts, and consider perimeter drainage where clay or seepage threatens the slab edge. Field surveys by the Canadian Housing and Mortgage Corporation found differential movement in 35 of 35 slab-on-grade floors surveyed, with median movement around 100 mm, or 4 inches, and connected failures with poor lot slope, flooding, seepage, and moisture or volume changes under slabs (CMHC slab-on-grade movement survey).
Moisture protection may include the under-slab vapor retarder, capillary break, sealed edges, concrete sealer, or a garage coating. For visible surface damage later, these patio crack repair tips can help distinguish ordinary surface cracking from conditions that deserve professional evaluation.
Typical Costs and Timelines by Project Type
Cost depends on excavation, soil replacement, gravel depth, reinforcement, slab thickness, finish, access, permits, and regional labor. A small shed pad may be straightforward, while a garage slab can involve thicker edges, anchor points, and heavier loads. A house foundation adds structural coordination, utilities, inspections, and site logistics.
Because the verified project information doesn't provide reliable installed price ranges or project schedules, a contractor shouldn't promise a universal cost per square foot. The comparison below shows how the projects differ without inventing dollar amounts.
Cost and Timeline Comparison by Project Type
| Project Type | Typical Size | Cost per Sq Ft (S) | Total Installed Cost | Total Timeline |
|---|---|---|---|---|
| Shed slab | 10×12 shed slab | Site-specific quote | Site-specific quote | Depends on permits, access, weather, and curing |
| Garage slab | 24×24 garage slab | Site-specific quote | Site-specific quote | Depends on excavation, reinforcement, inspections, and curing |
| House foundation | Full house foundation | Engineered, site-specific quote | Engineered, site-specific quote | Depends on design, permitting, utilities, inspections, weather, and curing |
The most useful budgeting rule is to request a written scope instead of comparing a low concrete-only price with a complete foundation installation. Ask whether the quote includes excavation, disposal, gravel, compaction, vapor retarder, forms, reinforcement, concrete, finishing, curing, cleanup, and permit coordination.
DIY can reduce labor on a simple freestanding pad, but it also shifts equipment rental, layout, material handling, weather decisions, and finishing risk to the homeowner. A slab may be poured in a day, yet the project isn't ready for the next construction phase immediately. Concrete needs proper curing, and framing or placing a structure should follow the contractor's guidance and local inspection requirements.
When to Hire a Professional and What to Ask
A small shed pad on flat, well-drained ground can be a reasonable DIY project for a capable homeowner with the right tools and help on pour day. A concrete foundation for a garage, workshop, home, barn shed, or other permitted structure deserves a professional evaluation because errors can affect structure, drainage, utilities, code compliance, and liability.
Hire a licensed and insured crew when the site has weak soil, difficult access, significant grade change, drainage concerns, frost exposure, or a structure tied to a permit. Washington's manufactured-home foundation rule illustrates how specific requirements can become, including a 6-inch minimum concrete thickness, continuous horizontal No. 4 reinforcement, vertical No. 4 bars at 48 inches on center, and a foundation extending 6 inches above finished grade (Washington foundation requirements). Local rules vary, so the contractor should verify the requirements that apply to your project.
Questions worth asking before signing
- Qualifications: Are you licensed and insured for excavation and concrete work in my area?
- Scope: Does the written quote break out site preparation, gravel, compaction, forms, reinforcement, concrete, finishing, and curing?
- Permits: Who pulls permits and schedules inspections?
- Layout: How will you confirm dimensions, elevations, drainage, and anchor-bolt locations?
- Soil: What happens if excavation reveals soft soil, buried debris, or unexpected groundwater?
- References: Can you provide recent references for shed, garage, or house foundation work?
- Schedule: What could delay excavation, concrete delivery, inspections, or curing?
Firm Foundations provides site analysis, excavation, engineered gravel bases, reinforcement, and concrete foundations for projects including sheds, garages, houses, gazebos, barns, driveways, and patios. Before committing to a timeline, arrange a site walk and compare a detailed written quote from a local contractor who can explain what the ground requires.
Firm Foundations helps homeowners and builders plan and install gravel shed foundations, concrete foundations, garage slabs, and excavation projects across Pennsylvania, Maryland, Delaware, and New Jersey. Visit Firm Foundations to request a free quote and schedule a site evaluation for a slab built to your structure, soil, drainage, and access requirements.