
Shed Foundation Preparation in PA, MD, DE & NJ
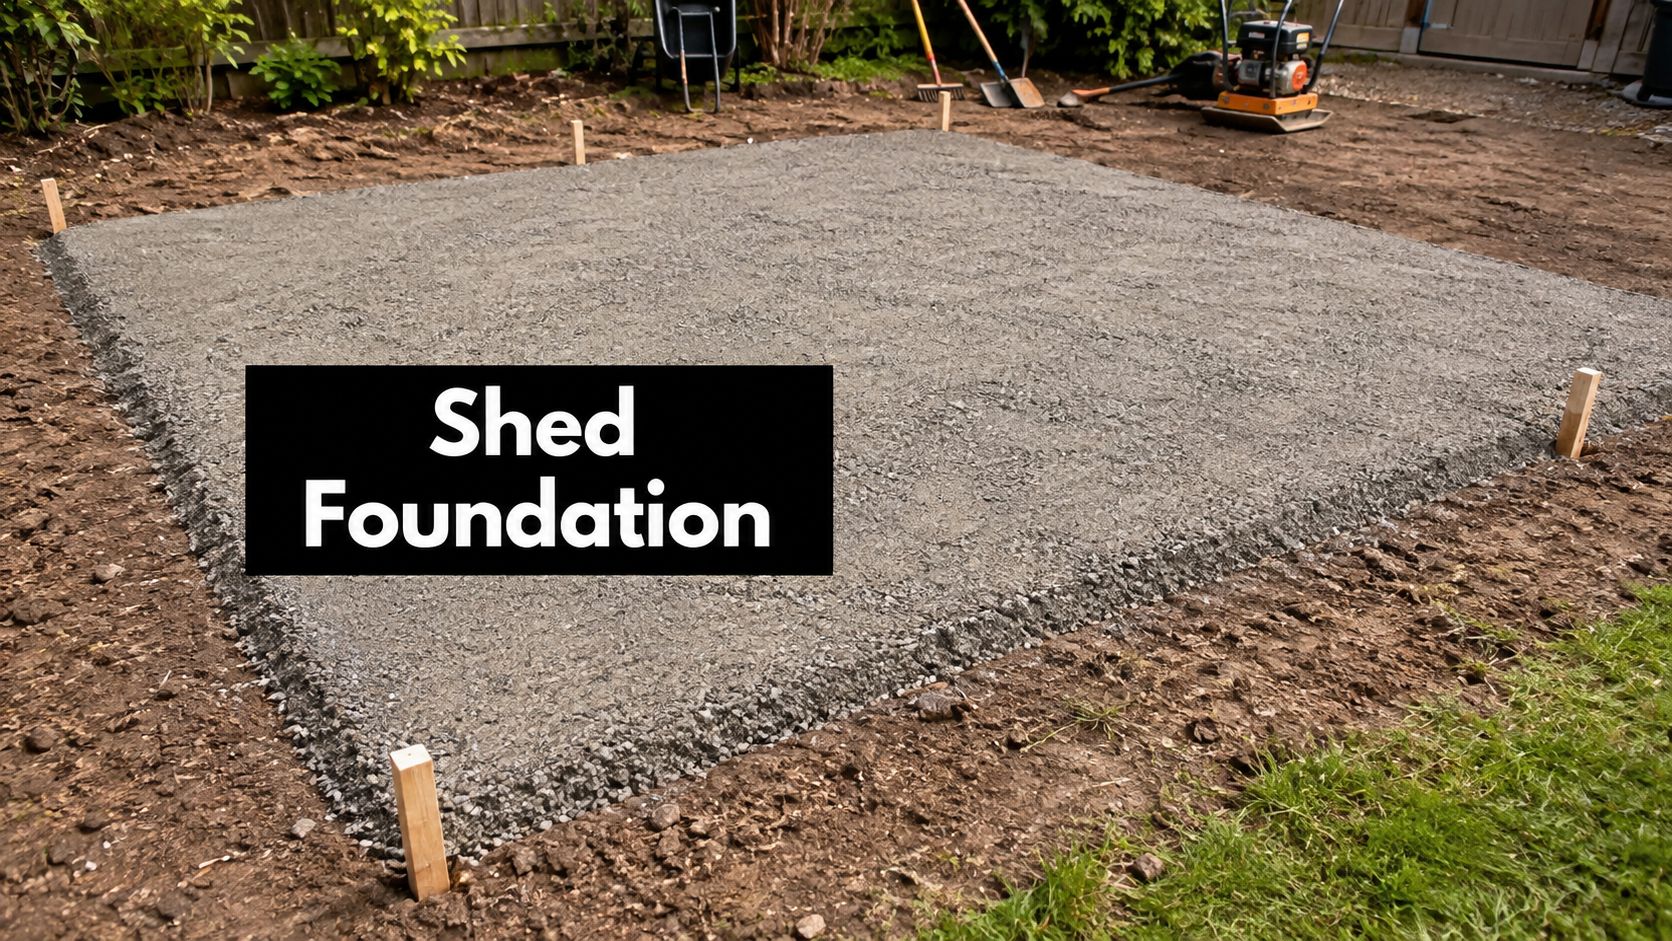
You've ordered the shed, cleared a space in the yard, and may already be searching for shed foundations contractors near me. The tempting shortcut is to rake the lawn flat and let the delivery crew handle the rest. In Pennsylvania, Maryland, Delaware, and New Jersey, that approach often leaves the shed fighting wet soil, settling, and seasonal freezing before you've had much use from it.
Shed foundation preparation is the work that protects the building beneath the floor. Firm Foundations helps homeowners plan gravel shed foundation pads, concrete foundations, garage footings and foundations, and related excavation with the local soil, drainage, access, and code requirements in mind. The right base for a storage shed depends on more than its footprint. It depends on what the shed will hold, how water crosses the property, and how the ground behaves through Mid-Atlantic winters.
Why Most Shed Problems Start Before the Shed Arrives
A homeowner orders a large backyard shed and levels the proposed site with a rake. The grass is gone, the surface looks reasonably flat, and the delivery is scheduled. At first, the building appears fine. After wet weather and repeated winter freezing, one corner settles, the doors stop meeting the latch cleanly, and dampness begins working upward through the floor framing.
That failure usually doesn't begin with the shed kit. It begins when roots, topsoil, and soft subgrade remain under a thin layer of stone, or when water has nowhere to go. A shed can be built square at the factory and still twist after installation if the support beneath it moves unevenly.
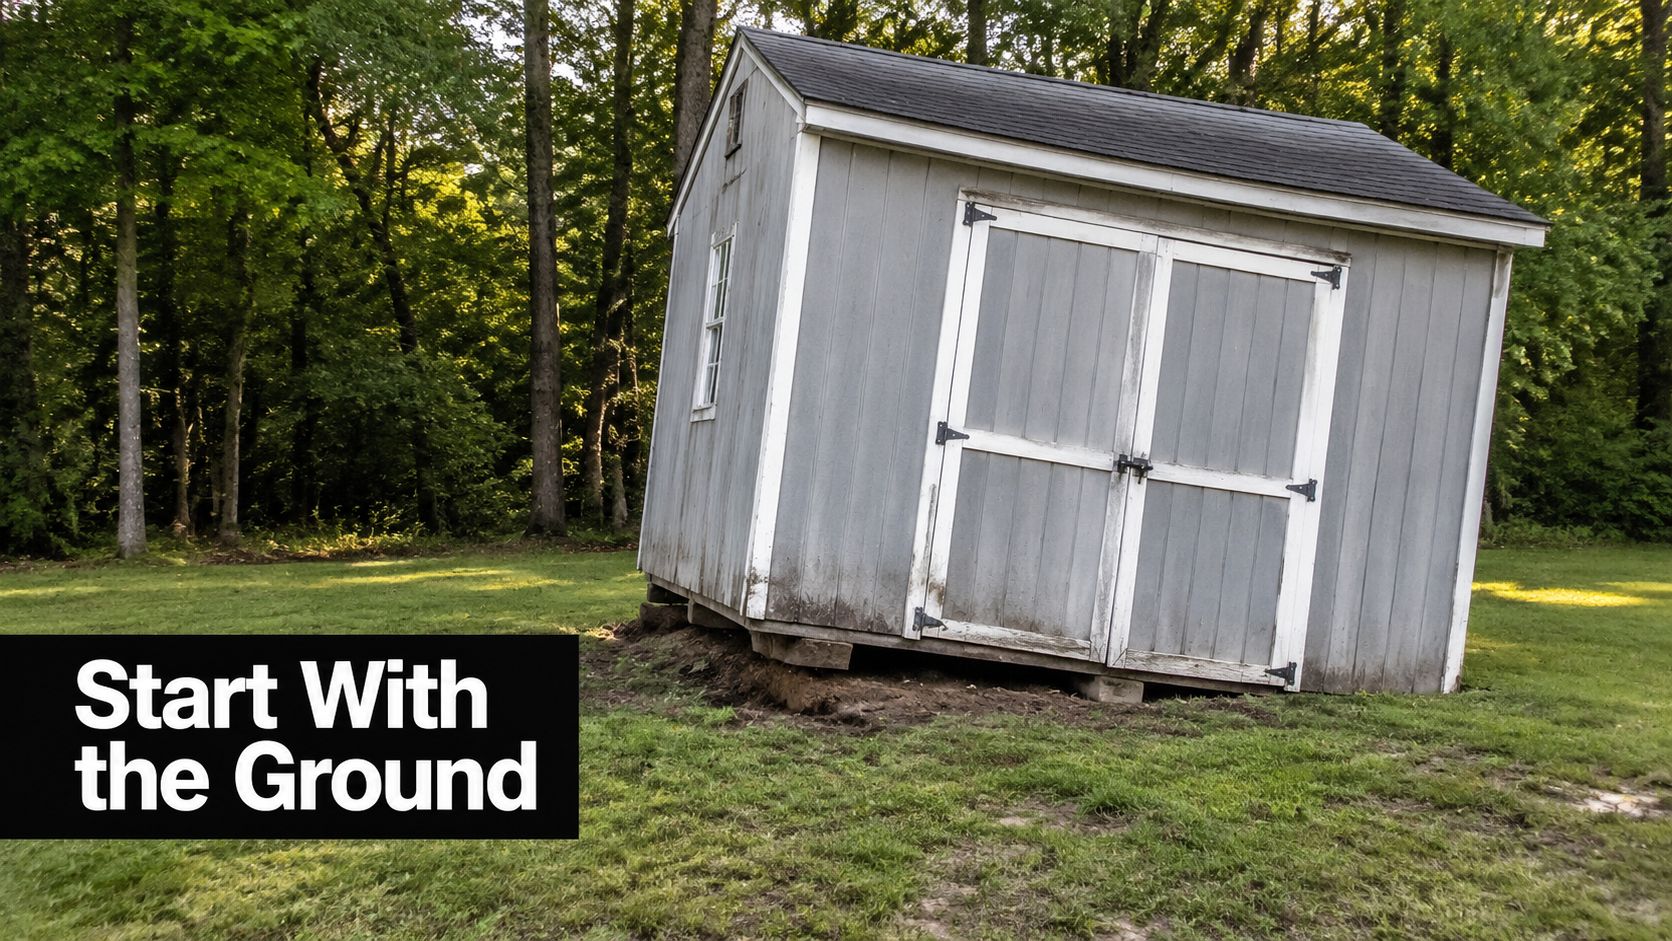
A properly prepared site looks different before delivery. The crew removes organic soil, creates a controlled footprint, establishes drainage, and compacts the subbase so the shed rests on firm material rather than lawn. The shed arrives to a pad that has already been checked for dimensions, grade, and bearing conditions.
Practical rule: A level-looking yard isn't necessarily a stable building site.
Local frost exposure makes this especially important. The International Residential Code foundation-depth guidance requires exterior footings to extend at least 12 inches below undisturbed ground and below local frost depth, whichever is greater. Some jurisdictions still apply a 4-foot minimum to certain foundation types exposed to frost. The same shed design can therefore need very different excavation approaches in a mild coastal location and a colder northern market.
The rest of the project comes down to matching the site to the foundation. Choose the location carefully, decide between gravel and concrete, prepare the subgrade, control runoff, and inspect everything before the shed is set down.
Picking the Right Site and Locking In Permits
The best shed location is usually a place that stays firm after rain, has practical delivery access, and doesn't collect runoff from the rest of the property. Walk the yard during or shortly after a storm. Look for standing water, saturated soil, roof drip lines, downspout outlets, and low pockets that remain damp after the surrounding lawn has dried.
A site can be graded level for the shed while still directing water away from the building. That's the distinction homeowners often miss. The pad needs a stable, nearly level bearing surface, while the surrounding ground and drainage features need to move water away from the floor and edges.
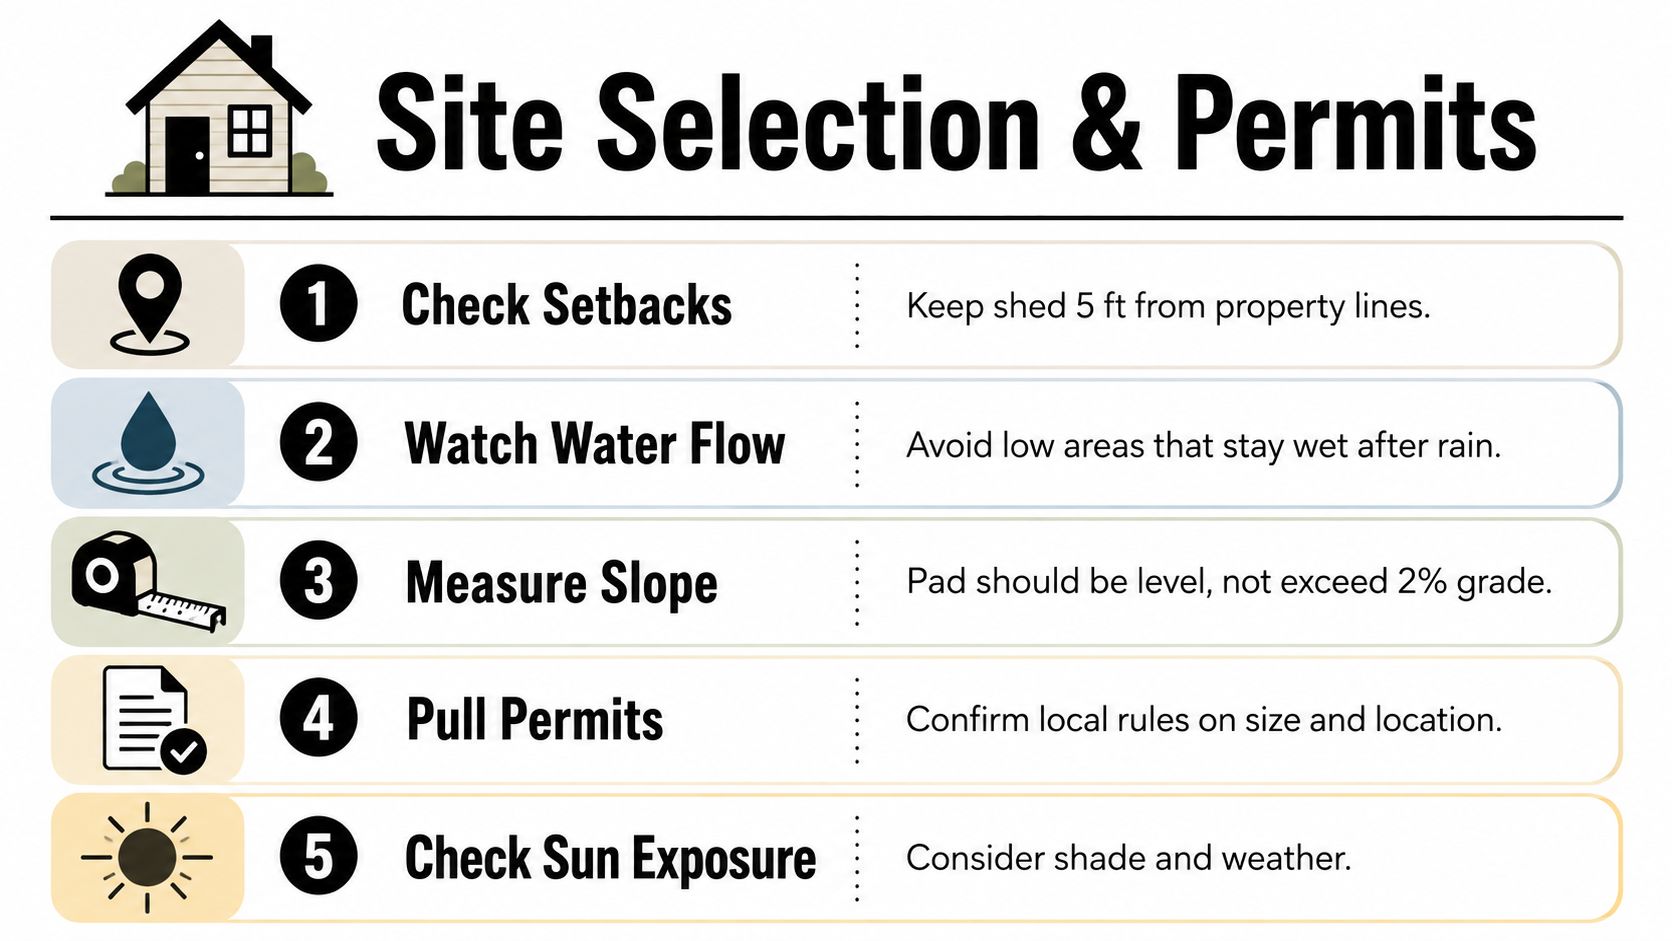
Before excavation, work through these checks:
- Confirm access: Make sure a trailer, skid steer, mini-excavator, and delivery crew can reach the proposed site without damaging septic features, landscaping, or retaining walls.
- Review setbacks and easements: Property-line distances vary by municipality. Don't assume a convenient corner is permitted.
- Call 811: Utility locates should happen before digging, even for a small shed foundation. Marked lines need to remain visible until excavation is complete.
- Check local rules: Permit and zoning requirements can depend on the structure's size, location, use, and foundation type. One government-style guideline distinguishes buildings greater than 200 square feet and less than 850 square feet from structures 850 square feet and larger, with the larger category requiring a frost-depth foundation in that jurisdiction. Confirm the rule with your township, borough, county, or city.
- Coordinate delivery: The shed order, foundation dimensions, and access plan must agree before stone or concrete is placed.
Permit processes differ by project, but the value of organized approvals is universal. For broader context on coordinating approvals for construction work, Pacific Mobile Structures offers a useful resource on modular permitting for healthcare facilities. It isn't a shed guide, but it reinforces why permitting, site information, and construction sequencing should be addressed before work begins.
Choosing Between a Gravel Pad and a Concrete Slab
A gravel pad and a concrete slab aren't interchangeable. A compacted stone pad is often a practical choice for a residential storage shed because it drains, can accommodate minor site adjustments, and avoids turning a light outbuilding into a more permanent concrete project. A slab becomes more compelling when the building will function as a workshop, carry substantial equipment, or need a sealed, cleanable floor.
The foundation decision should follow the shed's purpose rather than a generic rule about size. A 10×10 storage shed used for lawn tools has different demands from a building used for heavy equipment. A 4×8 shed with foundation requirements may be modest, while a larger barn shed or garage-style structure can require engineered support, deeper footings, or a slab designed for its loads.
| Factor | Gravel Pad | Concrete Slab |
|---|---|---|
| Typical use | Storage sheds, garden buildings, and skid-supported structures | Workshops, heavier outbuildings, and garage-style use |
| Water behavior | Open stone can provide good drainage when the subgrade and grading are correct | A slab sheds surface water, but its supporting base still needs drainage |
| Frost response | Can accommodate some movement, but it won't solve frost-susceptible soil or poor drainage by itself | Requires careful subgrade preparation and frost-aware footing or slab design |
| Site preparation | Strip organic material, excavate, place suitable stone, and compact thoroughly | Excavate, establish uniform subgrade, install base material, form, reinforce as designed, and place concrete |
| Adjustability | Easier to repair or regrade if conditions change | More permanent and less forgiving if dimensions or elevations are wrong |
| Best fit | A base for storage shed use where drainage and access favor a stone system | A concrete foundation for garage or workshop use where a hard, sealed floor matters |
Industry guidance commonly places a compacted gravel layer at about 4 to 6 inches for shed pads, with well-drained ground and grading away from the structure as outlined in this gravel-pad installation guidance. A neutral construction guide also cites a 4-inch base course of clean graded gravel, sand, or crushed stone beneath slab-on-ground construction for drainage and settlement control in its discussion of shed slabs.
Concrete is not a substitute for proper excavation. Engineering guidance says slab subgrade should be uniform, drained, free of organic matter and frost, and compacted near maximum density. It also warns against placing concrete over frozen or puddled soil. In frost-prone areas, footings or piers should extend below the local frost depth, which can range from roughly 12 to 48 inches by region according to this subgrade preparation reference.
Excavation, Grading, and Subbase That Hold Up
Stake the shed footprint first, then mark a working margin of 12 to 24 inches on each side. The extra space lets water move away from the walls and gives the crew room to build, inspect, and maintain the pad edges as described in independent shed-site guidance. It also gives delivery equipment a more reliable route around the building instead of forcing traffic across exposed soil.
Excavate through grass, roots, and topsoil until the bucket reaches firm mineral subgrade. Keep organic material out of the fill. Buried roots and topsoil decompose, retain moisture, and leave weak pockets beneath the stone.
Build the base in controlled layers
For ordinary firm ground, a compacted crusher-run or similar crushed-stone base commonly falls within the 4-to-6-inch range. Larger sheds, heavier buildings, colder freeze-thaw exposure, or softer subsoil may require deeper excavation and a thicker designed section. The shed foundation types guidance identifies 4 inches as a minimum workable depth and 6 inches as preferred for larger sheds, colder climates, or softer subsoils.
Probe questionable subgrade with a hand auger before placing stone. If the auger suddenly drops through loose material, or the hole fills with water, stop and investigate rather than covering the problem. A surface that pumps under equipment or feels soft underfoot may need geotextile fabric and deeper removal. Fabric separates soil from aggregate, but it does not make unstable soil suitable for support.
Place aggregate in controlled lifts rather than dumping the full depth at once. Make several deliberate plate-compactor passes over each lift, changing direction between passes. The exact number depends on the material and machine, but a quick pass over the finished surface is not a compaction check. Measure the completed depth with a tape, then use string lines, a long straightedge, and a level to confirm elevation and drainage direction.
Surface preparation controls performance: The importance of preparing a substrate before the finish layer is also explained in this practical guide to why surface preparation matters.
Keep the shed-bearing surface level enough for the frame, while shaping the surrounding grade to move runoff away. A neat-looking depression can collect water beside the floor and create problems through Mid-Atlantic freeze-thaw cycles.
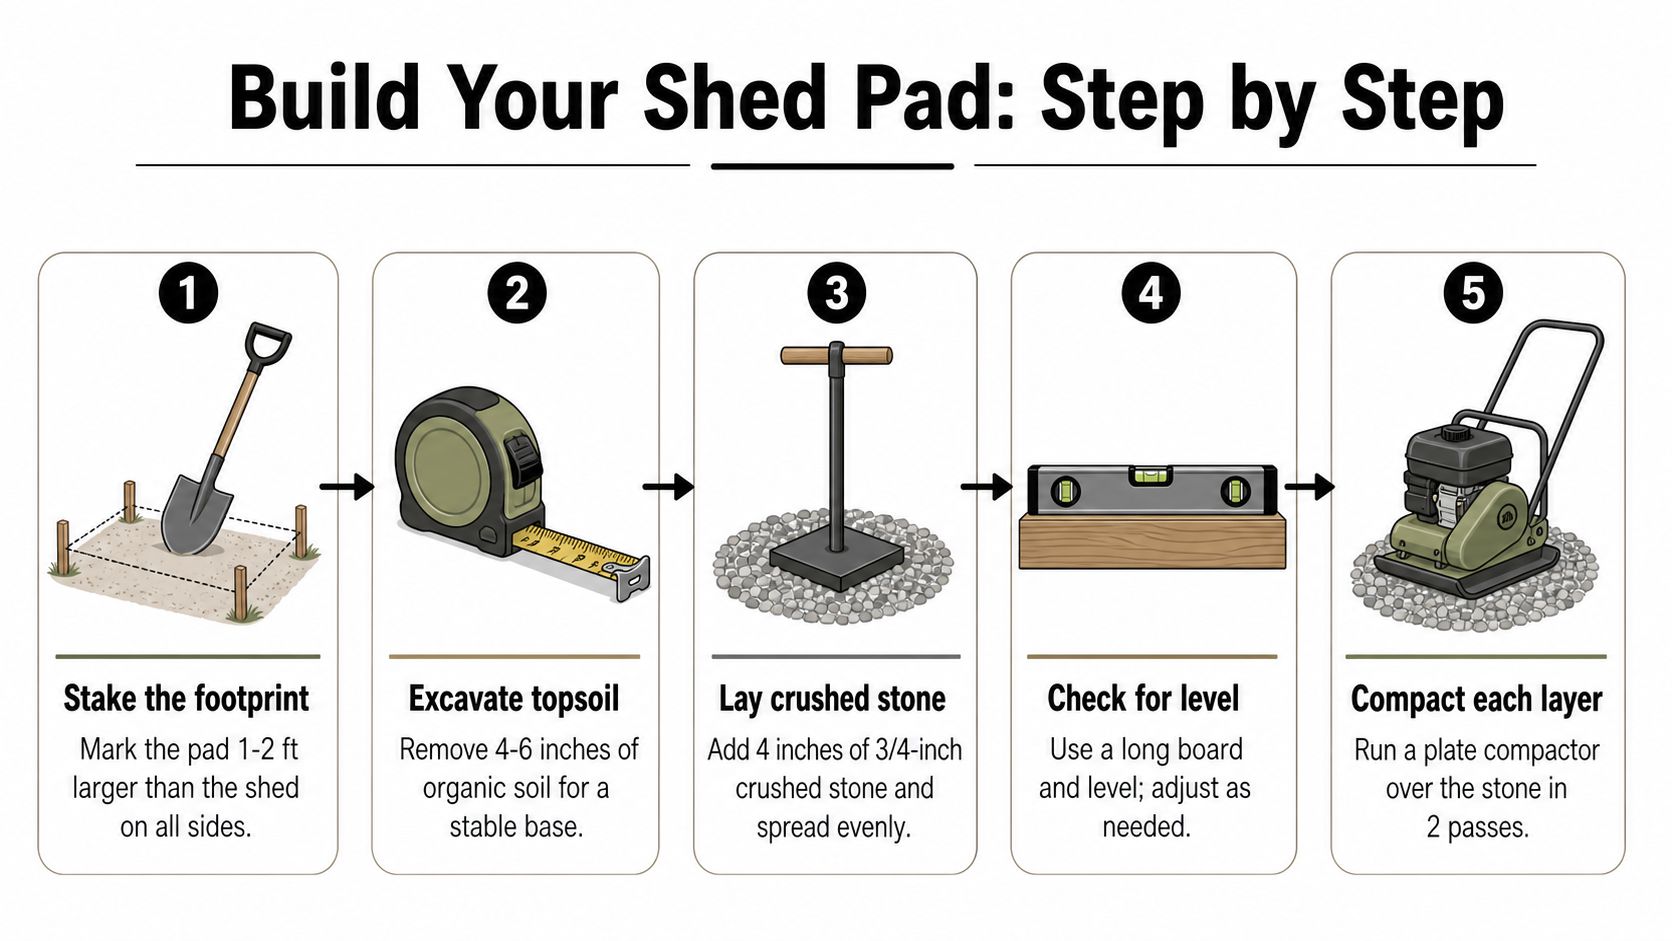
A short visual walkthrough can help homeowners follow the excavation and stone-placement sequence:
Drainage and Frost-Susceptible Soils in the Mid-Atlantic
A pad that looks stable during a dry delivery can shift after a wet Mid-Atlantic winter. Pennsylvania, Maryland, Delaware, and New Jersey sites commonly combine seasonal saturation, frost, clay, silt, and variable fill. The shed foundation must account for how water moves through the property, not just how level the ground appears.
Soil composition sets the frost risk. Material containing more than 8% fines can be frost-susceptible, because silty or clay-heavy soil holds water that may heave as it freezes in its site and foundation drainage guidance. A footing may need to extend below the local frost line, but extra depth does not correct a saturated or unstable subgrade beneath a shed pad.
| Mid-Atlantic Site Condition | Risk to the Shed Foundation | Recommended Action |
|---|---|---|
| Silty or clay-heavy native soil | Retains water and can heave during freeze-thaw cycles | Have the subgrade evaluated, control water at the surface, and use a separation layer where the design calls for it |
| Coastal plain sand or loose fill | May drain quickly but can shift if poorly compacted | Verify density and grade before placing the foundation |
| Piedmont clay or weathered soil | Can become soft when wet and shrink as it dries | Schedule excavation during workable conditions and correct unstable areas rather than covering them |
| Former driveway, construction area, or uncontrolled fill | Bearing conditions may change across the pad | Probe the area and remove or replace inconsistent material |
| Low area, seep, or high-water location | Water can collect beneath or beside the shed | Redirect runoff, raise the pad where appropriate, and establish a dependable outlet |
Walk the proposed location after rain. Trace water from uphill lawns, roofs, downspouts, compacted driveways, and shallow clay layers. Keep the foundation outside roof drip lines and discharge points, then set the finished floor above surrounding grade so runoff has a clear route away.
A French drain or curtain drain can help where subsurface water reaches the site and grading alone cannot handle it. It should match the actual water path, soil, elevation, and outlet. A drain with no reliable discharge point only moves the problem. For slab-specific runoff considerations, review this guide to concrete pad drainage.
Layout, Compaction Checks, and Final Inspection
The last inspection is the cheapest time to correct the pad. After the shed arrives, fixing a low corner, soft track, or poorly supported edge can mean dismantling or lifting the structure. In Pennsylvania, Maryland, Delaware, and New Jersey, that final check also helps catch drainage details that can turn freeze-thaw movement into a recurring problem.
Measure the completed pad against the shed order. Confirm length, width, and diagonal measurements so the footprint is square. Check the delivery approach, door swing, access side, anchors, and perimeter support before the truck arrives. Leave room for the shed to sit where planned, not where the delivery crew has to place it.
Use a short punch list
- Delivery clearance: Walk the route from the driveway to the pad. Confirm gates, branches, slopes, and soft ground will not force equipment or the shed off the planned approach.
- Surface condition: Remove loose stone, mud, organic material, and debris from the finished pad. A clean surface makes defects easier to identify before installation.
- Perimeter drain outlet: If the site uses a French drain or curtain drain, confirm the outlet is open, capped where required, and free of sediment. A buried or blocked discharge point can send water back toward the foundation.
- Utility markings: If markings have faded or excavation exposed uncertain areas, stop and have utility locations re-established.
- Delivery timing: Complete the inspection after the final grading and any equipment traffic. A pad that passed before delivery access can still develop ruts or disturbed edges afterward.
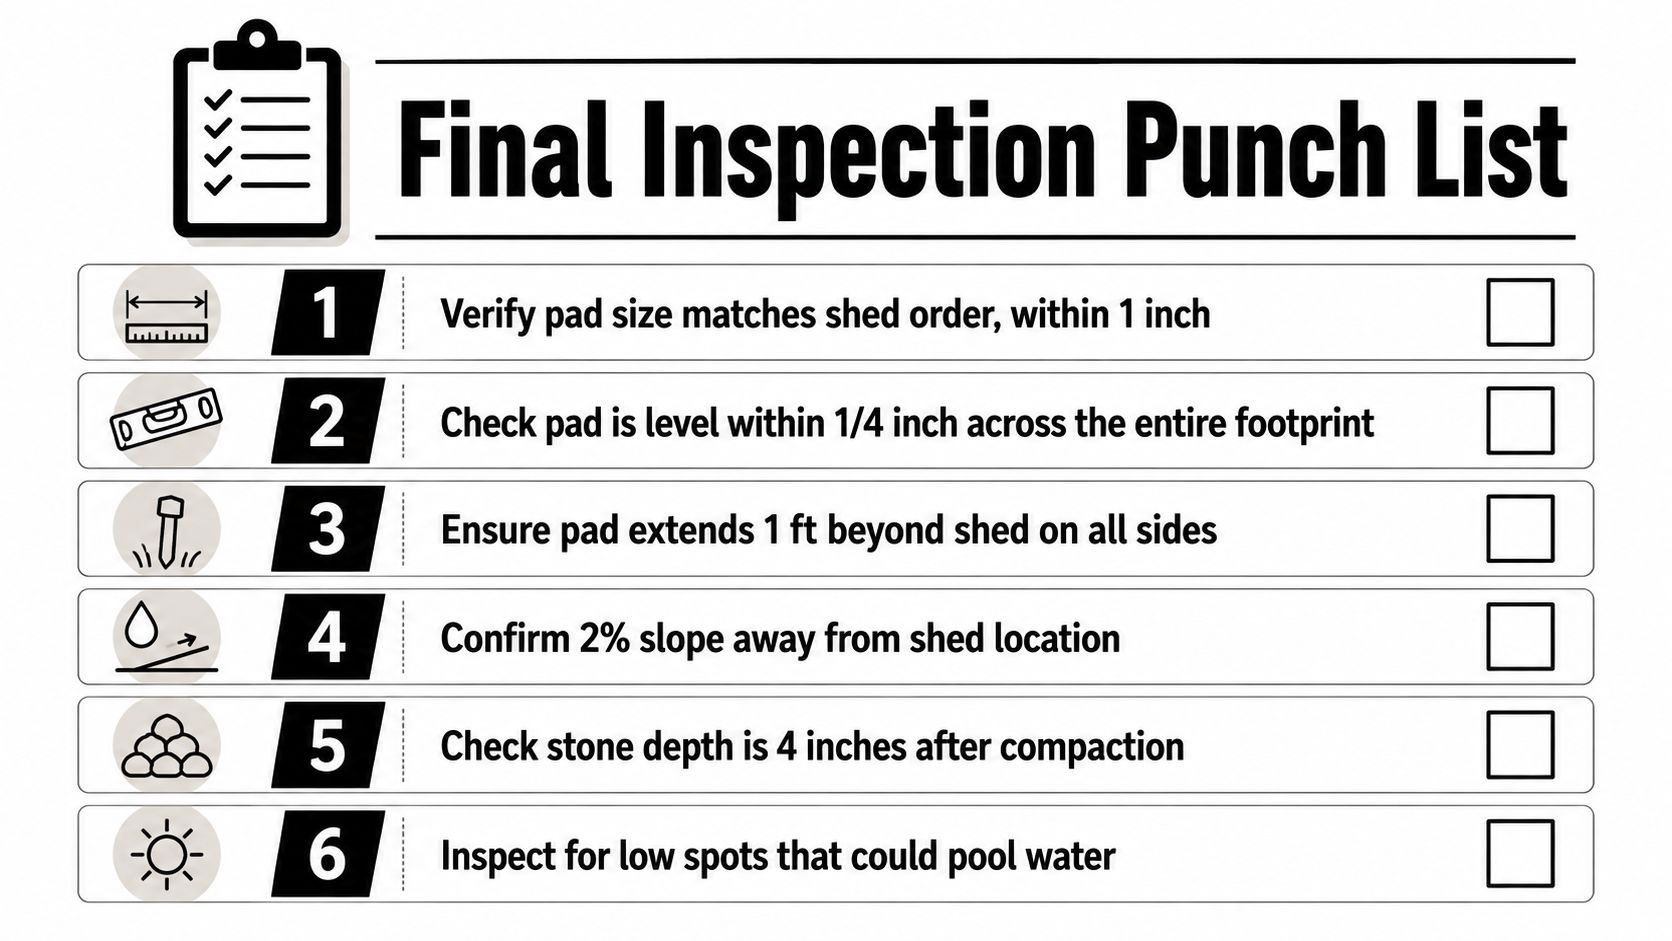
Look closely at four defects before signing off. Remove and rework a soft area rather than covering it with extra stone. Correct any low spot that holds water. Rebuild an edge that has spread beyond the intended footprint, especially where runoff could wash out the base. Re-expose any utility marking that is no longer visible before equipment returns.
For concrete slabs, inspect the subgrade and stone base deliberately before forms and reinforcement go in. Surface appearance alone cannot confirm support. This guide to soil compaction for a concrete slab explains why compaction checks belong before forming and pouring. Record any corrections, then approve the pad only after the grade, access, and drainage route match the planned installation.
Getting a Quote and What Happens Next
A quote is only useful when the contractor has enough site information to price the actual work. Provide the shed dimensions, intended use, site photographs, driveway access, slopes, downspouts, wet areas, trees, and other obstacles. Include any confirmed township or HOA requirements so the proposal reflects local conditions in Pennsylvania, Maryland, Delaware, or New Jersey.
Ask for the proposal in writing with separate line items. It should state the planned excavation depth, how unsuitable soil will be removed or handled, and whether spoil hauling is included. The stone section should name the material, placement thickness, number of lifts, and compaction method. Vague wording such as “prepare base” makes it difficult to compare bids or confirm what the crew will build.
The quote should also identify grading and drainage work, including outlet details or any drain system, rather than treating water control as an assumption. For concrete work, look for forms, reinforcement where specified, placement, finishing, curing coordination, and the treatment of slab edges. Confirm whether anchors, perimeter support, site access, cleanup, spoil removal, and disturbed-ground restoration are included.
Before approving the price, ask how field changes are handled. A contractor should explain who authorizes extra excavation, how unsuitable material is priced, and whether revised quantities require your approval. Written change orders prevent a low initial bid from becoming an unexpected final cost.
Weather affects scheduling and quality. Crews may need to pause if the ground cannot be prepared and compacted properly. Ask what inspection or approval occurs before stone, forms, or concrete cover the prepared base.
Firm Foundations serves Pennsylvania, Maryland, Delaware, and New Jersey with gravel shed pads, concrete foundations, garage foundations, driveway and patio bases, gazebo foundation work, and excavation. Send the shed plans and site photos with the quote request so the scope is tied to the actual property and installation requirements.
Firm Foundations can coordinate excavation, grading, drainage planning, compaction, forming, and finishing for a shed foundation or concrete base. Visit Firm Foundations to request a quote for shed foundation preparation in PA, MD, DE, or NJ.