
Garage Base Trim: Installation Guide for 2026
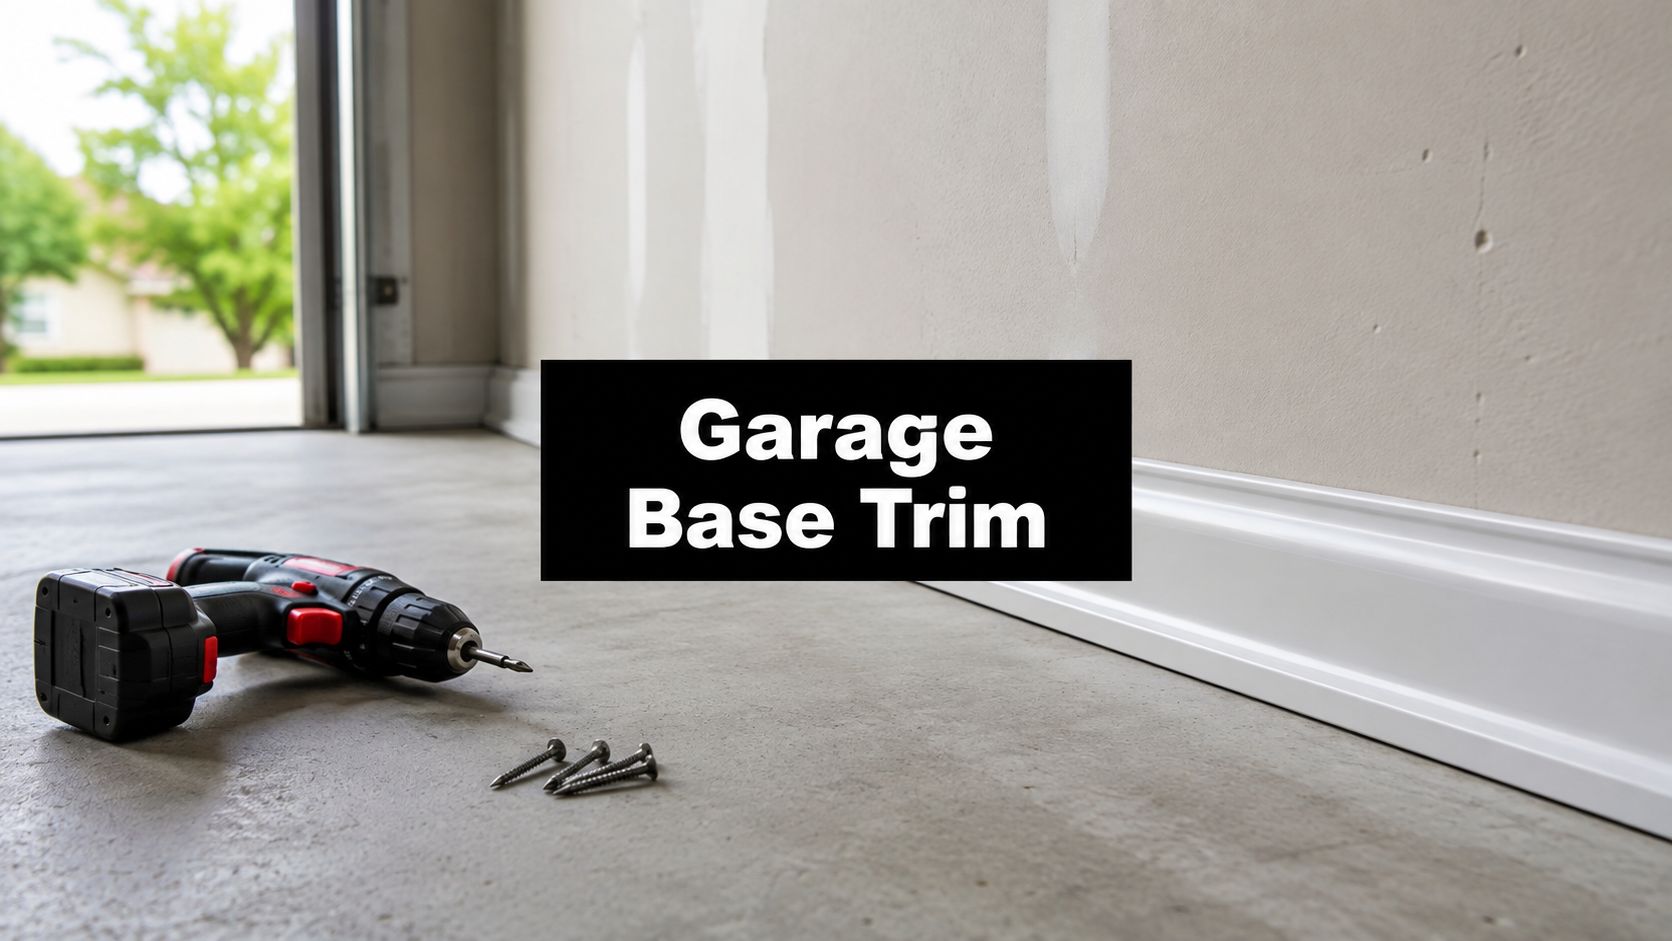
Garage base trim is usually a 4 to 6 inch protective strip where the wall meets the slab, and its job is to hide the joint while shielding drywall from water and impact. In a Mid-Atlantic garage, that small detail matters every time snowmelt drips off a car, a broom bumps the wall, or humidity lingers near the floor.
If you've ever looked at the bottom of a garage wall and seen peeling paint, soft drywall, or a gap that seems to collect dirt no matter how often you sweep, you already know why this matters. The right base trim doesn't just make the garage look finished, it helps that low wall area survive real use.
Why Garage Base Trim Matters in Real Garages
A lot of homeowners spot the problem only after it has already begun. The floor stays damp near the door, a tire brushes the wall, or a shovel handle leaves a mark at the bottom edge. After that, the drywall starts to swell, paint flakes off, and the joint at the slab looks rough and unfinished.
Garage base trim gives that lower edge a better chance of holding up. It covers the seam where the wall meets the floor, and it takes the scuffs, knocks, and moisture that would otherwise hit the drywall first. In plain terms, it acts like a small shield at the weakest part of the wall.
The garage gets used more than many homeowners expect
Garages are not just storage bays for a few boxes. They handle cars, yard tools, winter gear, trash cans, and all the little jobs that happen near the wall line. That is why the bottom of the wall gets more wear than the rest of the room, especially in Pennsylvania, Maryland, Delaware, and New Jersey, where wet weather and salt tracked in from the driveway can keep that area under stress.
The U.S. Department of Energy reports that 66% of occupied housing units had a garage or carport in 2017, and 74% of new construction did, so this is a common part of American housing, not an extra feature (DOE data). The same dataset shows especially strong garage use in the West and Midwest, which helps explain why garage detailing gets so much attention there. The point is simple. A garage wall does not live an easy life, and the trim at the bottom has to stand up to that reality.
Practical rule: If the garage gets daily traffic, tracked-in moisture, or tool use along the wall, base trim should be treated as a protection detail first and a finish detail second.
That mindset keeps a garage from looking worn too early. The trim is not there to impress anyone. It is there so the bottom of the wall can handle real use, from muddy boots to rolled-up hoses to the wet edge left after snowmelt meets the slab.
If you are comparing trim profiles and want a wider look at finishing choices, Flacks Flooring trim selections can help you see how different trim styles change the feel of a room. Garage trim is more utilitarian than interior finish work, but the basic idea is the same, a good detail makes the transition look intentional.
What Garage Base Trim Does
Garage base trim is the strip that finishes the wall at the floor line. It covers the rough edge where drywall, framing, or sheathing meets the slab, and it gives that joint a cleaner, tougher edge. In a garage, that matters because the bottom of the wall is where dirt, moisture, and wear collect first.
The trim acts like a bumper for the wall
A bumper on a car does not make the car run better, it protects the part most likely to get hit. Garage base trim serves the same role at the wall line. It takes the scuffs from vacuums, lawn tools, trash cans, and the small bumps that happen when the garage doubles as a workroom, storage area, or side entry.
It also helps the wall read as finished, because the joint between the slab and the wall is rarely perfect. Concrete shifts a little, framing is not always perfectly straight, and finish materials do not always meet neatly at the floor. Trim gives that edge a clean line instead of leaving a raw transition exposed.
If you are comparing trim profiles and want a wider look at finishing choices, Flacks Flooring trim selections can help you see how different trim styles change the feel of a room. Garage trim is more utilitarian than interior finish work, but the basic idea is the same, a good detail makes the transition look intentional.
Most garages need some kind of finish at the bottom
The point is function, not luxury. Because garages are so common in U.S. homes, that lower wall area gets used enough to justify a practical finish. Once you see it that way, garage base trim stops looking optional and starts looking like part of sound wall design.
Choosing the Right Material for Your Garage
A garage base trim choice has to do more than look neat. At the bottom of the wall, the material gets hit by moisture, grit, cleaning tools, and sometimes heat or flame risk, so the right pick depends on how the garage behaves through a Mid-Atlantic winter and spring thaw.
PVC, wood, and metal each solve a different problem
PVC is the practical default for many garages in Pennsylvania, Maryland, Delaware, and New Jersey because it tolerates moisture better than wood. One garage base molding product is sold in 8 ft. lengths, with two pieces covering 16 linear feet, and another modular garage wall board is specified at 5 7/8 in. high by 96 in. long by 5/8 in. deep (GarageTek base molding). That kind of sizing fits a wipe-clean finish that can handle tracked-in slush, damp concrete, and routine cleanup without much upkeep.
Wood, including primed pine or MDF, still works in drier, more finished garages where paint matching matters and the space feels closer to an interior room. It can give the wall line a cleaner residential look, but it needs more attention if the slab edge sees condensation, splash, or water carried in on tires and boots.
Aluminum fits garages where durability and easy cleaning matter more than a warm appearance. A contractor-grade aluminum trim spec lists 4-foot, 6-foot, and 8-foot sections, and notes an aluminum thickness of .019 inches, roughly equivalent to 25 to 26 gauge sheet metal (Trim Bender aluminum trim). That makes it a practical choice for a workshop, utility garage, or any space where the wall base takes regular abuse.
| Garage Base Trim Materials Compared | Moisture Resistance | Impact Tolerance | Typical Cost (per LF) | Best Garage Type |
|---|---|---|---|---|
| PVC | High | Good | Varies by product | Utility, attached, semi-wet garages |
| Wood | Moderate to low | Good | Varies by profile | Finished garages, dry climates |
| Aluminum | High | Good | Varies by section | Workshop, fire-conscious spaces |
| Composite | Moderate to high | Good | Varies by brand | Mixed-use garages |
Fire risk belongs in the material discussion
Residential garage fires averaged about 6,600 incidents per year in 2009–2011, with about $457 million in property loss annually, according to FEMA's U.S. Fire Administration (USFA data). That does not mean every garage needs the same trim, but it does explain why tougher, lower-maintenance materials deserve a serious look, especially where stored fuel, tools, and vehicles already add strain to the space.
Good fit rule: Use PVC where water is the main enemy, wood where appearance matters most, and metal where you want a wipe-clean surface with a tougher edge.
That simple split saves a lot of second-guessing. If a garage gets salt, slush, or sloppy cleanup, PVC usually makes the most sense. If it is a showier finished space, wood can still work, as long as the owner understands the upkeep. Before ordering, it also helps to match the trim choice to the slab edge and figure out how much material the layout needs with a garage slab calculator. If you are working through slab conditions and want to think about the floor as a system, find residential foundation concrete services helps connect the wall finish to the concrete below it.
Sizing and Layout Relative to the Slab
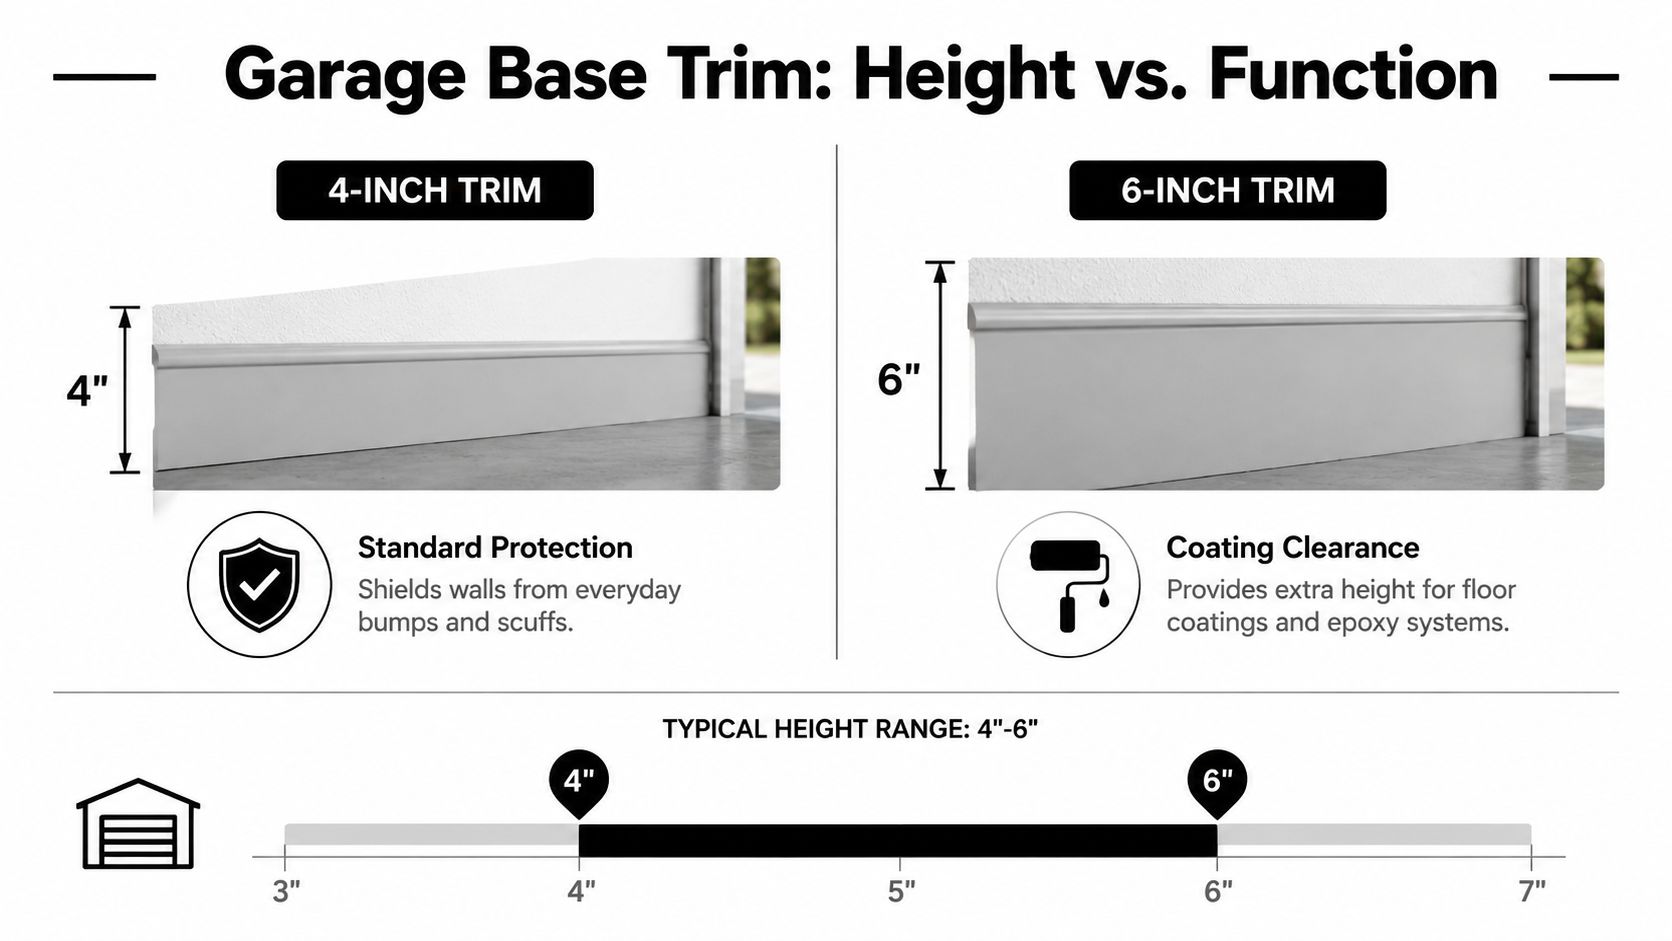
Most garage base trim lands in the 4 to 6 inch range because that height gives the wall enough protection without getting in the way of floor coatings or slab irregularities. A garage-focused source describes baseboards as commonly 4 to 6 inches high, which matches the way they're used at the floor line (Nuvo Garage).
Start with the floor, not the wall
The slab decides a lot. If the floor slopes toward the door, if there's a step at the perimeter, or if an epoxy coating is planned later, the trim height needs to leave room for all of that. Measure from the high point of the finished floor, not from the lowest spot, or the trim can end up looking uneven once the garage is finished.
Planning detail beats guesswork
A taller piece helps where you need more protection or extra clearance over coatings. A shorter one works when the garage has a simple slab and you want the wall to stay visually light. Either way, the trim should clear floor movement, not fight it.
If you're working through slab conditions and want to think about the floor as a system, find residential foundation concrete services is a useful reminder that the wall finish always depends on the concrete below it. A trim choice can look great on paper and still fail if the slab edge is rough, damp, or out of plane.
When you're estimating floor needs, the concrete slab calculator can help you think through how the base and the floor relate before materials get ordered.
Layout rule: Don't press trim tight to a slab that still needs to move a little. Give the assembly a small amount of honest space, then finish the joint cleanly.
Corners and door jambs deserve attention too. If the layout gets sloppy there, the whole job looks improvised even if the material is good.
Fastening Trim to Masonry, Studs, and Drywall
A trim job usually fails because it wasn't anchored for the wall it was attached to. Masonry, bare studs, and drywall-over-stud all behave differently, so the fasteners have to match the substrate instead of just the trim profile.
Three wall types, three attachment approaches
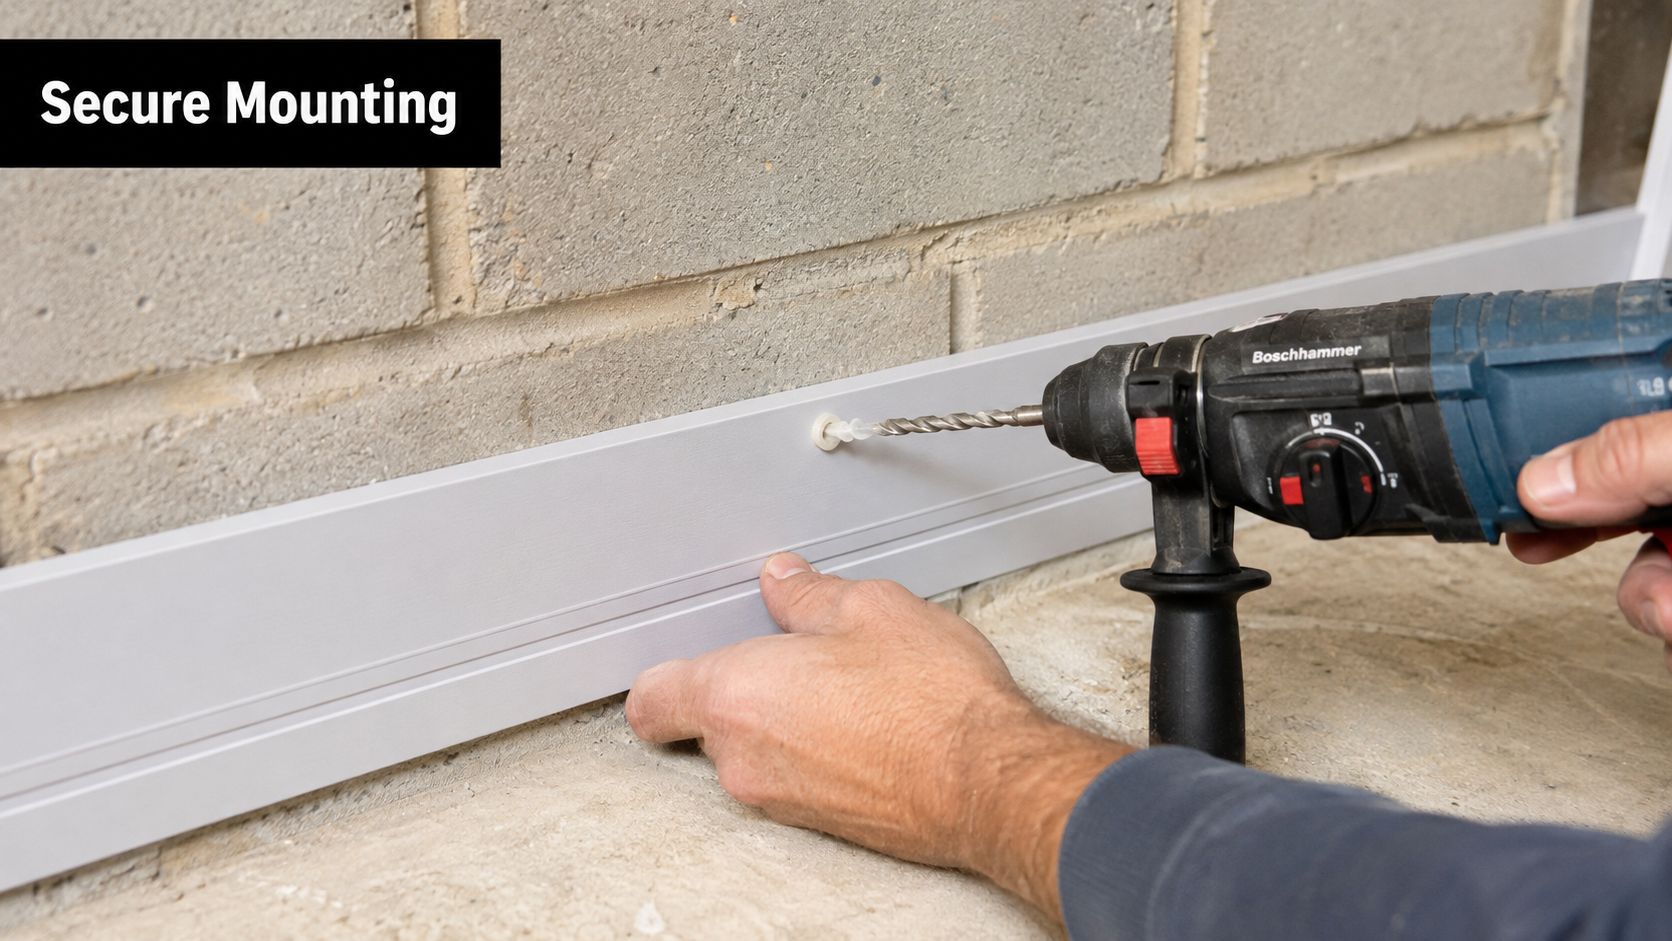
For masonry walls, manufacturer instructions for Gladiator Base Trim call for direct mounting with 3/16 in. x 1 3/4 in. flat-head masonry screws spaced every 48 in. (Gladiator Base Trim instructions). That approach gives the trim a solid bite into the wall, which is what keeps it from loosening over time.
For drywall-over-stud and bare-stud installs, the same instructions also call for screws every 48 in. and say the trim should begin and end on studs so the load transfers properly. That matters because the last thing you want is a section end splitting or pulling away just because the fastener pattern was too loose.
For wood-backed installs, predrilling and countersinking near section ends helps reduce split-out. Construction adhesive can also add resistance to peel and vibration, especially where the wall sees regular bumps from equipment or carts.
Hardware choice matters as much as trim choice
If the fastener is wrong, the best trim in the world won't stay put. That's why it helps to pick anchors and screws based on what's behind the wall, not just what looks tidy in the store. For homeowners sorting out the hardware side, best concrete anchors 2026 gives a practical look at anchor selection in garage-type conditions.
A clean install also has to play well with the rest of the garage assembly. If the trim traps moisture against sheathing or finishes too tight to a door jamb, it solves one problem and creates another. The best jobs leave the wall able to dry and the trim able to be replaced later without tearing the assembly apart.
When Skipping Trim Is Actually the Smart Move
Not every garage benefits from base trim. That's hard for some people to hear, because trim feels like a finishing step, but there are garages where a clean exposed base is the more durable choice.
Wet-use and utility spaces can punish trim
If the garage gets hosed out, sees frequent snowmelt, or has chronic moisture at the slab edge, trim can become a trap. Water sits behind it, dirt collects along the bottom edge, and the wall finishes fail faster than they would with a simpler, more open detail. In those cases, a deliberate exposed joint is often easier to maintain.
That same logic applies to barns, outbuildings, and utility-first spaces where the lower wall may take hits from equipment, storage, or washdown. If the room is likely to change in the future, such as during a remodel or wall-height adjustment, trim can also get in the way of later work.
Better alternatives exist
You don't have to choose between decorative trim and a raw, unfinished look. A sealed concrete curb, a removable rubber base, or a planned gap with foam backer rod can handle moisture and cleaning better in some garages. Those options keep the lower wall detail simpler and easier to service.
A garage that stays wet should shed water, not hide it behind trim.
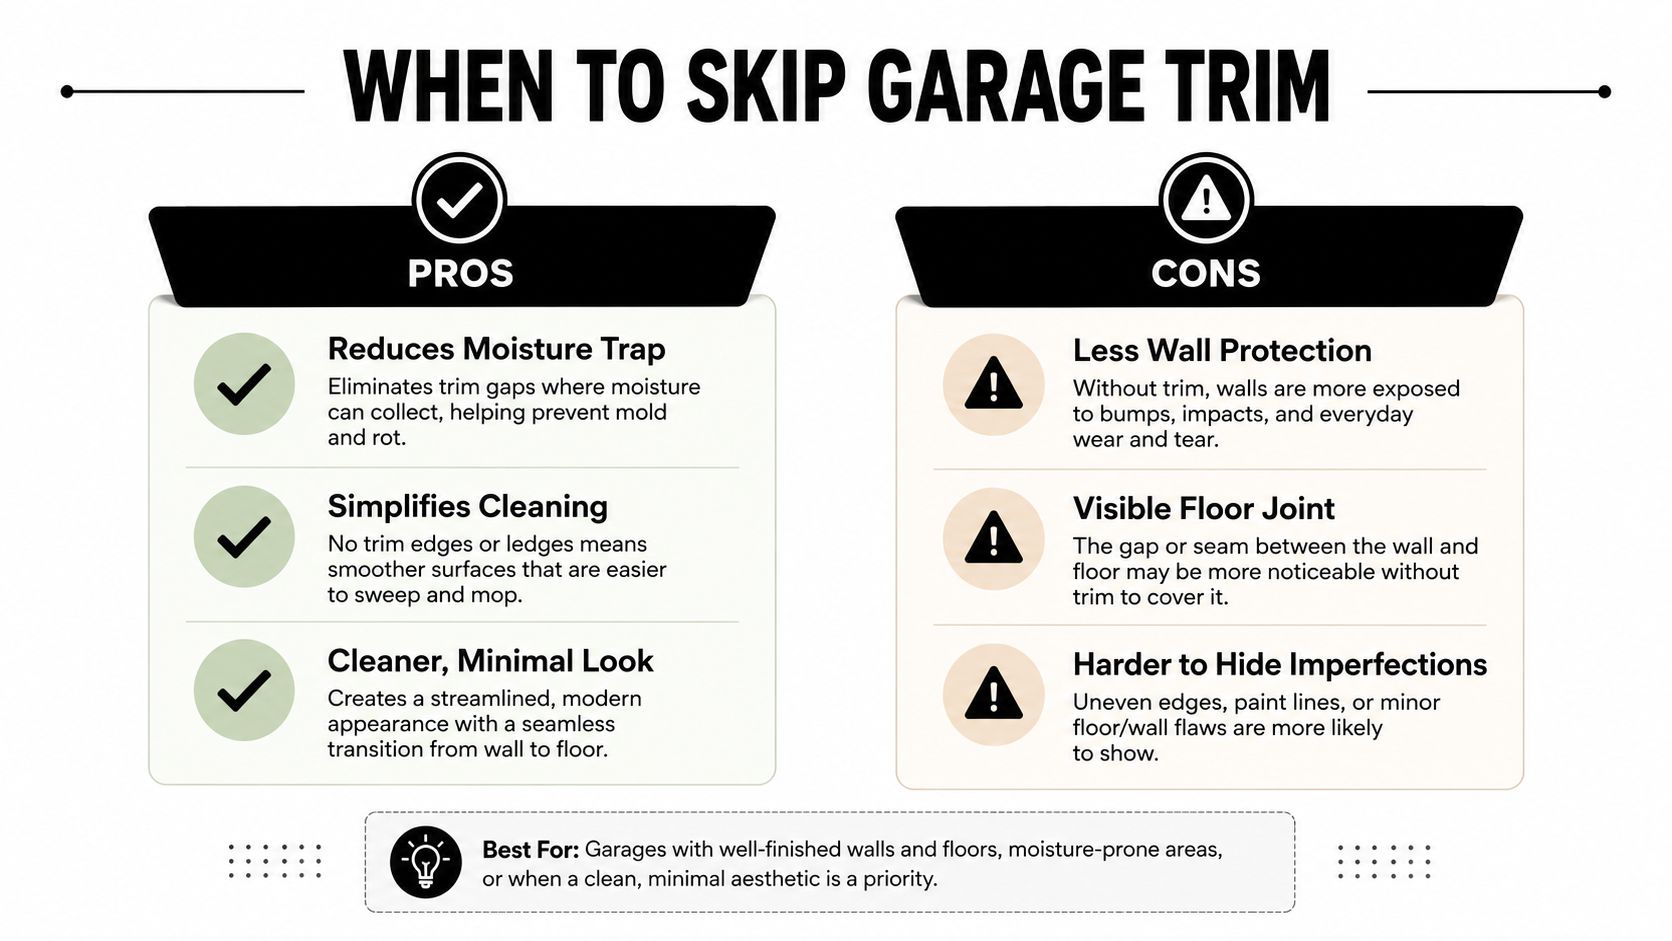
The key is honesty about how the garage is used. If the space is mostly dry, base trim can improve durability and appearance at the same time. If the space gets wet and rough treatment on a regular basis, skipping trim may be the smarter construction choice.
Maintenance, Common Problems, and Project Costs
Most base trim problems show up slowly, then all at once. A corner opens up, a bottom edge swells, or paint starts peeling behind the trim because moisture found a way in. Once that happens, the repair is usually straightforward, but it's better to catch it early.
What usually goes wrong
Gapping at corners usually means the pieces were cut or fastened without enough room for movement. Swelling at the slab line points to moisture reaching wood trim or drywall below the finish edge. Rust bleed means the wrong fastener was used for the environment, and pest entry usually means there's a hidden opening that needs sealing before anything else.
If trim is loose, tighten it before the drywall paper starts tearing. If caulk joints have opened, reseal them after the surface is dry. Wood trim should be repainted when the finish starts looking thin, because bare spots are the first place moisture wins.
Cost and timing are tied to the scope
Material costs vary by profile and brand, so it's smarter to budget by material type than to chase one universal number. PVC usually costs more than basic wood trim, aluminum often costs more than both, and repair work can change the total quickly if the slab edge needs attention too. For a simple one-car garage, a careful DIY install can fit in a day, while a contractor job that includes repairs or slab edge work can stretch into two to three days.
If you're dealing with garage moisture more broadly, garage floor vapor barrier is a useful companion read because base trim performs better when the slab environment is under control.
A simple maintenance rhythm helps
- Wipe the lower wall line: Dust, salts, and grit wear finishes faster than people expect.
- Check caulk and joints seasonally: Small openings turn into bigger problems when the weather swings.
- Watch the fasteners: If a screw backs out, the trim starts working against the drywall.
- Replace damaged pieces sooner: A small section swap is cheaper than chasing hidden moisture damage.
The garage doesn't need constant attention, but it does need a quick look once in a while. A few minutes of care keeps a small protective detail from turning into a wall repair.
Plan Your Garage Project with Firm Foundations
A garage project starts at the slab edge. If the concrete is uneven, damp, or already breaking down, base trim has to cover problems it was never meant to solve. A trim board can hide a rough transition, but it cannot correct a poor foundation or stop water that keeps working into the wall.
Keep the whole assembly in view
Garages in Pennsylvania, Maryland, Delaware, and New Jersey see moisture, road salt, freeze-thaw swings, and daily impact at the bottom of the wall. That mix is hard on materials. Base trim helps only when the slab, drainage, fastening, and wall surface all work together, because each piece depends on the one below it.
Firm Foundations builds garage foundations, garage footings and foundations, concrete foundations, and gravel pads for garages, sheds, houses, gazebos, horse barns, playsets, hot tubs, shipping containers, driveways, and patios. Work like that gives the trim a cleaner edge to sit against, which matters if you want the lower wall to stay dry and stay straight over time.
A homeowner checklist that keeps the job on track
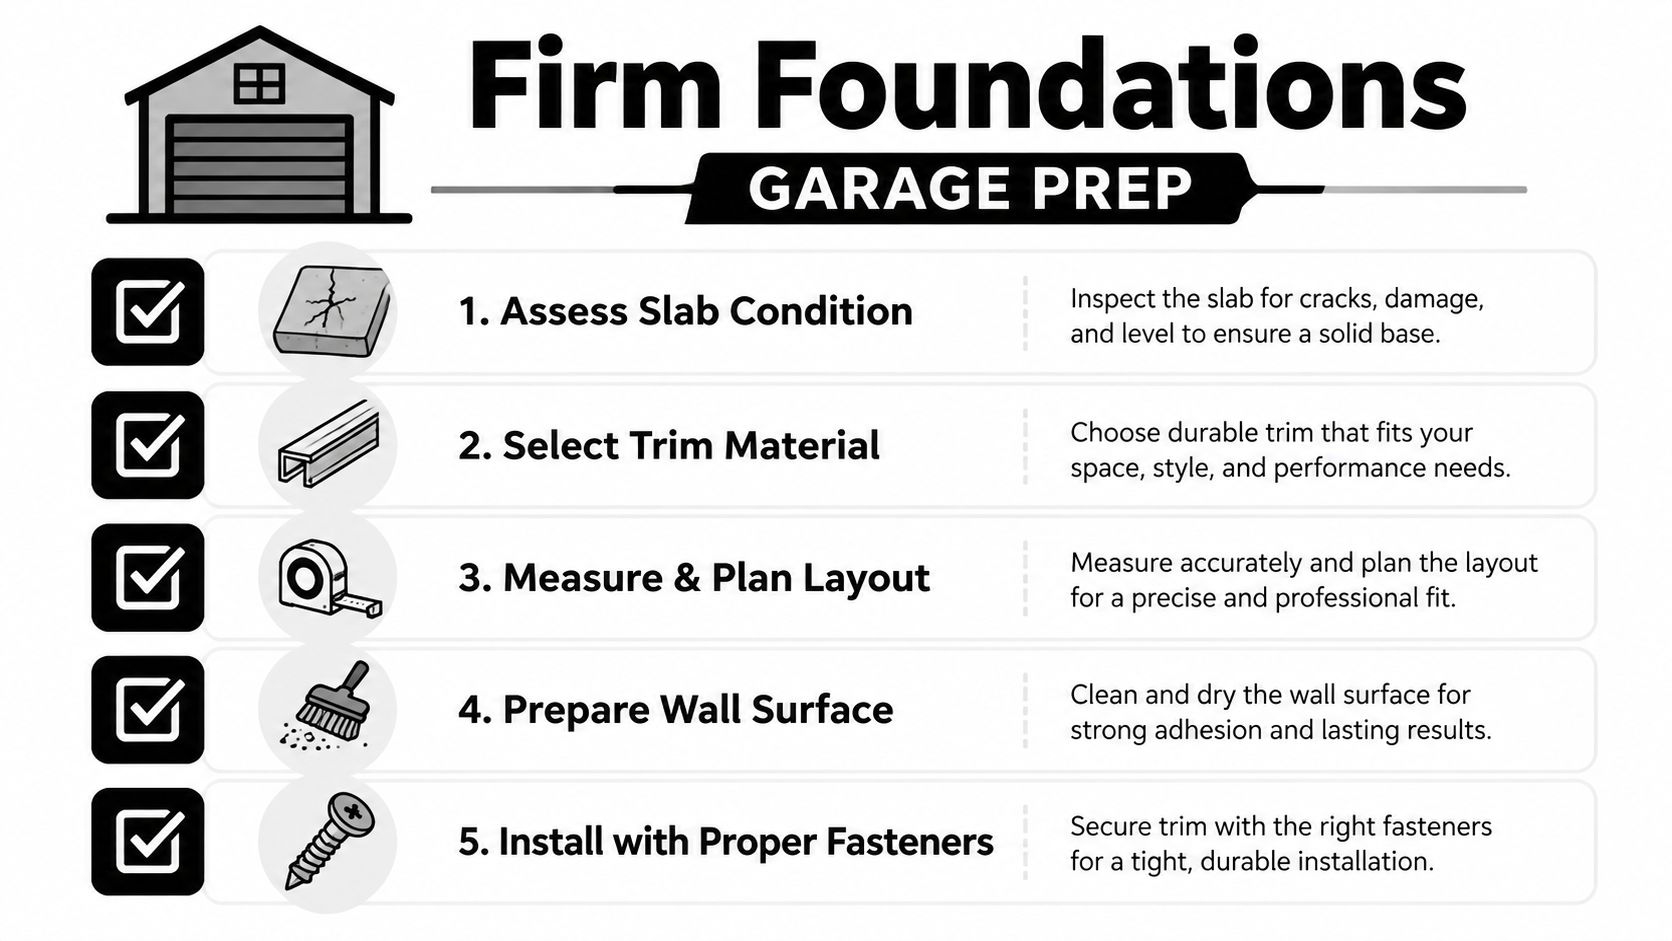
- Assess the slab condition: Look for cracks, moisture, and rough edges before you buy trim.
- Select the right material: Match PVC, wood, aluminum, or composite to how the garage is used.
- Measure and plan layout: Check corners, door jambs, and coating clearance first.
- Prepare the wall surface: Remove dirt, loose paint, and anything that blocks a clean fit.
- Install with proper fasteners: Use the right screws or anchors for masonry or studs.
A homeowner can use that list to sort the work before the first cut goes in. It keeps attention on the same things a foundation contractor watches, slab condition, wall contact, and how water will behave at the base of the garage. As noted earlier, USFA data point to garage fires as a serious concern in the same kind of homes where slab and foundation details matter, so the lower wall deserves the same careful thinking as the rest of the structure.
If you are planning a garage, shed, or slab project and want a crew that understands drainage, edge detail, and the foundation work under the finish, visit Firm Foundations to request a quote. A sound slab makes trim easier to install, easier to maintain, and more likely to hold up in a Mid-Atlantic garage.