
How to Make a Shipping Container Into a Home
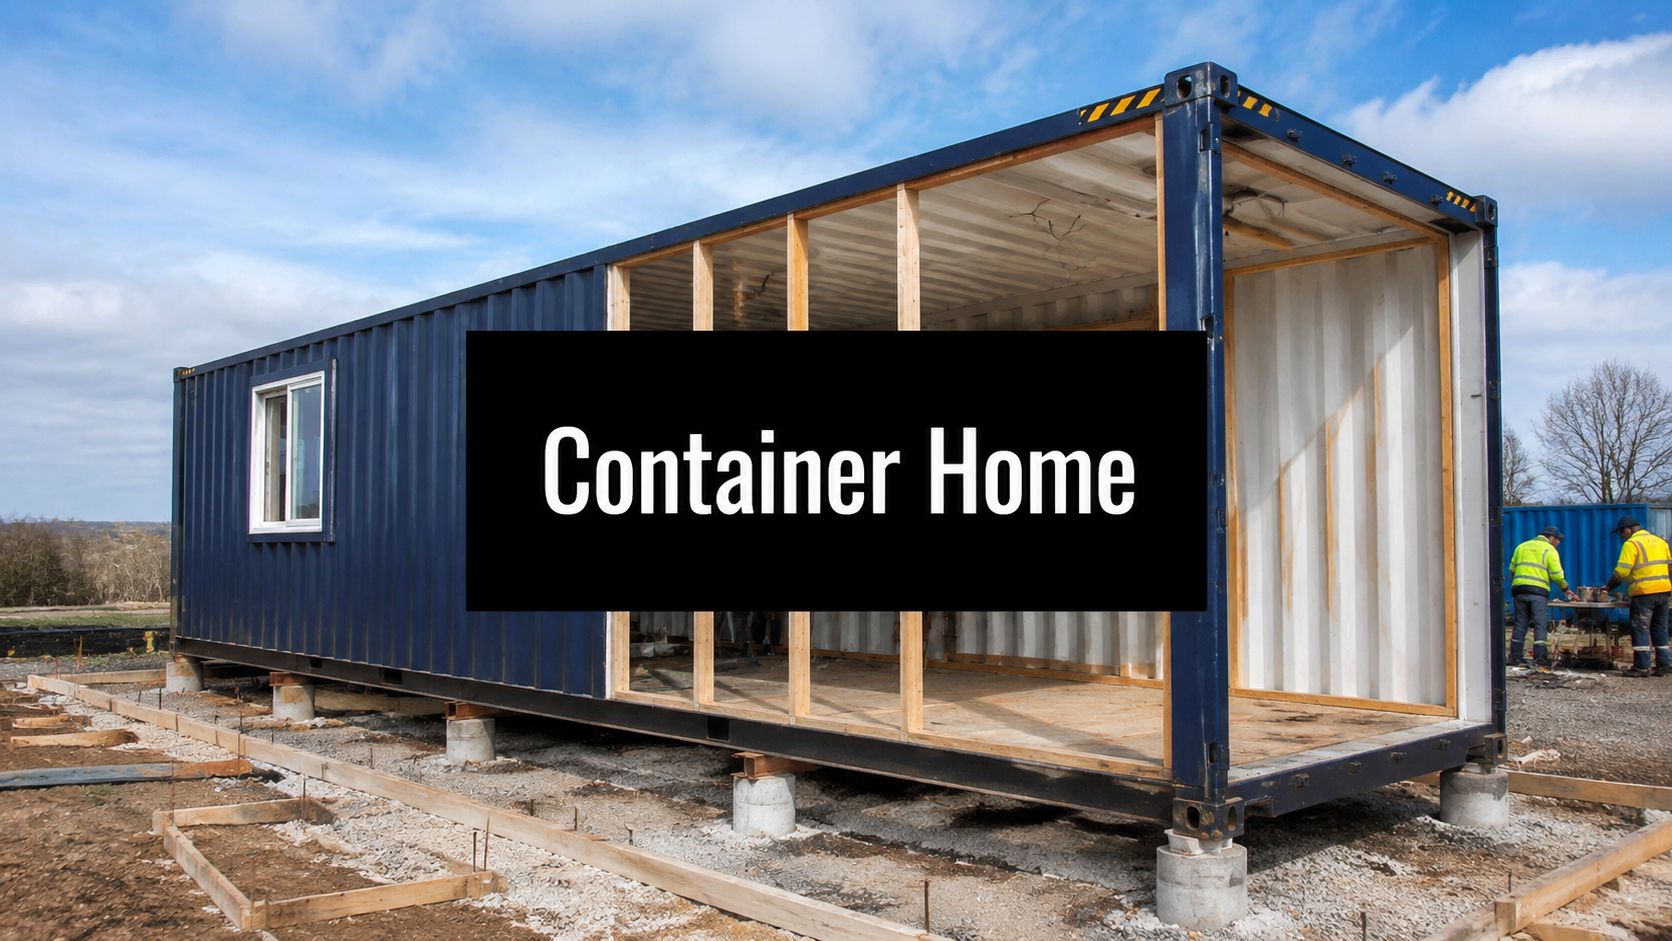
You're probably in the same spot a lot of container-home buyers reach. You've found land, saved inspiration photos, and started pricing out containers. The idea is appealing because it feels efficient, durable, and different from a standard build.
That part is real. The part that gets mishandled is the ground underneath it.
If you want to learn how to make a shipping container into a home, start with the base, not the kitchen layout or window package. In Pennsylvania, Maryland, Delaware, and New Jersey, a container home lives or dies by drainage, frost protection, excavation quality, and a foundation that matches the site. Homeowners searching for concrete foundations, shed foundations near me, garage foundation contractors near me, or even a simple base for storage shed are often dealing with the same core issue. A structure only performs as well as the surface and support system below it.
Your Shipping Container Home Starts on Solid Ground
A container home project often looks simple at the kitchen table. The container seems like the hard part. Then the site work starts, and critical questions show up fast. Can the ground carry the load? Where will water go after a heavy rain? How will the foundation perform through a Pennsylvania winter or a wet stretch in Delaware?
Those questions decide whether the build stays straight, dry, and code-ready.

A shipping container is strong at its corner castings and perimeter frame, but it still depends on even support. If the foundation settles out of plane, the steel telegraphs that mistake quickly. Openings rack. Doors bind. Interior finishes crack. Utility connections take stress. A bad base can turn a clean container conversion into a constant repair job.
That is why the first build decision is usually the most important one. Choose the support system before you commit to floor plans, cladding, or interior finishes.
Delivery and placement need to be planned before excavation
Site access affects the foundation layout from day one. The trailer needs enough room to enter, turn, unload, and clear the site safely. Crane placement, overhead wires, tree cover, soft ground, and slope all matter. A pad that works on paper can still fail in the field if the truck cannot approach it or the crane has no stable setup area.
If you are still working through transport details, resources that explain how to streamline container logistics can help you understand haulage, timing, and placement constraints before excavation begins.
I have seen owners spend money grading a site, only to learn the delivery path requires a different approach angle or more stone for access. That kind of rework is avoidable when delivery, excavation, and foundation planning happen together.
Ground conditions in PA, MD, DE, and NJ change the right answer
A container home in this region does not sit on a one-size-fits-all base. Frost depth, seasonal moisture, fill material, drainage patterns, and bearing capacity vary from site to site. A wooded lot in Pennsylvania may need frost-conscious footings and careful water control. Parts of New Jersey and Delaware can bring high water table concerns. Some Maryland sites look dry until runoff starts crossing the pad during a storm.
The same property can also have different soil behavior from front to back.
That is why foundation contractors matter more than container-home inspiration boards. The project needs a base designed for the actual lot, the actual loads, and the actual code requirements. If you are still sorting out baseline code and siting questions for accessory structures, this guide to building requirements for a shed is a useful reference point. A full-time container residence usually requires more engineering and inspection than a shed, but the core lesson is the same. Groundwork, setbacks, drainage, and approvals need to be handled early.
At Firm Foundations, that is the part we focus on across PA, MD, DE, and NJ. Proper excavation, compaction, drainage planning, and foundation construction give the container a stable start and give the rest of the trades a structure they can build on with confidence.
Navigating Local Codes and Permits in PA MD DE and NJ
Most container home problems don't start with welding. They start with assumptions about zoning, permits, and what the local building office will accept.
If you're building in Pennsylvania, Maryland, Delaware, or New Jersey, start with the municipality, not the container seller. Ask whether a shipping container home is allowed on your parcel, how it's classified, and what drawings the township or county expects before issuing approvals.
What to confirm before you move dirt
Local offices commonly want clarity on use, placement, setbacks, and structural details. A container used for storage is one thing. A container converted into a residence is another.
Use this checklist before buying materials:
- Zoning use: Confirm the parcel allows a residential container structure.
- Setbacks and placement: Make sure the proposed location clears property line and easement requirements.
- Foundation expectations: Ask whether the municipality wants slab, pier, or engineered footing details.
- Utility review: If the project will have plumbing, electrical, and HVAC, those plans usually need to align with the residential permit package.
- Site plan requirements: Many offices want a scaled plan showing grades, drainage, access, and foundation layout.
For a plain-language overview of permit steps, HomeProBadge's permit resource is a useful starting point for homeowners trying to understand what usually triggers approvals and inspections.
Code details that affect the foundation
Foundations are where paperwork turns into construction standards. The International Residential Code matters here because footer depth and frost protection aren't optional details.
Per IRC Section R403.1.4, foundation footers must be placed at least 12 inches below undisturbed soil depth and at least 6 inches below the local frost line according to Discover Containers' foundation code reference. In practical terms, that means a quick skim of topsoil and a few blocks under the corners usually won't satisfy a permanent residential build.
Bring your foundation plan into the permit conversation early. Waiting until after zoning approval often causes redesigns that could've been avoided.
If you want an example of how specific local rules can get, California requires a building permit for permanent shipping container placement with detailed site plans and code compliance, while some temporary use can be allowed for a limited period tied to an active permit, as outlined by Conexwest's California permit summary. The exact rules differ from our region, but the lesson is the same. Jurisdictions want clear intended use and documented compliance.
Why site plans matter so much
A clean permit package usually includes more than a sketch. It should show where the home sits, how water drains, where excavation happens, and what type of base supports the container. That's true whether the project resembles a tiny home, a modified garage-style unit, or a larger modular layout.
Homeowners who've researched outbuildings often recognize the pattern from building requirements for a shed. Residential container homes require that same discipline at a higher level. The more precise the plan, the smoother the approval process.
Choosing Your Container Home Foundation
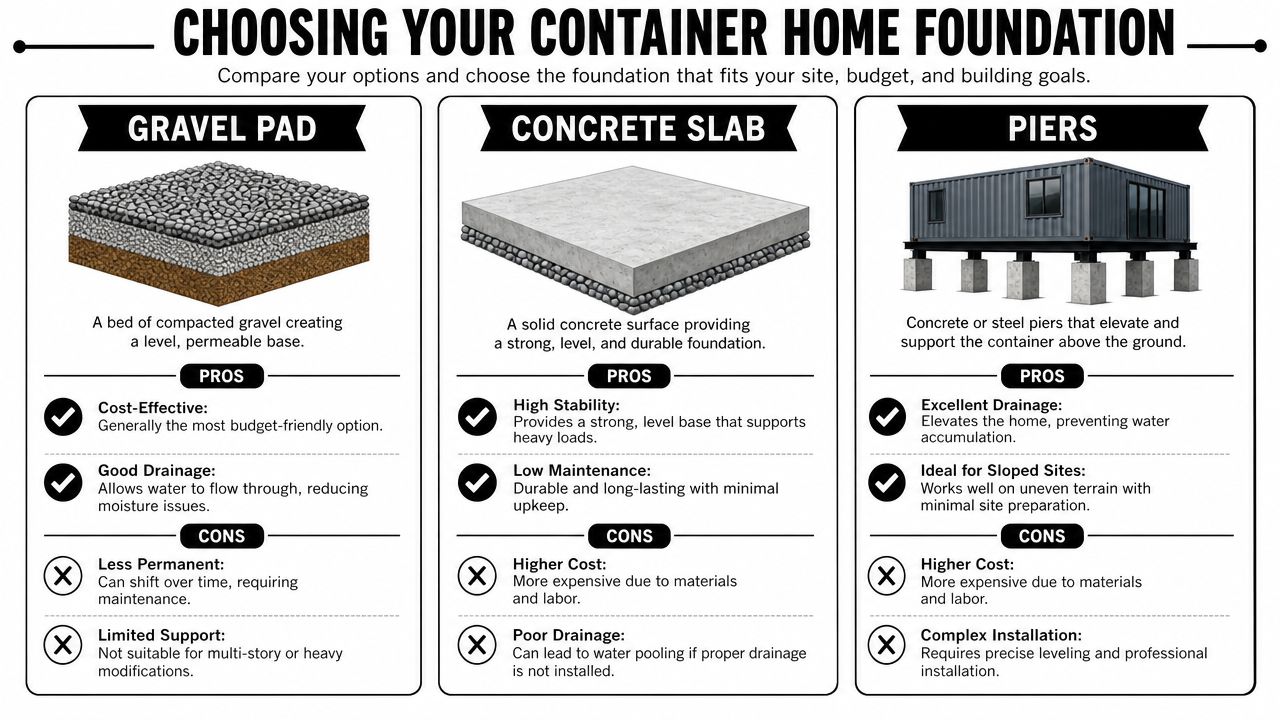
There isn't one universal answer for container home foundations. The right choice depends on the lot, the soil, the slope, drainage patterns, frost exposure, and how heavily the container will be modified.
What doesn't work is guessing. Data shows 32% of container home structural issues stem from poor foundation design, especially in places such as Pennsylvania and Maryland, and IRC R403.1.4 requires footings to sit at least 12 inches below undisturbed soil and below the local frost line to prevent ground-heave damage, as noted in Container One's shipping container house guide.
A side by side look at the main options
| Foundation type | Where it fits | What to watch |
|---|---|---|
| Gravel pad | Good for simpler placements, lighter-use projects, and sites where drainage is the main priority | Needs correct excavation, compaction, and edge control to stay level |
| Concrete slab | Strong choice for permanent residential use and heavier layouts | Requires careful forming, sub-base prep, and water management |
| Piers | Useful on some sloped lots or where elevation and under-structure access help | Load points must be exact and engineered for the specific design |
Gravel pad foundations
A properly built gravel base is not the same thing as dumping stone and leveling it with a skid steer. For a container, the pad has to start with excavation to stable subgrade, then layered compaction, then grading that moves water away from the footprint.
This is often the closest match to what people search when they look for shed foundations contractors near me, shed foundation gravel base, or a barn shed pad. It can work very well when the use is straightforward and the site drains naturally.
What works
- Drainage-first design: Gravel sheds water instead of trapping it against steel.
- Fast access to a level base: On the right lot, this can be efficient and clean.
- Simple maintenance visibility: Problems are usually visible early.
What doesn't
- Loose fill over topsoil: That settles.
- Poor edge restraint: Stone migrates and corners lose support.
- Assuming every home can use gravel: Residential builds with major modifications often need more.
Concrete slab foundations
A slab gives you a continuous, durable platform. For many permanent container homes, especially those designed more like a house foundation or concrete foundation for garage, a slab creates a cleaner path for anchoring, utilities, and finished floor planning.
This route makes sense when the project includes interior partitions, larger mechanical systems, or a heavier final buildout. It's also familiar territory for buyers searching concrete contractors, concrete forms, or garage footings and foundations because the performance standards are similar.
A slab doesn't fix bad drainage. It only hides it until water starts pushing where it shouldn't.
Pier foundations
Piers can be useful when a site has slope or when keeping the container raised solves drainage and access issues. They also reduce the amount of full-area concrete compared with a slab.
But piers aren't a shortcut. The corner castings and load paths have to land exactly where they belong. Once a container is modified into living space, point-load planning becomes more serious than many DIY builders expect.
Which one should you choose
A simple rule helps:
- Choose gravel when drainage is excellent, the site is stable, and the design is modest.
- Choose a slab when the build is permanent, utility-heavy, or closer to full residential construction.
- Choose piers when slope, airflow, or access under the structure make elevation the better answer.
If you're pricing options, shipping container foundation cost guidance can help you compare the major foundation paths before committing to the wrong base for your lot.
Professional Site Prep and Excavation
Foundation work starts long before gravel arrives or concrete gets poured. Site prep decides whether the rest of the project goes smoothly or spends years fighting water.
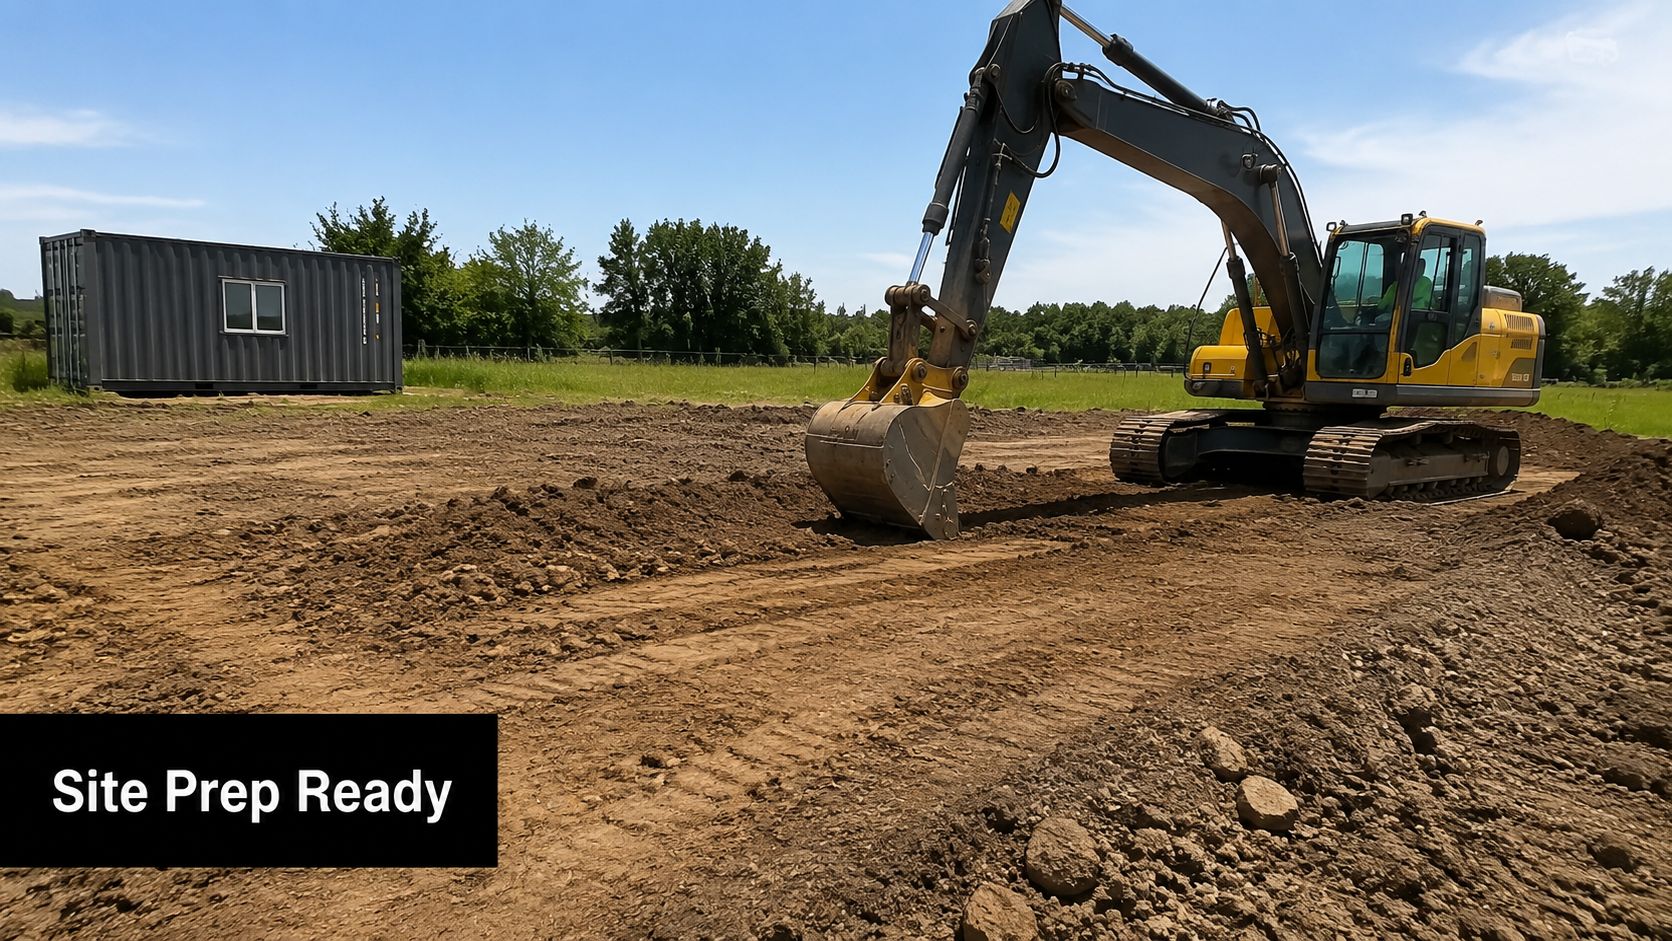
A lot of homeowners start by searching excavation near me, and that's usually the right instinct. The same crews that handle driveway companies near me and driveway contractors near me work with grading, compaction, access, and sub-base stability every day. Those skills matter just as much on a container home site.
What the prep phase really includes
Good site work usually involves more than clearing brush and knocking down high spots.
- Strip unstable material: Topsoil, organics, and soft fill need to come out before any base goes in.
- Establish grade intentionally: The finished foundation should work with the natural water flow, not trap runoff against the steel.
- Create access for delivery: The truck, trailer, and possibly a crane need room to approach and set the container safely.
- Compact in layers: Base material only performs if it's installed and compacted properly.
That process applies whether the project is a shipping container home, a 4×8 shed with foundation, a 10×10 storage shed, or a larger detached garage slab. The scale changes. The principles don't.
Why drainage is where most shortcuts show up
Water is patient. It will use the low corner, the soft shoulder, the undercut trench, or the poorly finished edge you hoped wouldn't matter.
That's why professional grading pays for itself. A site that looks flat to the eye can still hold enough water to keep the soil wet around the perimeter. Wet soil changes how a base carries weight. In winter, that turns into movement.
Here's a useful visual on heavy site equipment and earthwork in action:
Precision matters more than people expect
A container doesn't like twist. If one support point settles or if the pad is out of square, the structure tells on you fast. Openings bind. Floors feel off. Finish work starts compensating for a problem that began outside.
That's why many property owners use a contractor focused on foundations and excavation rather than treating the base like an add-on. Firm Foundations handles gravel pads, concrete foundations, and site prep for structures including sheds, garages, gazebos, shipping containers, and house foundation projects across PA, MD, DE, and NJ. For buyers comparing foundation builds or a shed foundation kit against a professionally prepared base, the difference usually comes down to drainage control, compaction discipline, and long-term stability.
The most expensive excavation mistake is the one that stays hidden until the structure is finished.
Key Structural Modifications and Interior Prep
A container can sit perfectly on a well-built foundation and still turn into a problem if the shell work is handled like ordinary framing. Steel containers carry load through their corner posts, top rails, side rails, and corrugated wall panels. Once you start cutting large openings, combining units, or adding roof penetrations, you are changing how that box works.
Cutting openings the right way
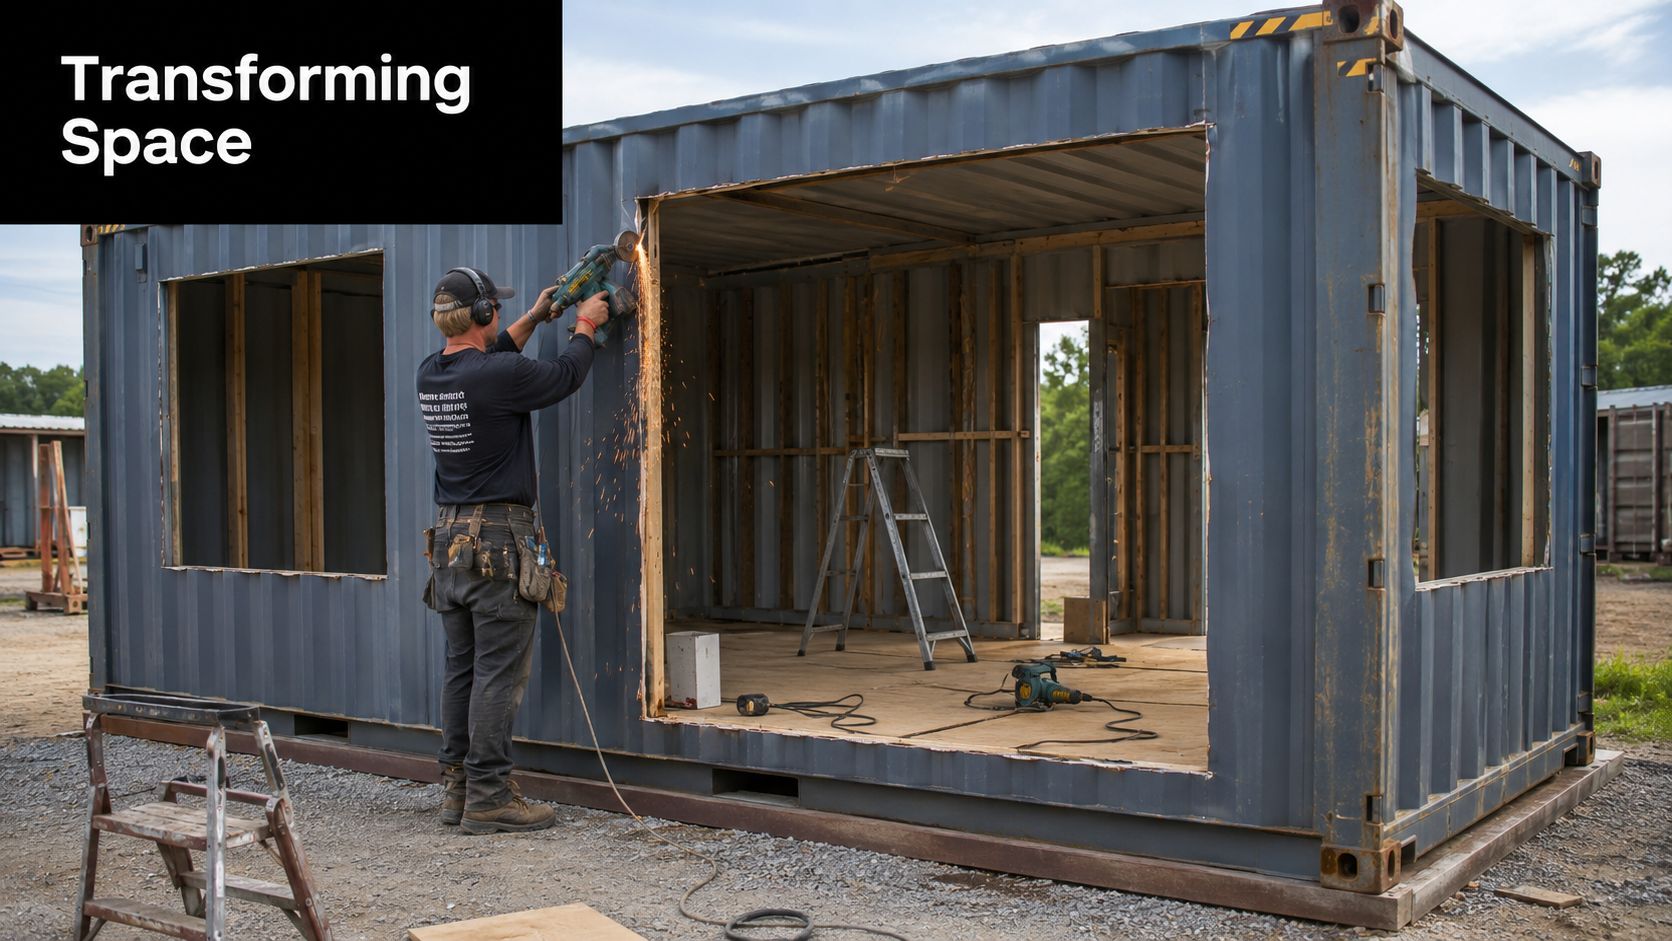
Window and door openings need a structural plan before the first cut. I have seen container projects where the opening was laid out to fit the window package first, then the reinforcement was treated as an afterthought. That order creates expensive rework.
The International Code Council notes in Guidelines for the Safe Use of ISO Intermodal Shipping Containers Repurposed as Buildings and Building Components that alterations to container walls, roofs, and side rails can affect the container's structural performance and should be evaluated as part of the engineered design. In practice, that usually means welded steel tube frames or other engineered reinforcement around openings, especially for wide patio doors, multiple window groupings, and cut-throughs between containers.
A sound sequence looks like this:
- Confirm opening sizes from the engineered drawings.
- Brace the area if the cut affects a large section of wall or roof.
- Make clean cuts with tools suited to the steel thickness.
- Install and weld reinforcement before finish framing starts.
- Prime and protect exposed steel so rust does not start at the cut edge.
Clean work matters here. A rough cut can be fixed. A bad structural decision usually means redesign, added welding, and another inspection.
Moisture control inside a steel shell
Interior prep in the Mid-Atlantic is mostly about temperature swing and condensation control. In PA, MD, DE, and NJ, a container wall can be cold enough in winter to collect moisture from indoor air, especially around framing breaks, window bucks, and roof connections. If that moisture gets trapped behind finished walls, you can end up with corrosion, mold on non-steel materials, and insulation that no longer performs the way it should.
The U.S. Department of Energy's guidance on air sealing and insulating metal buildings supports the same basic principle contractors use on container conversions. Control air leakage first, then build the insulation and vapor control approach for the climate zone and wall assembly.
Closed-cell spray foam is a common choice because it adheres directly to steel and helps limit interior air from reaching the cold shell. It is not the only option, and it is not always the cheapest option, but it solves several problems at once if it is installed at the right thickness and tied into the rest of the wall assembly. For readers comparing steel-building insulation approaches in humid conditions, Solutions for Florida metal building climate control offers a useful outside example of why air sealing and condensation control are usually addressed together.
Interior framing and trade coordination
After the shell is reinforced and the insulation plan is set, interior framing creates room for the systems that make the container livable. That includes wiring runs, plumbing lines, mini-split penetrations, bath exhaust routes, and the blocking needed for cabinets, handrails, and wall-mounted equipment.
This part goes smoother when the trades coordinate early. Electricians need planned chases. Plumbers need to avoid low points that can freeze near exterior steel. HVAC installers need clear locations for line sets, condensate drains, and fresh-air details where required by code.
Container homes are compact, but they are not simple. The best results come from treating the shell modifications like structural work and the interior prep like building-science work. That is the difference between a container that merely looks finished and one that performs well through Mid-Atlantic winters and humid summers.
Budgeting Your Project and Assembling Your Team
Budget mistakes on container homes usually start before the container is even delivered. Owners price the box, sketch the floor plan, and assume the rest will be comparable to a small cabin build. Then the site reveals the full story. Sloped access, soft soils, drainage work, frost-depth footings, utility trenching, crane coordination, and permit requirements in PA, MD, DE, and NJ can change the budget fast.
The shell is only one cost category. A realistic budget needs room for delivery, excavation, foundation work, engineering, cutting and reinforcing openings, insulation, mechanicals, interior finishes, and inspections. If the foundation is handled early and correctly, those later costs are easier to control. If it is undersized, out of level, or poorly drained, the corrections show up all the way through framing, doors, windows, and finishes.
Where to spend carefully
Some line items deserve tighter standards because failures there are expensive to fix later.
- Foundation and site prep: Poor bearing, bad drainage, and shallow support points cause settlement, racking, and moisture problems.
- Structural engineering: Large wall cuts, stacked containers, and joined units need a stamped plan that matches the loads.
- Electrical, plumbing, and HVAC: Licensed trades should price the work after the layout is settled, not from rough guesses.
- Insulation and condensation control: Steel reacts fast to temperature swings, so a cheap wall assembly can create mold, corrosion, and callbacks.
Spending carefully does not mean choosing the lowest bid. It means knowing where a bargain creates risk.
What you can DIY and what you should hire out
Owners can often handle finish selections, painting, trim, fixture ordering, and some scheduling. Those jobs affect appearance and convenience more than structure.
The work below belongs with qualified professionals:
- Excavation and grading where drainage, access, or soil conditions affect the build pad
- Footings, piers, slabs, and reinforcement for permanent residential support
- Structural cutting and steel reinforcement after container walls or roof sections are opened
- Utility connections and service work that must pass inspection for legal occupancy
That division saves money in the long run. I have seen owners do clean interior finish work and still lose time and cash because the pad was out of square by an inch or two.
How to assemble the team in the right order
Start with zoning and permit review. Confirm the container home use is allowed on the lot, then get the site evaluated for access, grade, drainage, and soil conditions. After that, lock in the foundation design, utility approach, and structural engineering before delivery day is scheduled.
The sequence matters. A container supplier cannot tell you what your local frost depth, setback constraints, or bearing conditions will require. Your excavator and foundation contractor need those answers early so the container arrives to a prepared, code-compliant site instead of sitting in storage while plans catch up.
For projects in Pennsylvania, Maryland, Delaware, and New Jersey, local conditions should shape the team you hire. Frost depth, wet ground, coastal exposure, expansive clay pockets, and township-level code enforcement all affect the base under the home. Firm Foundations handles that groundwork with excavation and foundation work built around regional site conditions, so the container starts on a base that is level, drained, and ready for the trades that follow.
If you're planning a shipping container home or need help with concrete foundations, garage footings and foundations, shed foundations near me, or a properly graded base for storage shed in PA, MD, DE, or NJ, contact Firm Foundations for a free quote. A clear site plan, proper excavation, and the right pad or slab will make the rest of your project easier, safer, and far more likely to last.