
Concrete Block Foundations for Garden Sheds
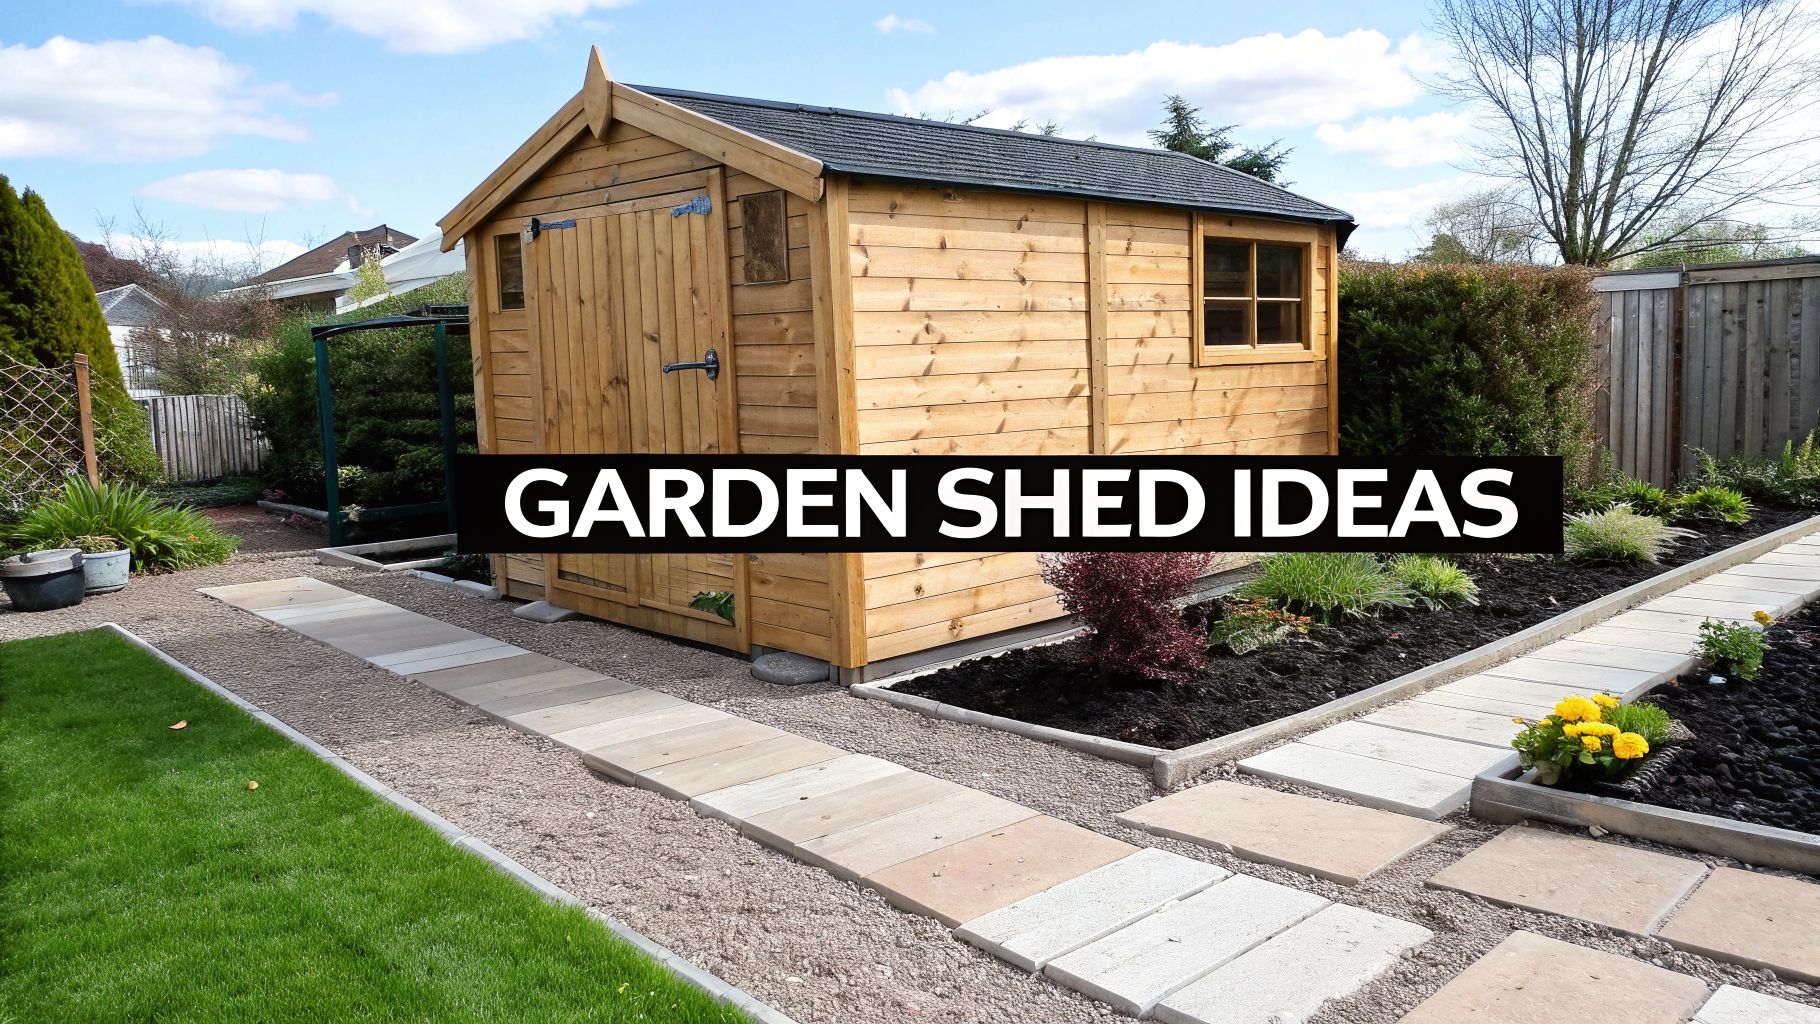
Table of Contents
ToggleBuilding a Solid Base: Concrete Block Foundations for Garden Sheds
A beautiful garden shed can quickly turn into a structural nightmare without the right base beneath it. Over time, shifting soil, trapped moisture, and relentless pests can compromise the integrity of your backyard storage space. Securing a reliable base is the single most critical step in your shed project.
Concrete block foundations for garden sheds offer an excellent solution. They provide a sturdy, elevated platform that protects your shed from ground moisture and wood rot. Whether you are constructing a small tool closet or a large workshop, these blocks deliver the strength necessary to keep your structure safe and level for decades.
While many homeowners tackle this as a weekend project, securing the best results sometimes requires expert help. The experienced team at Firm Foundation knows exactly how to prepare, build, and secure these bases. By partnering with a foundation contractor at Firm Foundation, you ensure your garden shed starts on the best possible footing.
Why Choose a Concrete Block Foundation?
When evaluating your base options, concrete blocks stand out for several practical reasons.
Durability and Longevity
Concrete blocks endure extreme weather conditions, freezing temperatures, and heavy loads. Unlike timber bases, they will not rot, warp, or decay over time.
Cost-Effectiveness
Compared to pouring a solid concrete slab, using concrete blocks is highly affordable. The materials are inexpensive and readily available at local hardware stores.
Ease of Installation
You do not need heavy machinery or mixing trucks to build a block base. With some basic tools and careful measuring, ambitious homeowners can complete the installation themselves.
Pest and Moisture Resistance
Elevating your shed on concrete blocks creates a vital air gap. This airflow keeps the wooden floor joists dry and deters termites and rodents from nesting underneath the structure.
Stability for Various Shed Sizes
From compact garden sheds to expansive storage units, concrete blocks can be arranged to support almost any dimension. You simply adjust the spacing and number of blocks to handle heavier loads.
Planning Your Concrete Block Foundation
Proper planning prevents costly mistakes. Taking the time to prepare your site and gather the right materials ensures a smooth construction process.
Site Selection and Preparation
Choosing the right spot in your yard is the first step. Look for an area that is relatively flat and free of large tree roots or underground utilities.
Leveling the Ground
Even a slight slope can complicate your build. You need to create a level footprint for your foundation blocks. Remove the topsoil and any vegetation from the installation area. Use a long straight board and a carpenter’s level to check the grade. You may need to dig out the high spots and fill in the low spots to create a uniform surface.
Drainage Considerations
Water pooling around your shed will eventually compromise the foundation. Position your shed in an area that naturally drains well. If your yard holds water, you might need to install a French drain or grade the soil so water flows away from the shed site.
Determining Shed Dimensions and Foundation Size
Your foundation must match the exact dimensions of your shed’s floor frame. Review your shed plans carefully to determine where the floor joists will sit. Mark the perimeter of the foundation using wooden stakes and string. Measure diagonally from corner to corner; if the measurements are identical, your layout is perfectly square.
Essential Tools and Materials
Before you begin, gather all necessary supplies. You will need standard concrete cinder blocks, a shovel, a wheelbarrow, crushed gravel, a spirit level, a tape measure, masonry string, and wooden stakes. If you plan to use mortar, purchase a high-quality masonry mix and a trowel.
Local Building Codes and Permits
Municipalities have specific regulations regarding outbuildings. Some areas require a permit for sheds over a certain square footage, while others mandate specific setback distances from property lines. Navigating these rules can be confusing. Consulting with a foundation contractor at Firm Foundation ensures your project complies with all local building codes, saving you from potential fines or forced teardowns.
Step-by-Step Installation Guide
With your planning complete, you can begin the physical construction of your shed base.
Excavation and Gravel Base
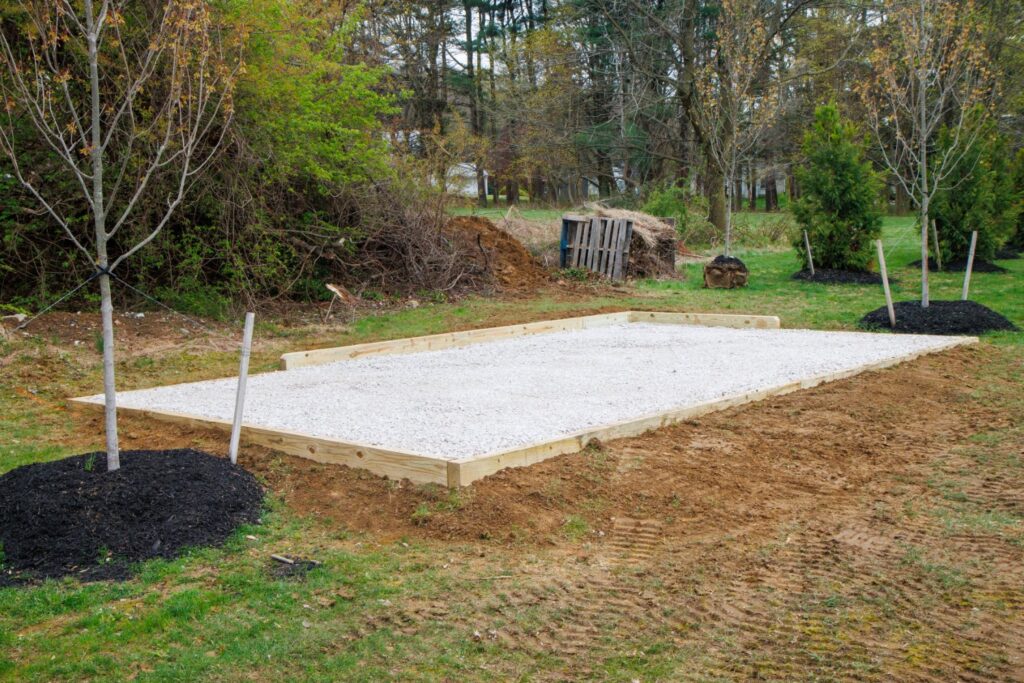
Dig a shallow trench or individual holes for each block pier, going below the frost line if required in your region. Fill the bottom of these excavations with a thick layer of crushed gravel. The gravel acts as a stable, self-leveling base that promotes water drainage away from the concrete blocks. Tamp the gravel down firmly to prevent future settling.
Laying the First Course of Blocks
The first layer of blocks dictates the success of the entire project. Place your blocks onto the compacted gravel.
Ensuring Level and Square
Check each block individually with your spirit level. Tap them gently with a rubber mallet to adjust their height in the gravel. The blocks must be level front-to-back and side-to-side.
Using String Lines and a Spirit Level
Run string lines between the corners of your layout to serve as a visual guide. This ensures your blocks remain in a perfectly straight line. Continually check the height of the blocks against one another using a long straightedge and a level to guarantee a uniform foundation.
Stacking Subsequent Courses
If your site is sloped, you will need to stack multiple blocks to reach a level height across the entire foundation.
Staggering Joints
When stacking blocks, always stagger the vertical joints. The center of the top block should rest over the seam between the two blocks beneath it. This interlocking pattern significantly increases the structural strength of the foundation pier.
Using Mortar
While some small sheds can rest on dry-stacked blocks, using mortar is highly recommended for long-term stability. Apply a generous layer of masonry mortar between each course. This binds the blocks together into a single, immovable unit that resists shifting over time.
Adding Rebar for Reinforcement
For taller foundation piers or areas prone to high winds and seismic activity, adding steel reinforcement is necessary. Insert lengths of rebar vertically through the hollow cores of the stacked blocks. Once the rebar is in place, fill the block cores with wet concrete to lock the steel inside.
Finishing the Top Course
The top of your foundation piers must be perfectly smooth and level to support the wooden skids or floor joists of your shed. If you filled the cores with concrete, use a trowel to smooth the top surface flat. You can also cap the open blocks with solid concrete cap blocks to create a uniform resting surface.
Curing Time
Allow the mortar and concrete to cure completely before building the shed on top. Depending on the weather conditions, this usually takes at least 48 to 72 hours. Rushing this step can cause the wet mortar to crack under the weight of the lumber.
Key Considerations for a Successful Foundation
Proper Drainage Around the Foundation
Even with a gravel base, surface water can cause erosion. Consider adding a perimeter of decorative stone or installing gutters on your shed roof to direct rainwater away from the foundation blocks.
Anchoring the Shed to the Foundation
High winds can easily flip a wooden shed that is merely resting on blocks. Use heavy-duty steel anchor straps or bolted brackets to physically attach the shed’s wooden floor frame to the concrete blocks. This ensures the structure remains grounded during severe weather events.
Dealing with Uneven Terrain
Severely sloped yards require careful engineering. You may need to build a retaining wall or use excessively tall block piers on the downhill side. These situations require precise load calculations to prevent the structure from leaning or collapsing.
When to Call in the Professionals
If your yard has a steep grade, poor soil conditions, or if you are planning a very large structure, DIY methods might fall short. The expertise at Firm Foundation takes the guesswork out of complex builds. They handle the engineering, excavation, and masonry work, guaranteeing a flawless result.
Advantages of Professional Installation by Firm Foundation
While building a block foundation yourself is possible, hiring experts provides peace of mind and superior results.
Expertise and Experience
Professional shed foundation contractors build foundations every single day. They know how to read the soil, manage difficult terrain, and anticipate problems before they arise. Firm Foundation brings years of specialized knowledge to your backyard, ensuring the base is structurally sound.
Time-Saving and Efficiency
What might take a homeowner several weekends of backbreaking labor can be completed by a professional crew in a fraction of the time. Firm Foundation arrives with the right equipment and manpower to complete the job quickly, allowing you to move on to the actual shed construction without delay.
Ensuring Compliance with Building Codes
Professionals handle the bureaucratic side of construction. Firm Foundation understands local zoning laws, setback requirements, and building codes. They ensure your foundation passes municipal inspections on the first try.
Quality Assurance and Warranty
A DIY foundation comes with no guarantees. When you hire Firm Foundation, you receive a professionally backed structure. Their work is guaranteed, providing you with long-term protection against settling, cracking, or structural failure.
Maintenance of Your Concrete Block Foundation
Regular Inspections
Walk around the perimeter of your shed twice a year. Look for signs of soil erosion around the base of the blocks. Ensure that the wooden floor joists are still resting securely on the concrete and that the anchor straps remain tight.
Addressing Cracks or Shifts
Minor hairline cracks in mortar are normal, but large, widening cracks indicate structural shifting. If you notice a block leaning or a significant crack developing, address it immediately. You may need to inject concrete epoxy or consult a professional to stabilize the pier.
Preventing Moisture Issues
Keep the area under your shed clear of debris. Do not store firewood or landscaping materials against the foundation blocks, as this traps moisture and invites pests. Ensure that the airflow remains unobstructed to keep the wooden floor framing dry.
Secure Your Shed’s Future Today
A garden shed is a valuable addition to your property, providing necessary storage and functional space. However, that value depends entirely on the stability of the ground beneath it. Concrete block foundations offer an unbeatable combination of affordability, durability, and moisture protection. By elevating your structure, you prevent rot and ensure your shed remains a safe, usable space for years to come.
Whether you are tackling a small tool shed or planning a large backyard workshop, a solid base is non-negotiable. Don’t leave your property’s infrastructure to chance. Reach out for professional advice and reliable installation to ensure your project starts off on the right foot. Contact a foundation contractor at Firm Foundation today, and build your next backyard project on a base you can truly trust.
Firm Foundations LLC
https://maps.app.goo.gl/Uf6XdgtpBTETgNrr7
1535 White School Rd, Honey Brook, PA 19344, United States
(717) 716-7267
https://shedpads.com/