
How to Keep Your Shed Floor Dry and Damage-Free Year-Round
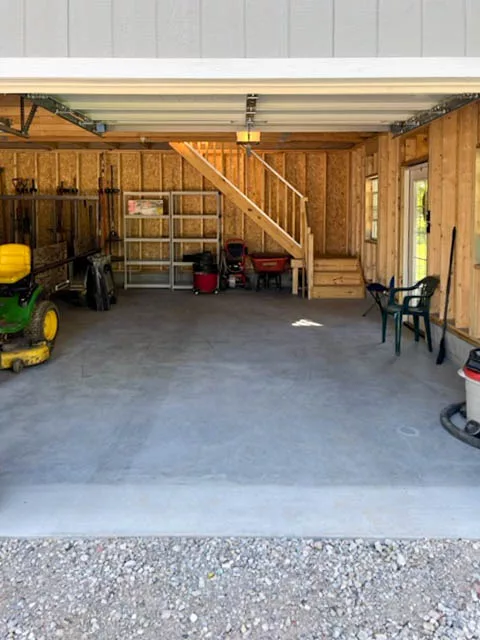
How to Keep Your Shed Floor Dry and Damage-Free Year-Round
A shed floor must handle more than the weight of lawn equipment, tools, bicycles, and storage bins. It also has to withstand ground moisture, wind-driven rain, snowmelt, temperature changes, and the humidity that can build inside a closed outdoor structure.
When moisture reaches a wooden shed floor repeatedly, the damage may begin quietly. The floor can develop stains, odors, soft areas, swelling, mold, or rot before the problem becomes obvious. Doors may start sticking as the structure moves, and stored belongings can become damp even when the roof does not appear to leak.
Keeping a shed floor dry requires more than applying a coating to the plywood. Long-term moisture protection begins beneath the building with the right location, site preparation, foundation, and drainage. Regular exterior and interior maintenance then helps keep water from returning.
Begin With a Proper Shed Foundation
One of the most effective ways to protect a shed floor is to separate it from damp, unstable soil.
A shed placed directly on the ground remains close to moisture after rain, snow, and seasonal thawing. Even when the surface appears dry, the soil beneath the shed may retain water. That moisture can affect wooden runners, floor joists, and plywood over time.
A professionally installed gravel pad provides a level support surface while allowing water to move through the stone. Firm Foundations uses clean stone for its gravel shed foundations because the open spaces between the stones allow rainwater and runoff to drain instead of remaining trapped beneath the building.
For many prefabricated sheds with built-in wooden floors, this combination of support and drainage makes gravel a practical foundation choice. Concrete may be more appropriate for heavier buildings or sheds designed to use the slab as the finished floor. The shed manufacturer’s specifications should guide the final decision.
Do Not Spread Gravel Over Grass
A layer of loose gravel placed over the lawn is not the same as a properly prepared gravel foundation.
Grass, topsoil, roots, and organic material can compress and decay beneath the shed. If the ground settles unevenly, parts of the floor system may lose support. Water may also collect in depressions hidden beneath the stone.
Professional site preparation typically involves removing sod and unsuitable surface material, grading the area, and creating a stable, level footprint before installing the foundation stone. Firm Foundations also uses accurate leveling methods to help the shed remain properly supported, reducing the risk of frame movement and misaligned doors.
The goal is not merely to make the site look flat. It is to create a base that can distribute the building’s weight and continue draining through changing seasons.
Extend the Pad Beyond the Shed Walls
A gravel foundation should not stop directly beneath the outside walls of the shed.
Extending the stone around the building creates a drainage border where roof runoff can land without immediately turning the surrounding soil into mud. It also helps keep weeds, mulch, and damp vegetation away from the lower siding and floor framing.
Firm Foundations generally recommends constructing a gravel pad two feet wider and two feet longer than the shed. A 10-by-16 shed, for example, would typically sit on a 12-by-18 gravel foundation.
That extra area will not replace gutters when roof runoff is severe, but it provides a cleaner and better-drained perimeter than placing the shed directly beside grass or garden soil.
Choose the Shed Location With Drainage in Mind
A well-built foundation can still experience moisture problems if the shed is placed in a natural low point.
Before choosing the location, observe the property during and after heavy rain. Look for standing water, soft soil, runoff channels, and areas where water travels downhill. A site that appears suitable during a dry week may remain saturated during spring rains or winter thawing.
Whenever possible, choose an area where the surrounding grade naturally moves water away from the shed. Avoid placing the building below a steep slope, beside a downspout outlet, or where runoff from a driveway or patio crosses the site.
If the location requires substantial changes, excavation and grading may be needed before the foundation is installed. Firm Foundations provides site-preparation and excavation services in addition to gravel pads and concrete foundations, allowing underlying grade and drainage concerns to be addressed before the building arrives.
Control Roof Runoff
A typical shed roof can release a surprising amount of water around a relatively small foundation during a heavy storm.
Watch where water lands along the roof edges. If it repeatedly creates trenches, washes stone away, or produces muddy areas beside the shed, gutters may be worth considering. Downspouts should discharge away from the foundation rather than directing concentrated water toward one corner.
The outlet should not simply end at the shed wall. Use an appropriate extension or drainage approach to carry water to a location where it can disperse without eroding the pad or creating a new wet area elsewhere on the property.
Leaves and debris should also be removed from gutters and roof valleys. Overflowing gutters can send water directly against the siding and lower framing, defeating the purpose of the drainage system.
Keep Soil, Mulch, and Vegetation Away From the Floor
Landscaping can gradually change the elevation around a shed.
Homeowners may add mulch, garden soil, decorative stone, or new planting beds without realizing that the material is being built up against the siding or foundation perimeter. Leaves and grass clippings can create the same problem when they accumulate over time.
These materials hold moisture and can block the path water would otherwise use to move away from the building. Keep the foundation border visible and avoid piling anything against the shed walls.
Trim weeds, vines, and shrubs so air can move around the lower portion of the structure. Vegetation touching the siding can remain wet after rain and make it harder to notice early deterioration.
Inspect the Floor From Above and Below
Moisture problems are easier to correct when they are found early.
Inside the shed, look for dark stains, swollen plywood edges, peeling floor coatings, mold-like spotting, or areas that feel softer than the surrounding floor. A musty odor may indicate that moisture is present even when there is no visible puddle.
Pay special attention near doors, ramps, windows, and walls. Rain can enter around damaged seals, gaps, or improperly installed trim and then travel beneath stored items.
When the shed design and clearance allow it, inspect the runners, joists, and underside of the floor from outside. Look for discoloration, decayed wood, insect activity, or sections that remain damp well after the weather clears.
Pressure-treated flooring materials can provide additional resistance to moisture and decay, but they still perform best when the shed sits on a stable, well-drained foundation. Firm Foundations identifies excavation, grading, and a dependable foundation footprint as the starting point for protecting wood shed floors.
Maintain Doors, Windows, Siding, and Roofing
Not every wet shed floor is caused by ground moisture.
Damaged roofing, loose siding, failed caulking, or gaps around doors and windows can allow water into the building. Once inside, moisture may run down a wall and collect along the floor edge, making the foundation appear to be the source.
Inspect the exterior after major storms. Replace damaged roofing materials and address openings before they allow repeated water intrusion. Check that doors close properly and that thresholds direct rain outward rather than into the shed.
A door that suddenly stops closing may also indicate that the foundation has settled or the shed is no longer level. An unstable base can cause structural warping and misalignment, which may create new gaps where weather can enter.
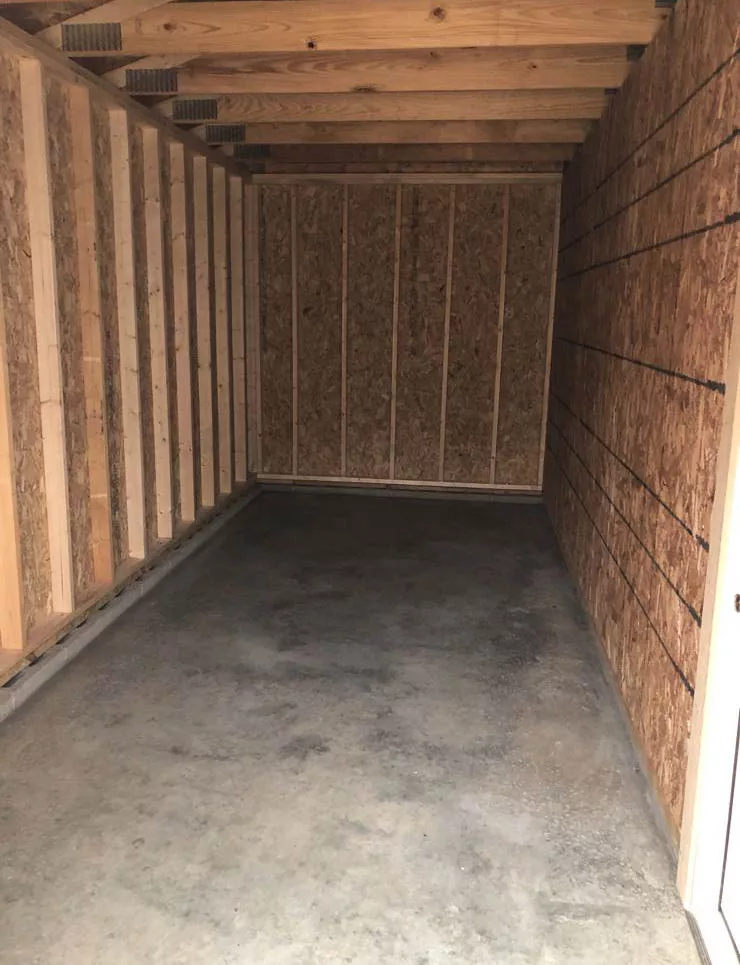
Manage Humidity Inside the Shed
A shed can feel damp even when water is not entering through the roof or foundation.
Moisture carried inside on a wet mower, snow-covered tools, garden hoses, or damp firewood can raise the interior humidity. When warm, humid air meets cooler surfaces, condensation may form on metal equipment, windows, walls, and floors.
Allow wet equipment to dry before storing it whenever practical. Drain hoses and containers, brush snow from tools, and avoid storing moisture-heavy materials directly on the floor.
Ventilation can help warm, humid air escape. The appropriate vents depend on the shed’s construction, so any modifications should be discussed with the shed manufacturer. A small fan or dehumidifier may be helpful in a shed with safe electrical service, but it should not be treated as a substitute for correcting active leaks or poor drainage.
Store Belongings With Airflow in Mind
Avoid covering the entire floor with tightly packed boxes and equipment. Moisture can remain hidden beneath stored items, particularly when cardboard, fabric, or untreated wood sits directly on the floor.
Use shelves, wall hooks, or suitable raised storage systems for items that are vulnerable to dampness. Leave enough room along the walls to inspect the floor edges and allow air to circulate.
Plastic storage containers can protect contents from minor humidity, but they should not be placed over an actively wet or deteriorating floor. Correct the moisture source before reorganizing the space.
Monitor the Foundation After Severe Weather
Walk around the shed after prolonged rain, snowmelt, or freeze-thaw conditions.
Look for displaced stone, erosion near the perimeter, sinking corners, standing water, or soil washing into the gravel. A limited amount of displaced material may be repairable, but recurring movement can indicate a deeper grading or subgrade problem.
Firm Foundations’ gravel pads use anchored perimeter timbers to contain the stone and maintain the foundation shape. Qualifying stone pads also carry a limited warranty on the wood perimeter against rot and decay, subject to the company’s warranty terms and maintenance requirements.
Professional installation does not eliminate the need to monitor the property. Downspouts, landscaping, erosion, and changes elsewhere in the yard can alter drainage after the shed has been installed.
Protect the Floor by Starting Below It
Keeping a shed floor dry requires attention to the entire structure and site.
A stable gravel or concrete foundation supports the building. Proper grading directs water away. A clean perimeter limits trapped moisture, while maintained roofing, siding, doors, and windows keep rain from entering above ground. Ventilation and thoughtful storage help control the moisture produced inside.
Firm Foundations has installed gravel pads and concrete foundations since 2011 and serves property owners throughout Pennsylvania, Maryland, Delaware, and New Jersey from its Honey Brook, Pennsylvania location. Customers frequently mention the company’s communication, efficient installation, accurate leveling, and jobsite cleanup.
Before scheduling a new shed delivery, request a foundation quote based on the building dimensions, property access, slope, and drainage conditions. A properly prepared base can help keep the floor level, dry, and ready to protect your equipment in every season.
Firm Foundations LLC
https://maps.app.goo.gl/Uf6XdgtpBTETgNrr7
1535 White School Rd, Honey Brook, PA 19344, United States
(717) 716-7267
https://shedpads.com/