
Cement Blocks for Shed Foundation
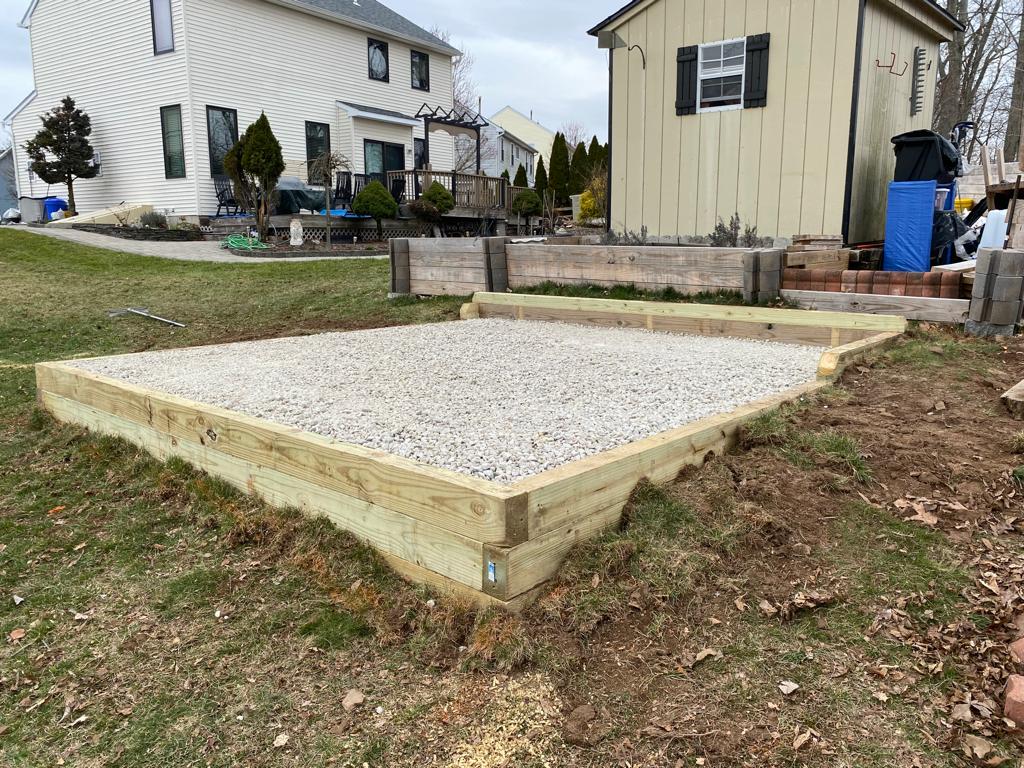
Table of Contents
ToggleAffordable and Sturdy: Why Cement Blocks for Shed Foundation are Ideal
Building a new shed is an exciting project that promises extra storage space and a dedicated area for your hobbies. However, the success of this structure relies heavily on a component that often gets overlooked: the foundation. Without a proper base, even the most beautifully constructed shed will eventually succumb to structural issues.
Cement blocks offer a highly effective solution for anyone looking to build a reliable base. They strike a perfect balance between cost-efficiency and immense structural strength. Our construction experts at Firm Foundation have spent years helping homeowners design and install bases that stand the test of time, and we frequently recommend this exact material.
Choosing cement blocks for shed foundation ensures your new storage space remains level, dry, and secure for decades. Let us look at why this material is widely considered the best choice for affordable and sturdy shed foundations.
Why a Solid Foundation Matters
A shed placed directly on the ground will quickly succumb to the elements. Moisture from the soil seeps into wooden floor joists, accelerating rot and inviting termites or carpenter ants. A proper foundation elevates the shed, creating a vital barrier against these natural threats.
Beyond moisture and pests, a solid base prevents shifting and settling. Soil naturally expands and contracts with changes in temperature and rainfall. Without a stable foundation, the shed will warp as the ground moves. Doors will refuse to close, windows will crack, and the roof will develop leaks.
Ultimately, the hidden costs of a poor foundation are steep. You might save a few dollars upfront by skipping this step, but you will likely face expensive repairs or complete structural replacement within a few short years. A quality foundation extends the life of your shed significantly, securing your initial investment.
The Advantages of Cement Blocks for Shed Foundations
When evaluating different materials for your base, cement blocks consistently rank near the top for several practical reasons.
Affordability: Cost-effective materials and installation
Building a base does not have to drain your project budget. Cement blocks are incredibly cost-effective.
Comparison to other foundation types:
Poured concrete slabs are excellent but require expensive materials, concrete trucks, and extensive labor. Pier and beam systems involve digging deep holes and mixing concrete on-site. Blocks offer a much cheaper alternative while still providing fantastic support.
DIY potential vs. professional installation:
Because the materials are relatively cheap and easy to source, many homeowners choose to handle the installation themselves, saving hundreds of dollars on labor costs.
Durability and Strength: Built to last
Cement blocks are engineered to support massive amounts of weight.
Material composition and properties:
Made from a mixture of Portland cement, aggregate, and water, these blocks cure into an incredibly dense and hard material.
Resistance to rot, insects, and decay:
Unlike wooden skids, cement will never rot. It is completely impervious to termites and holds up perfectly against freezing and thawing cycles.
Weight bearing capacity:
A properly spaced grid of blocks can easily support the weight of a large shed filled with heavy equipment like riding mowers and power tools.
Ease of Installation: A DIY-friendly option
You do not need to be a master mason to work with this material.
Simplicity of leveling and arrangement:
Setting up a block foundation involves mapping out a grid, placing the blocks, and using a level to ensure they are perfectly even.
Reduced need for heavy machinery:
You can transport the materials in a standard pickup truck and move them into place by hand. There is no need for a cement mixer or a backhoe.
Time efficiency:
A team of two people can typically prepare the ground and lay out a block foundation in a single weekend.
Versatility: Adaptable to various shed sizes and terrains
Yards are rarely perfectly flat. Blocks give you the flexibility to adapt to your specific landscape.
Different block types and their uses:
You can mix and match different thicknesses of blocks to achieve a level surface across a sloped yard.
Adjusting for uneven ground:
By stacking blocks or digging shallow trenches for specific support points, you can easily compensate for dips and rises in the earth.
Airflow and Drainage: Preventing moisture buildup
Elevating your shed creates a gap between the ground and the floor joists.
Importance of ventilation:
Trapped, stagnant air breeds mold and mildew.
How block foundations promote air circulation:
The open space created by the blocks allows wind to blow underneath the structure. This constant airflow dries out the soil after heavy rains and keeps the floor joists perfectly dry.
Types of Cement Blocks for Foundations
Understanding the different materials available at your local hardware store is crucial for a successful build.
Solid Concrete Blocks: The standard choice
Solid blocks are incredibly heavy and dense. They offer the highest weight-bearing capacity and are the preferred choice for the main support points of your foundation. Because they lack hollow cavities, they will not crush under extreme pressure.
Cinder Blocks (Hollow Blocks): When to use and when to avoid
Cinder blocks feature large hollow cores. They are lighter and cheaper than solid blocks. While they can be used for lighter sheds, they should always be placed with the holes facing vertically to maximize their structural integrity. For heavy structures, you can fill the hollow cores with gravel or wet concrete for added strength.
Cap Blocks: For a finished look
Cap blocks are thin, solid pieces of concrete typically measuring about two to four inches thick. They are perfect for placing on top of your main support blocks to make minor leveling adjustments. They also provide a smooth, flat surface for your floor joists to rest upon.
Planning Your Cement Block Foundation
Proper planning guarantees a smooth installation process and a sturdy final product.
Site Selection and Preparation
Choosing the right spot in your yard is the first critical step.
Choosing the right location:
Look for a relatively flat area that is easily accessible. Check your local zoning laws regarding setback requirements from property lines.
Clearing and leveling the ground:
Remove all grass, weeds, and topsoil from the footprint of the shed.
Drainage considerations:
Ensure the chosen site does not naturally pool water during rainstorms. You want water to flow away from the base, not toward it.
Calculating Material Needs
Avoid multiple trips to the hardware store by calculating your materials accurately.
Determining the number of blocks:
Sketch out your floor plan. You generally need a support block at each corner and every four to six feet along the floor joists.
Estimating gravel and sand:
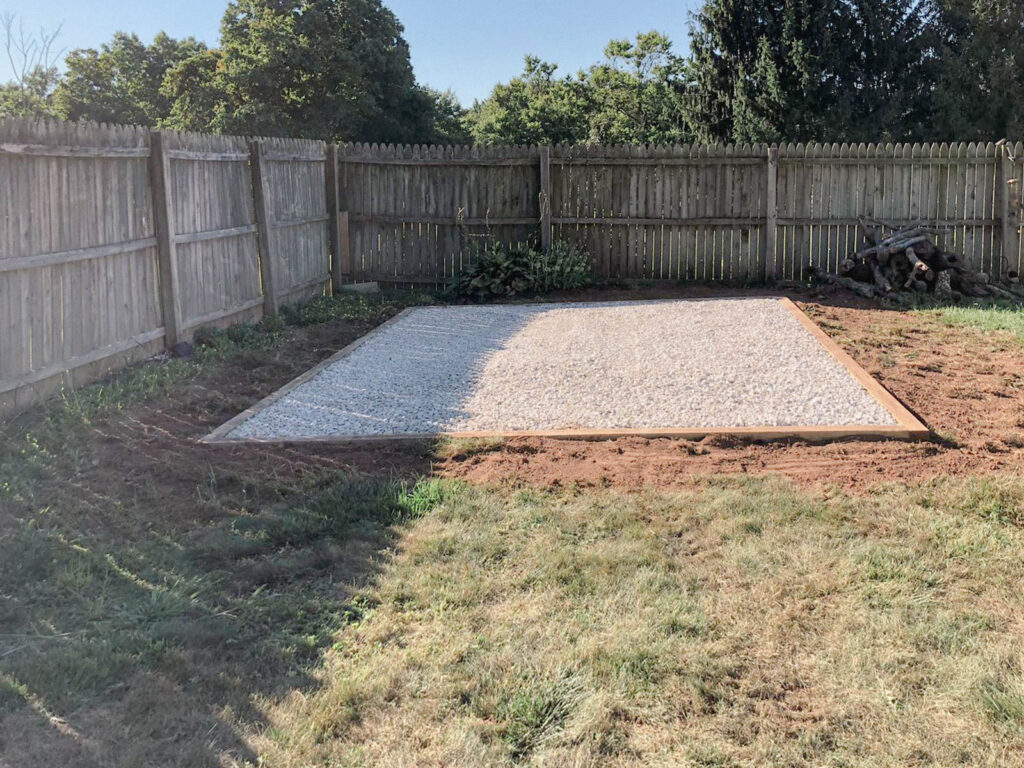
You will need crushed gravel to create a stable base underneath each block. Calculate enough gravel to create a four-inch deep pad under every support point.
Essential Tools and Equipment
Gather your tools before you begin. You will need a long carpenter’s level, a tape measure, string lines, wooden stakes, a shovel, a tamper, and heavy-duty work gloves.
Step-by-Step Installation Guide
Following a systematic approach ensures your base is perfectly square and level.
Preparing the Base
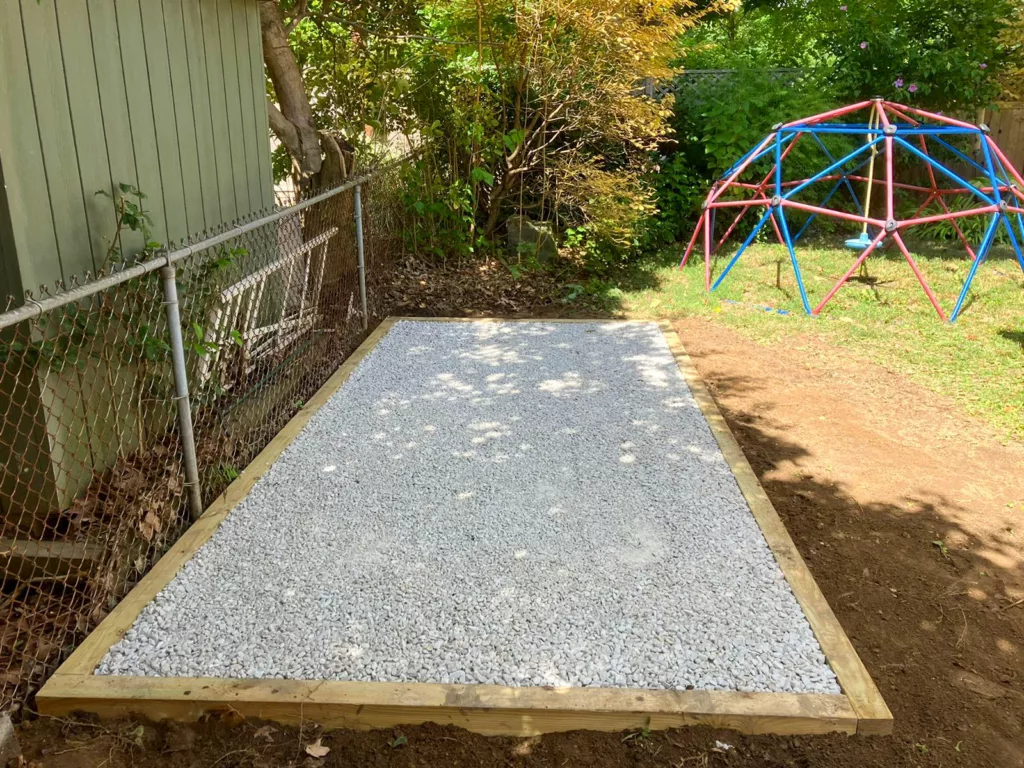
Once you have marked your grid, dig shallow holes at each support point. Fill these holes with crushed gravel. Use a hand tamper to pack the gravel down tightly. This prevents the heavy blocks from sinking into the mud after a rainstorm.
Laying the First Course
Place your corner blocks first. Use a long, straight board and your carpenter’s level to check the height difference between the corners. Add or remove gravel beneath the blocks until all four corners are perfectly level with one another. Next, place the intermediate blocks along the perimeter and the interior support lines, checking them against the corners.
Stacking and Interlocking
If your yard is severely sloped, you may need to stack multiple blocks to reach a level plane. When stacking, ensure the blocks are centered over one another. You can use construction adhesive formulated for masonry to lock stacked blocks together for added security.
Anchoring the Shed to the Foundation
High winds can shift a shed off its base. Use hurricane ties and heavy-duty ground anchors to secure the wooden floor frame directly to the earth or to the cement blocks themselves.
When to Call in the Professionals
While building a block foundation is highly DIY-friendly for small projects, certain situations require expert intervention.
Complex terrain or large sheds
If your yard has a severe slope or you are building a massive structure designed to hold heavy vehicles, the foundation requirements become highly complex. Attempting to engineer a massive block system without experience can lead to dangerous structural failures.
Specific local building codes
Many municipalities have strict regulations regarding permanent structures. Professional contractors are intimately familiar with these codes and will ensure your project passes all necessary municipal inspections.
Ensuring maximum stability and longevity
Hiring a professional team guarantees the job is done perfectly the first time. You do not have to worry about the base settling unevenly a year down the road because the gravel was not tamped correctly.
Firm Foundation’s commitment to quality
At Firm Foundation, we handle the heavy lifting for you. Our experienced crews know exactly how to evaluate your soil type, calculate the required load-bearing capacities, and install a flawless cement block base. We pride ourselves on precise execution, ensuring your new shed rests on a perfect platform.
Maintenance and Longevity of Your Block Foundation
A little preventative maintenance keeps your foundation strong for decades.
Regular inspections
Walk around your shed twice a year, particularly after the spring thaw and heavy rain seasons. Look for any blocks that appear to have sunk or shifted. Check the wooden skids to ensure they remain completely dry and elevated off the dirt.
Addressing issues promptly
If you notice a block has settled, do not ignore it. Use a hydraulic jack to carefully lift the shed frame near the sunken block, add more compacted gravel or a thin concrete cap block, and lower the shed back down until it is level.
Protecting against erosion
Ensure the gutters on your shed direct rainwater far away from the base. Fast-moving water from roof runoff can easily wash away the soil and gravel supporting your cement blocks, leading to severe settling issues.
Build Smart, Build Strong
Cement block foundations provide an unbeatable combination of affordability, strength, and durability. By keeping your structure elevated, dry, and perfectly level, these materials ensure your new building will survive the elements and provide reliable service for years to come. Whether you choose to tackle the installation yourself or rely on expert help, choosing this robust material is a decision you will never regret.
If you want the peace of mind that comes with a professionally engineered and installed base, reach out to the experts at Firm Foundation. Build smart, build strong, and start your next project on solid ground.
Firm Foundations LLC
https://maps.app.goo.gl/Uf6XdgtpBTETgNrr7
1535 White School Rd, Honey Brook, PA 19344, United States
(717) 716-7267
https://shedpads.com/